David Hockney Inspired Collage
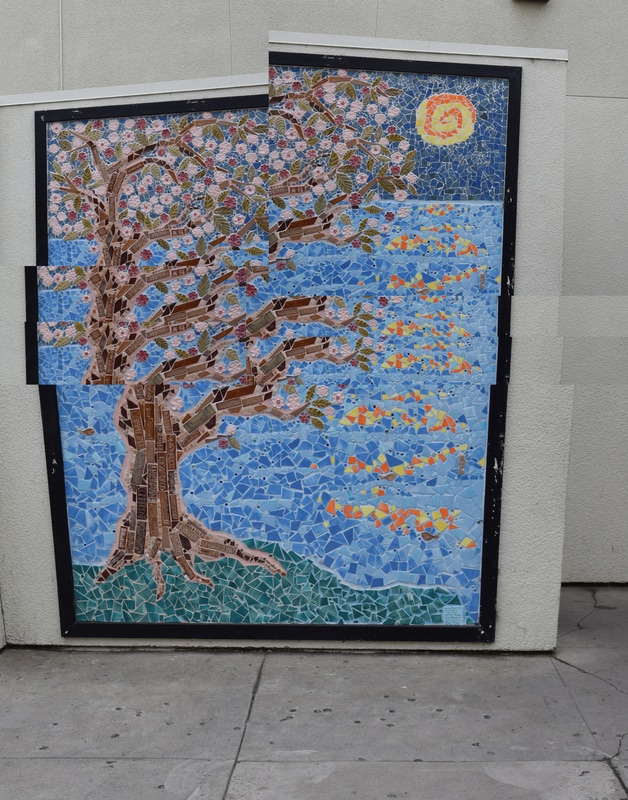
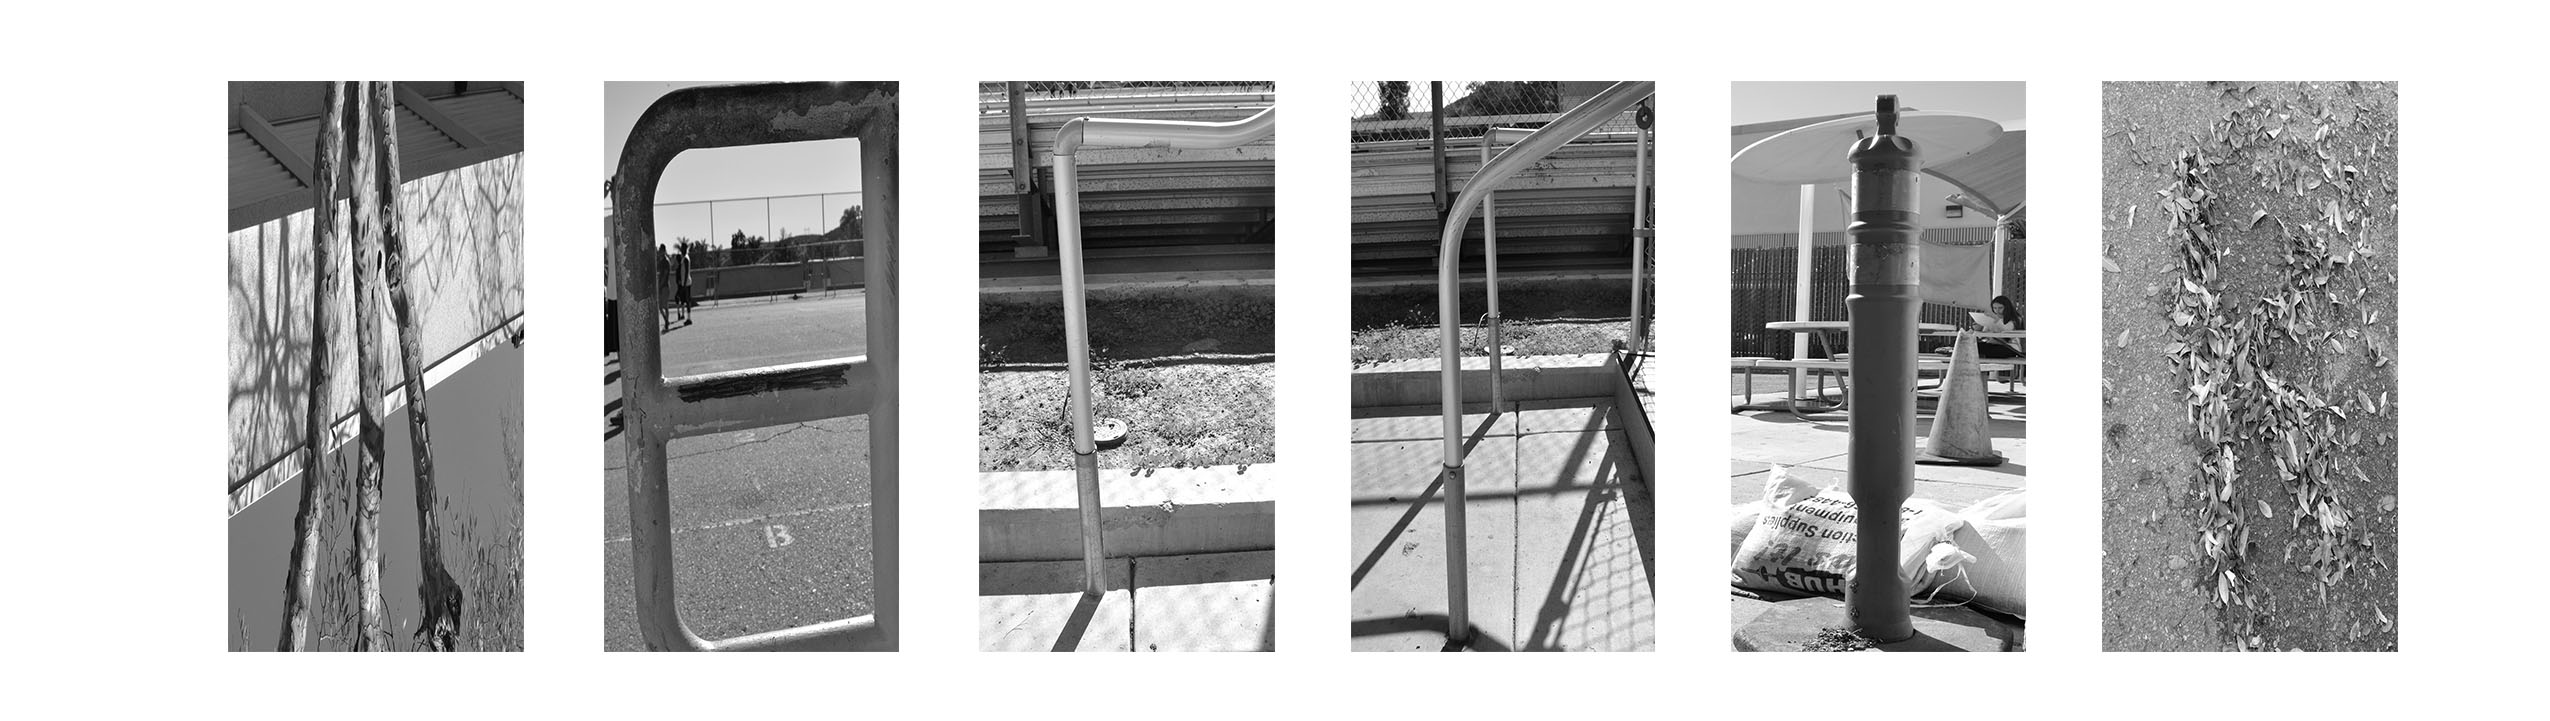
1. David Hockney was born on July 9, 1937. in Bradford, England. He does and did most of his work in Los Angeles, California. David Hockney is a famous photographer. This reflects his style because he used a style called cubism, which is a style of using geometric shapes in an image or painting.
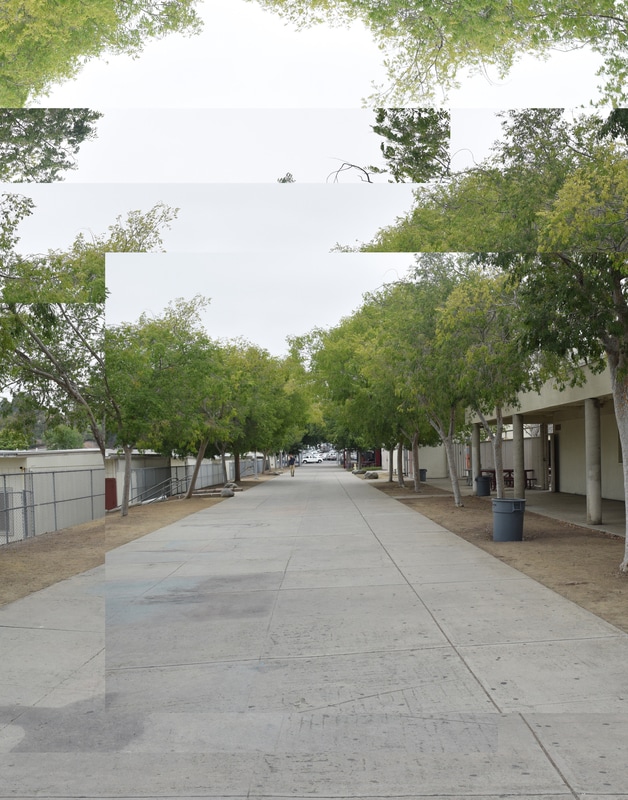
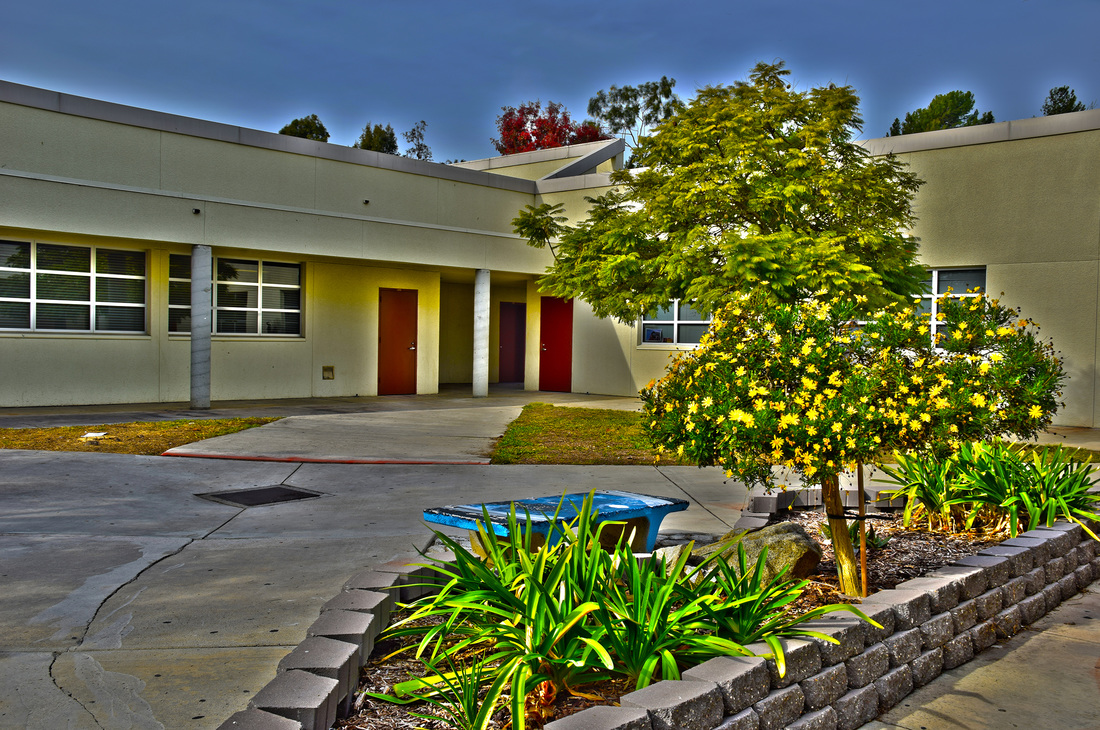
2. The first step that I did to create my image was to crop it to 11x14. I then started to randomly place the other images that I took onto the foundation image. Then I began to crop the other images I placed to make it look more in the style of Hockney. After my images looked good I saved it as a JPEG.
2. The first step that I did to create my image was to crop it to 11x14. I then started to randomly place the other images that I took onto the foundation image. Then I began to crop the other images I placed to make it look more in the style of Hockney. After my images looked good I saved it as a JPEG.
Magazine Project
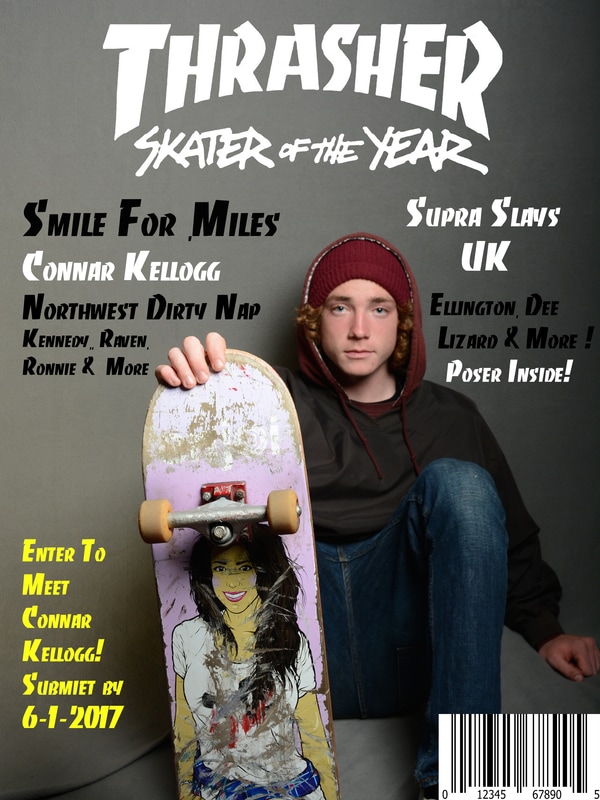
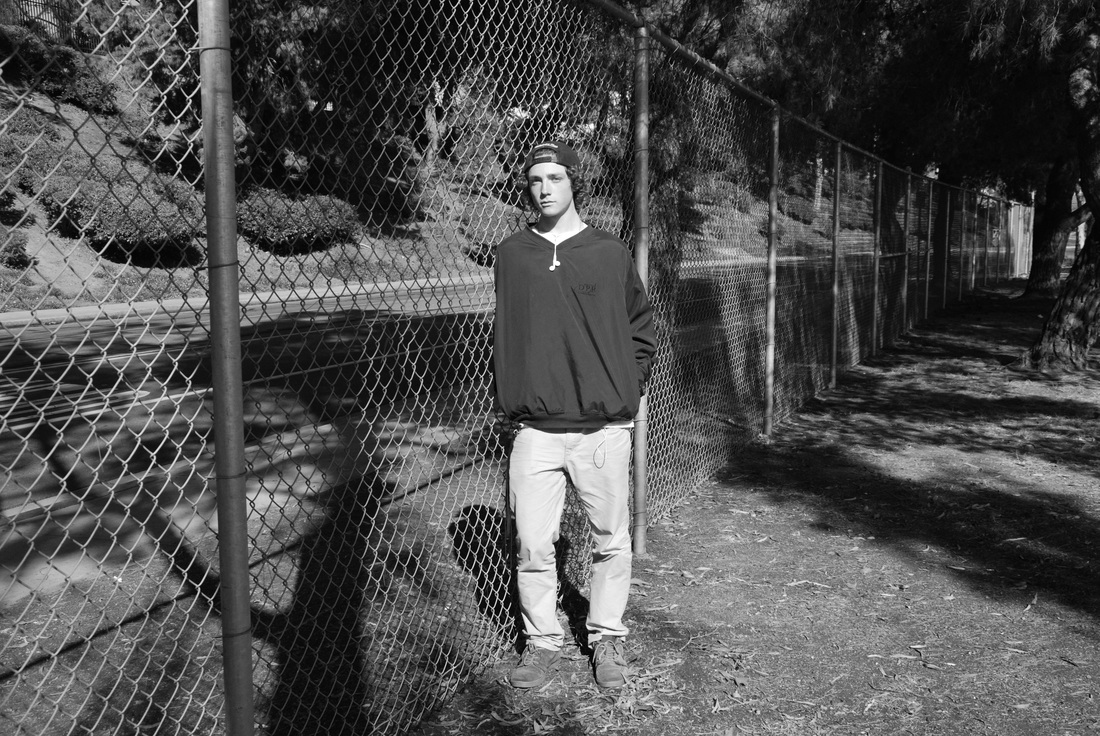
1) I chose thrasher magazine because I enjoy looking at skateboard photography. I like how unique the picture has to be to make the magazine.
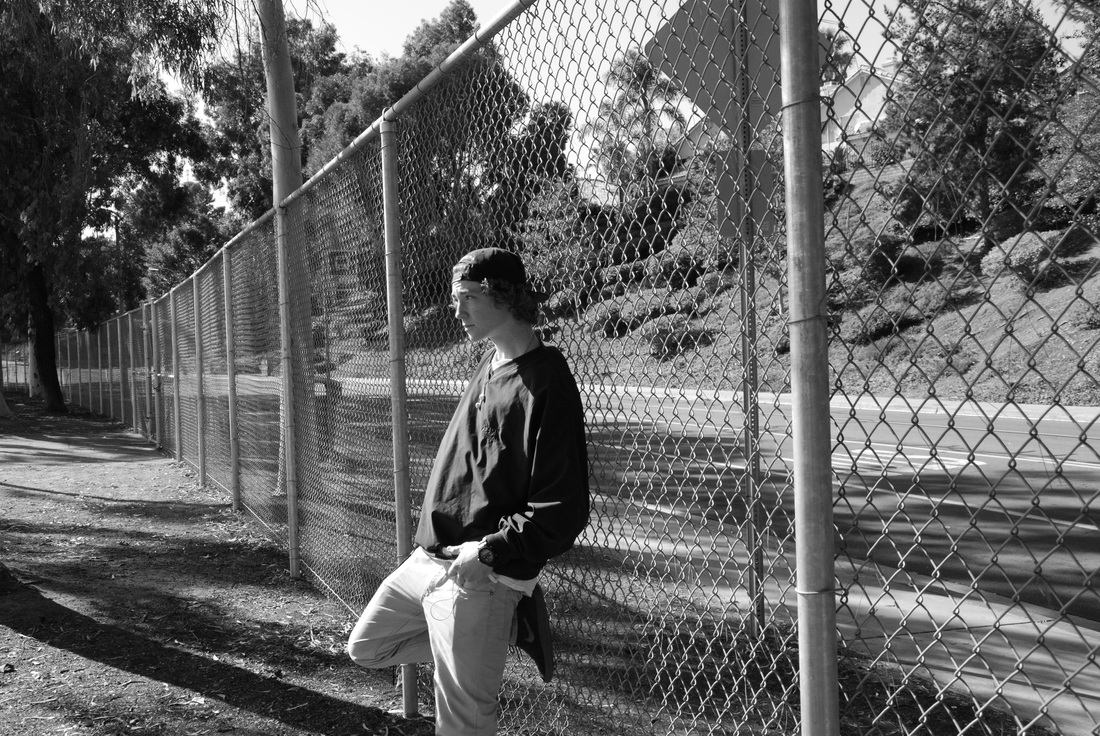
2) I took a picture of Connar holding a skateboard in order to emulate the skater theme to the magazine cover.
3) The font style that I used was called Banco, I used white, black, and yellow because I wanted a color scheme like they have in the real thrasher covers.
4) My set up was the title at the top and the headings for the magazine on the sides of conner my subject. I created my photo by layer masks, text boxes, and a lot of touch ups.
5) A strobe light is a light that produces a regular flash of light, it is used to generate a bright flash of light to develop a professional looking photo. You pair the camera to the strobe light and have the light fire when you take the picture.
6) A modeling light is a little handheld light that you can use to give the model more definition and reduce shadows. You shine the light where extra light needs to be added.
7) A soft box diffuses the light into a pleasing soft, even light. When used properly, it reduces harsh shadows. You set it to how close or far you want it to achieve the certain image you are going for.
8) A reflector is a shiny disk that reflects light onto something to give it more highlight. You use it by shining light onto your subject to enhance the highlight of light given to the subject.
9) A grey card is a grey box with different shades of grey on it, it is used in order to see what setting you need to tweak on your camera in order to achieve the correct level of brightness or darkness you need. You hold the box in front of the subject and then take a picture to see if the image lighting is correct.
10) A radio trigger system sends a signal to the flash when to go off when the shutter closes and opens. You use it to get the studio image. You use when you take a picture and let the flash go off.
Lightroom


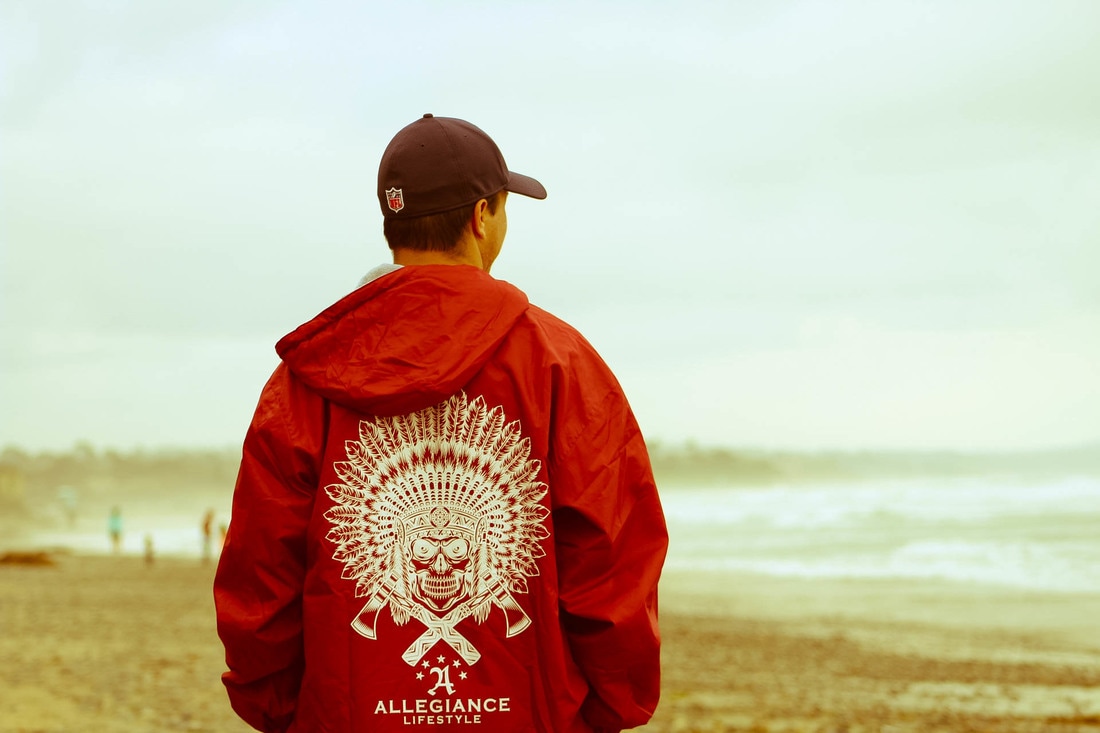
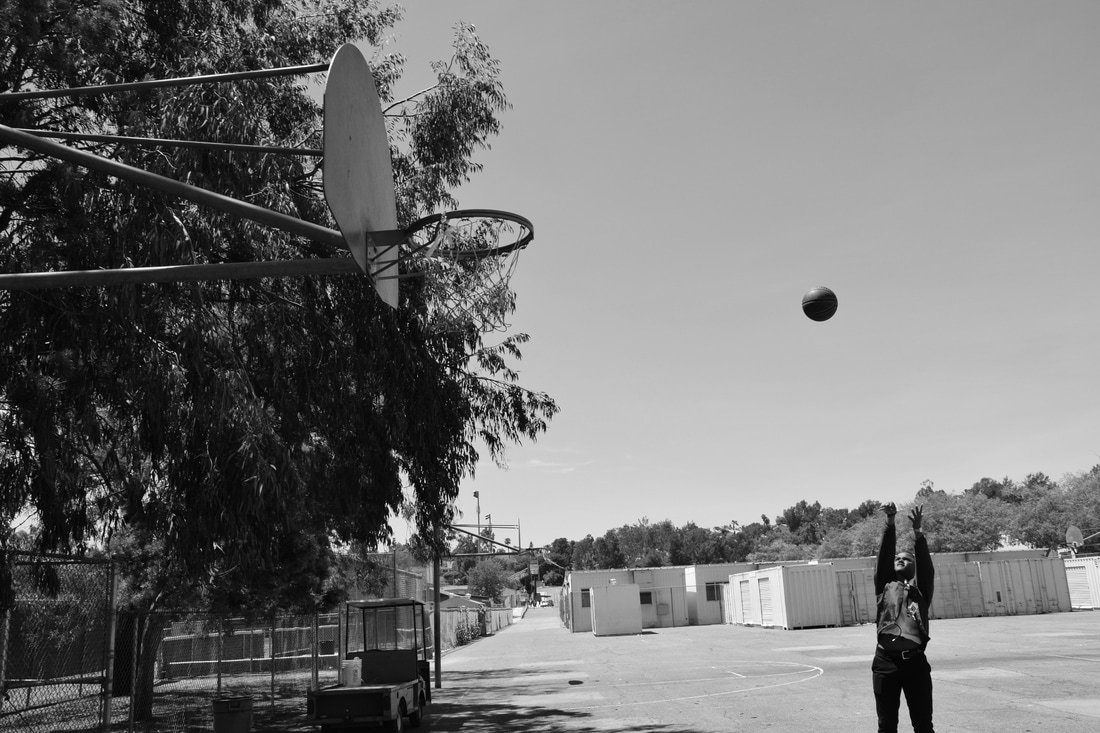
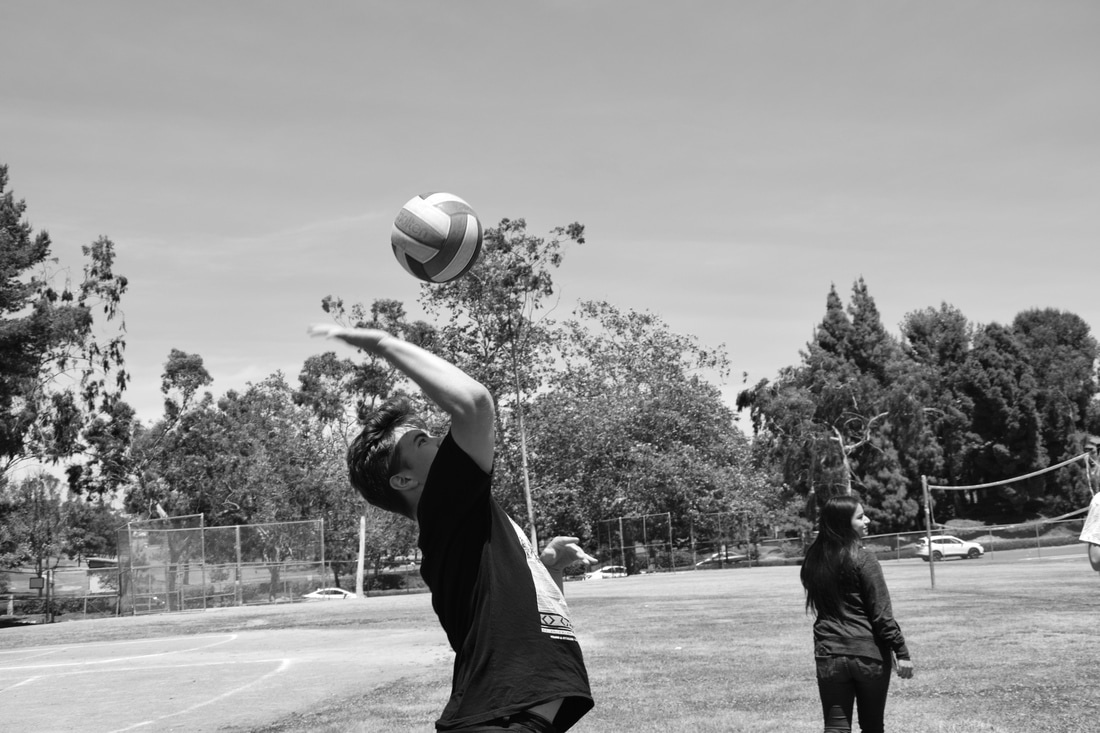
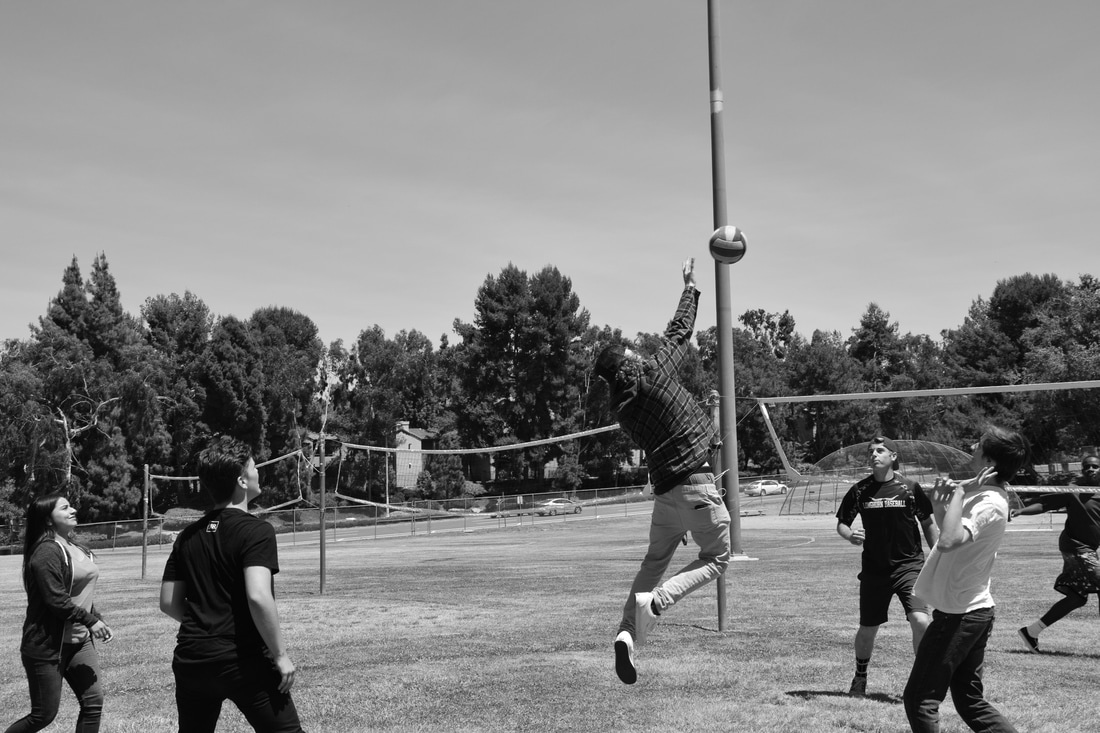
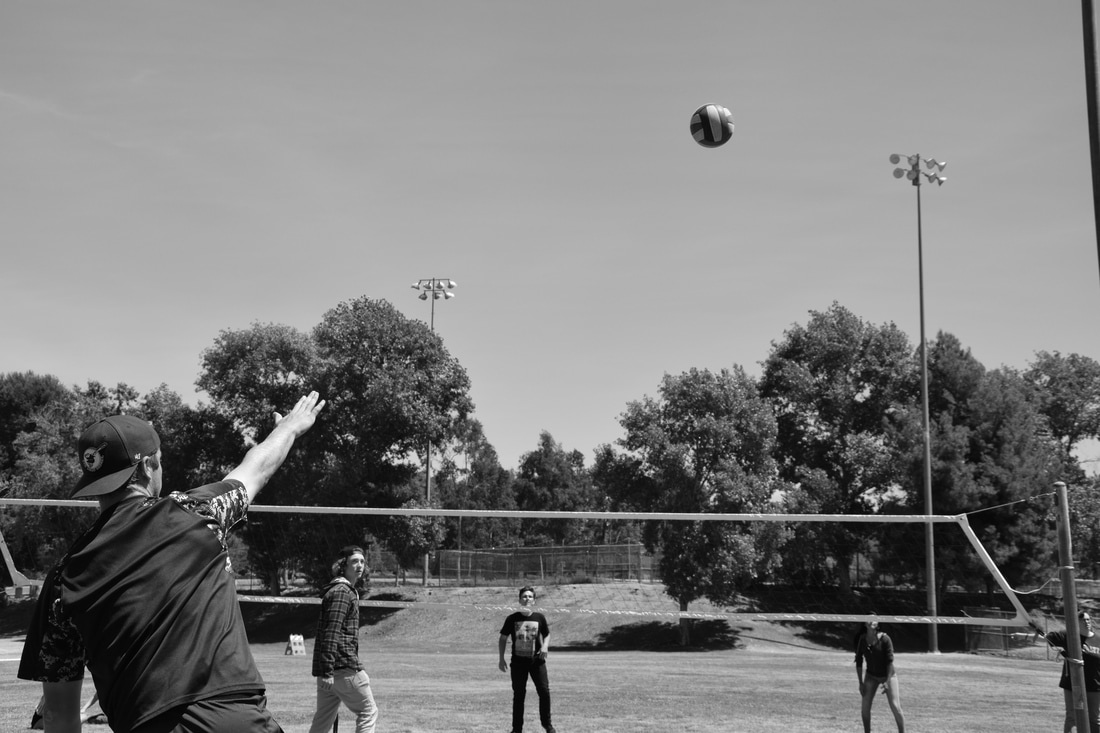
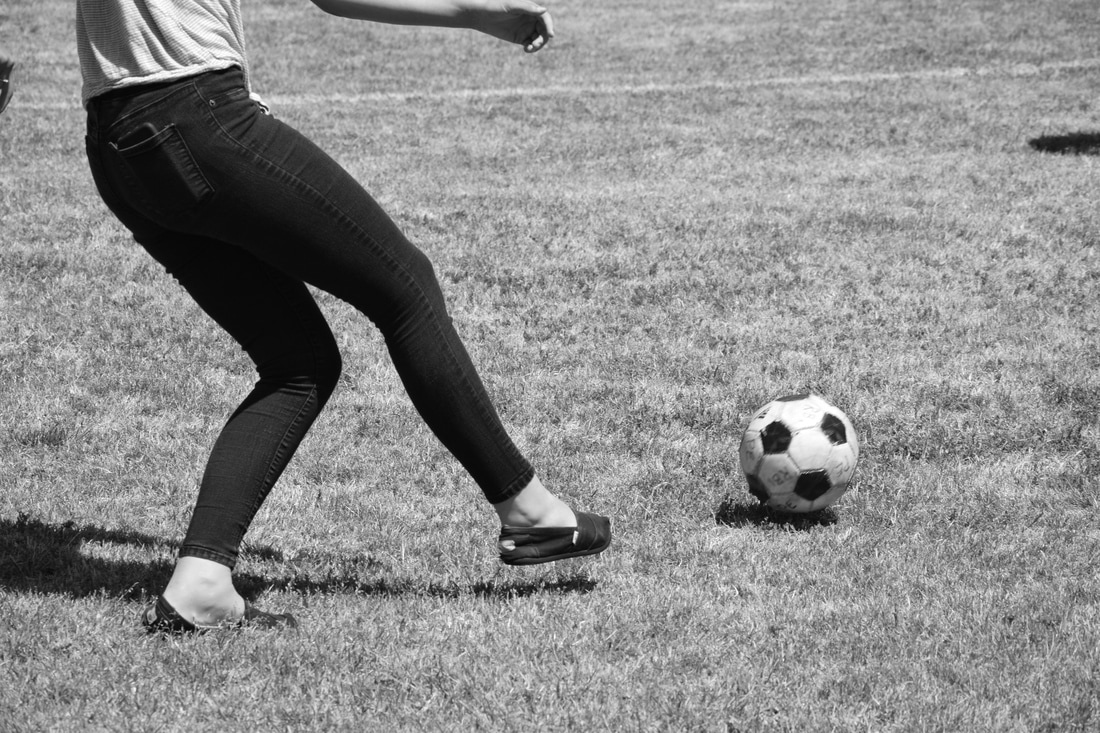
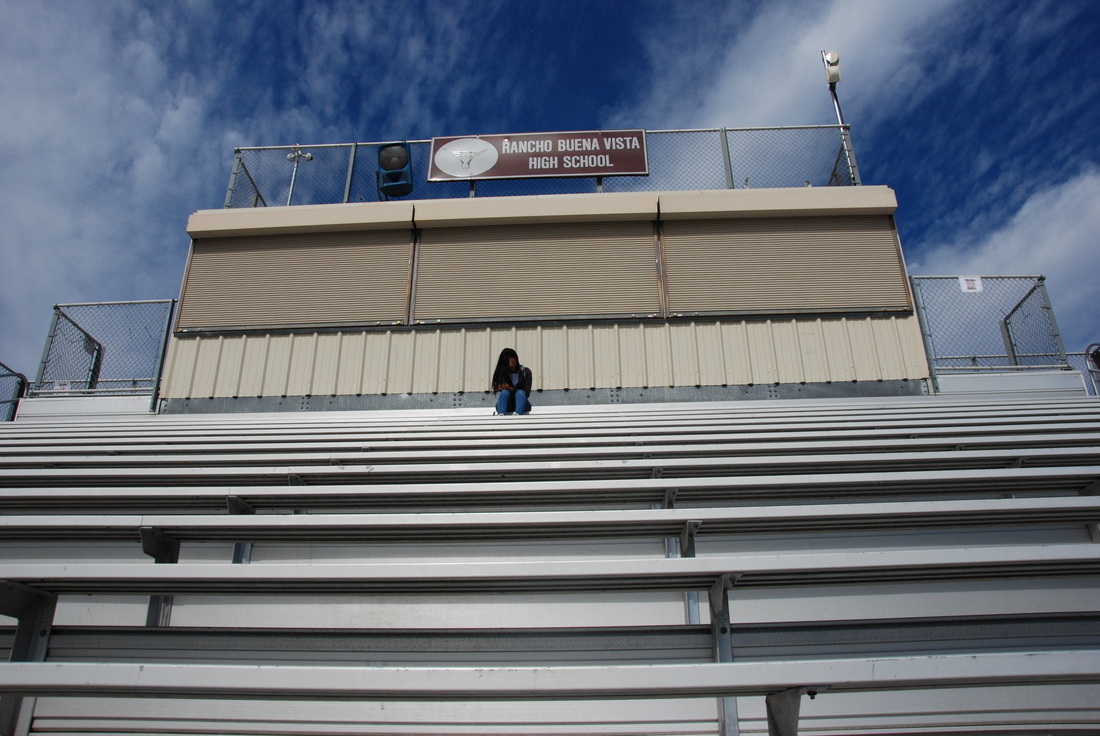
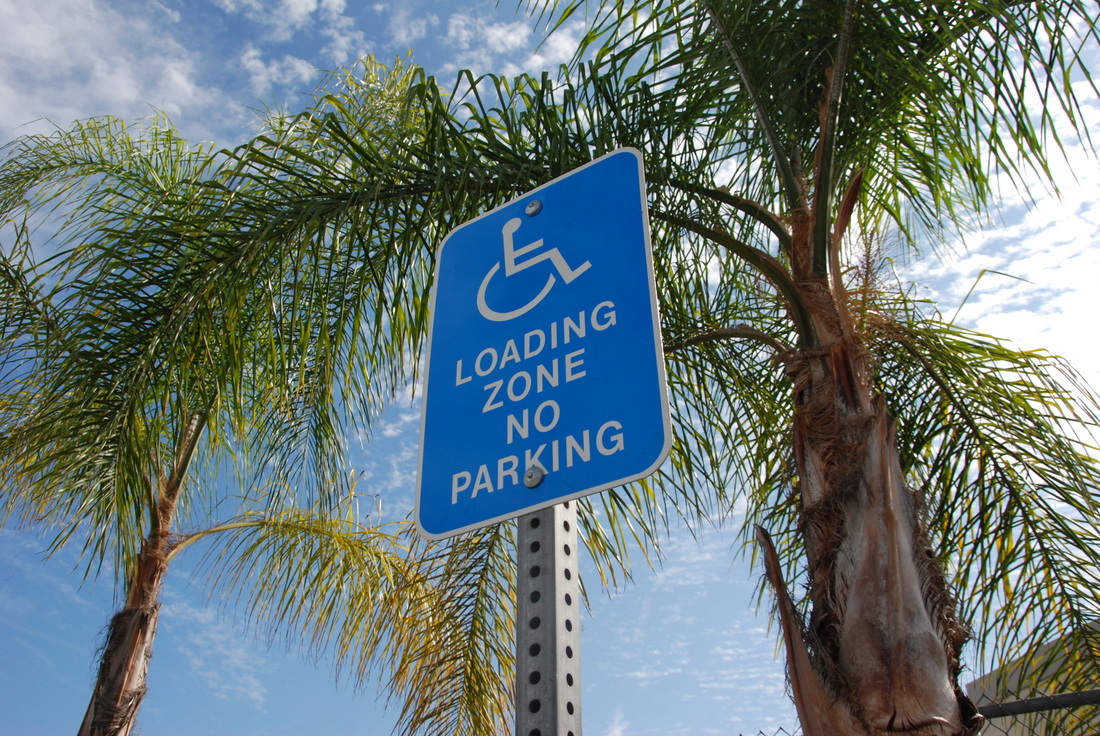
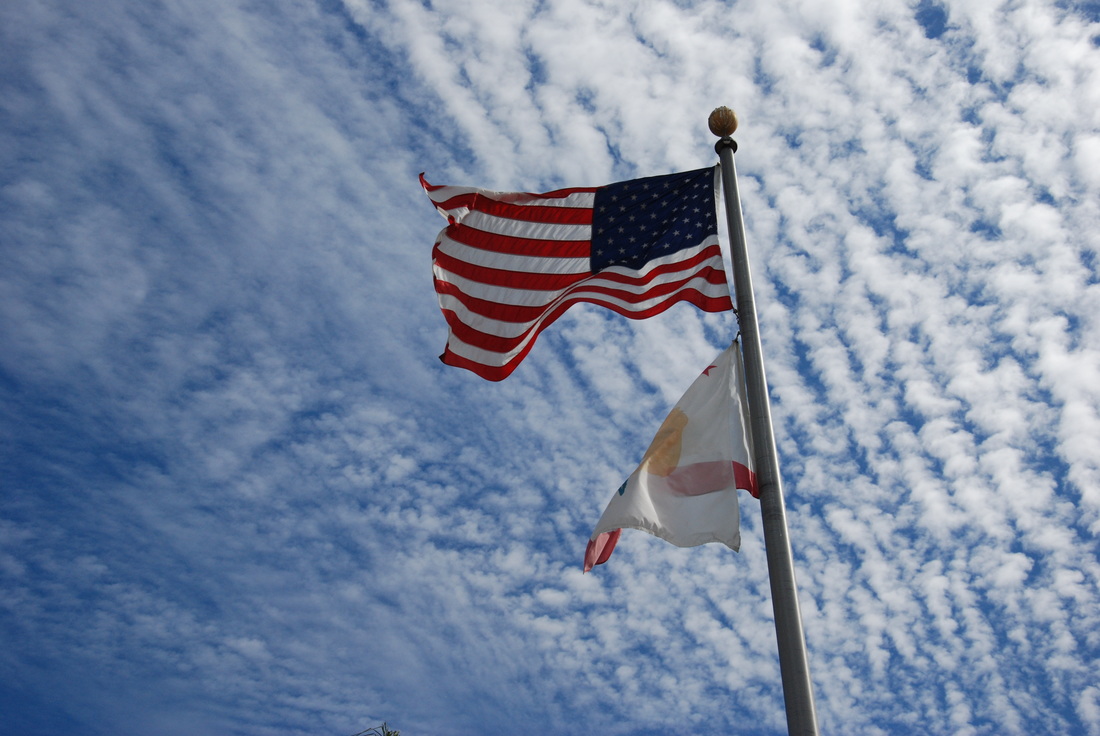
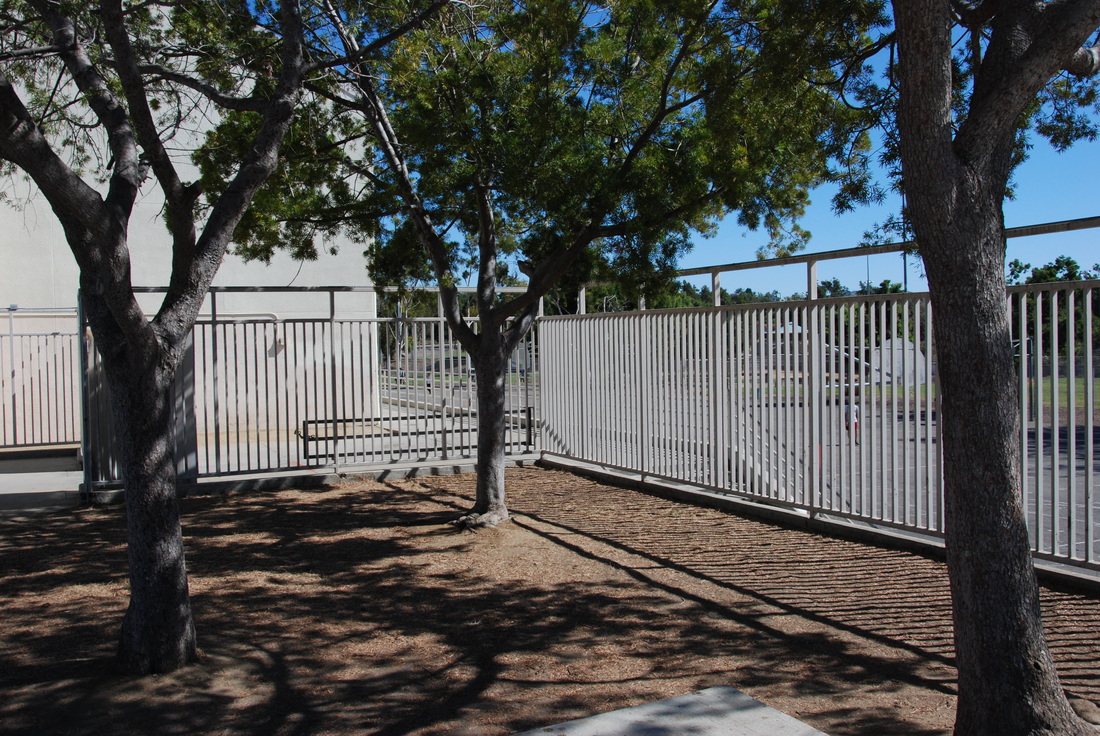
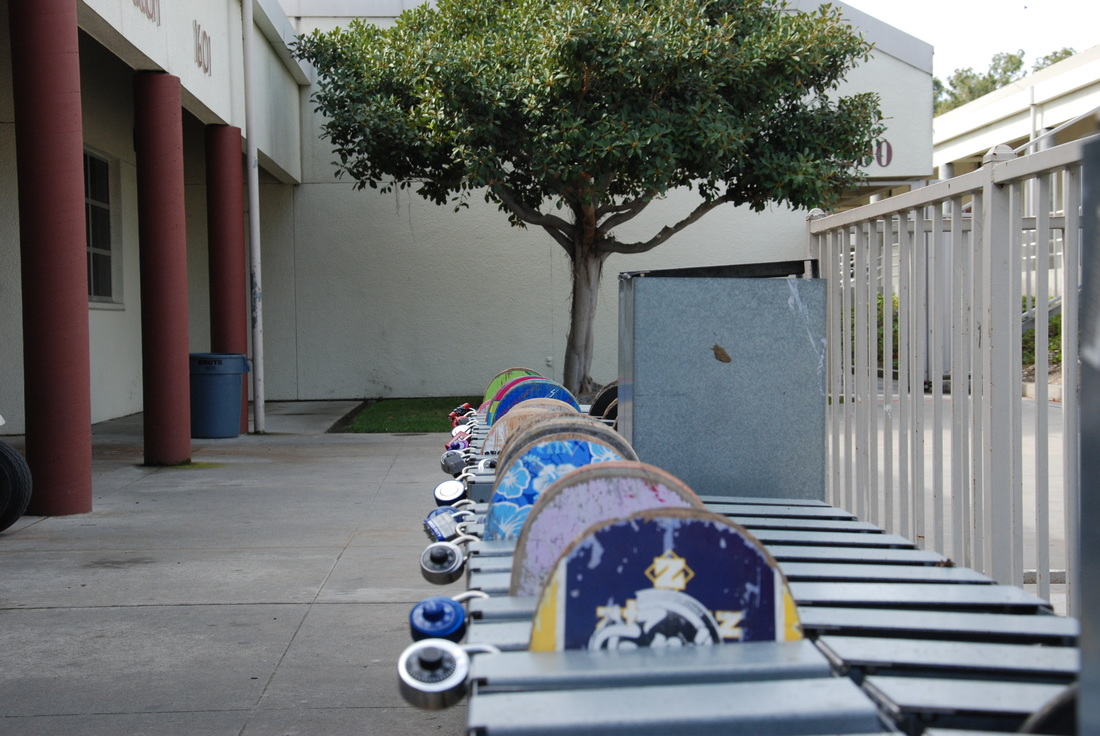
Sports
ISO:400 Aperture: f/8 Shutter Speed: 1/750

ISO:400 Aperture: f/8 Shutter Speed: 1/750
|
ISO:400 Aperture: f/8 Shutter Speed: 1/750
|
ISO:400 Aperture: f/8 Shutter Speed: 1/750
ISO:400 Aperture: f/8 Shutter Speed: 1/750
ISO:400 Aperture: f/8 Shutter Speed: 1/750
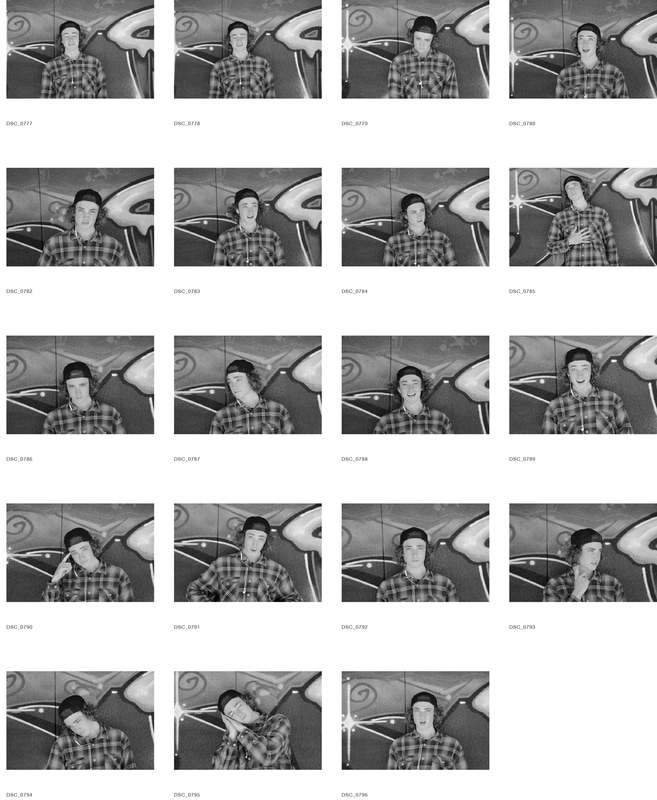
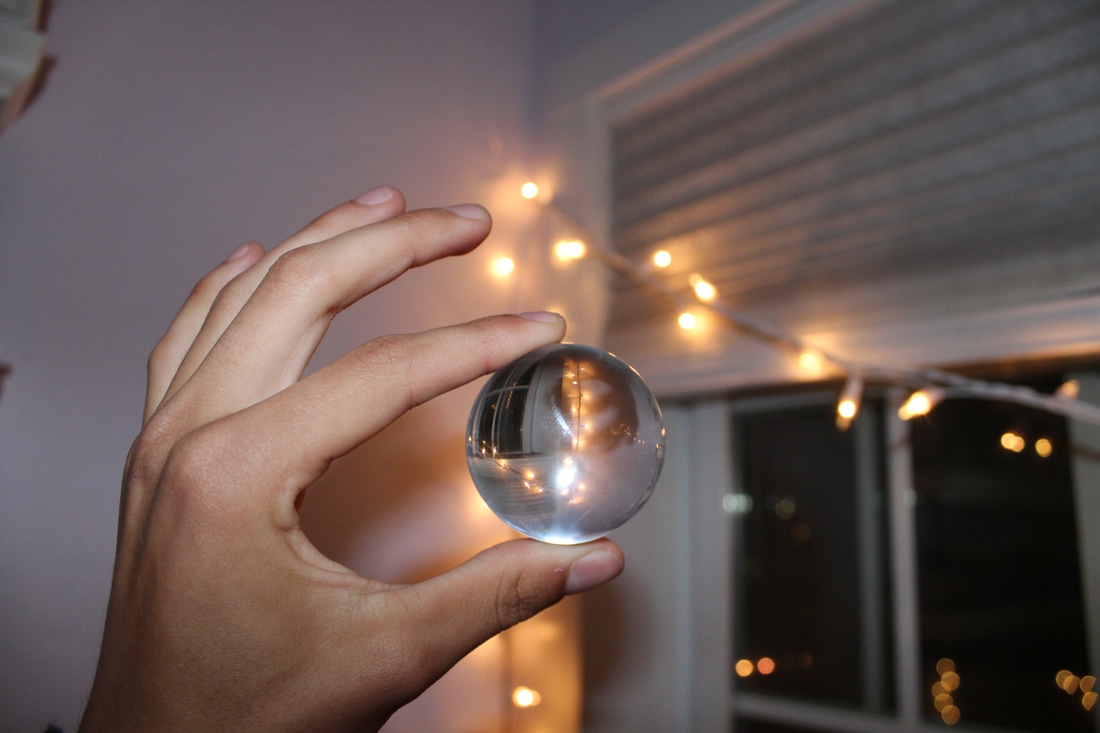
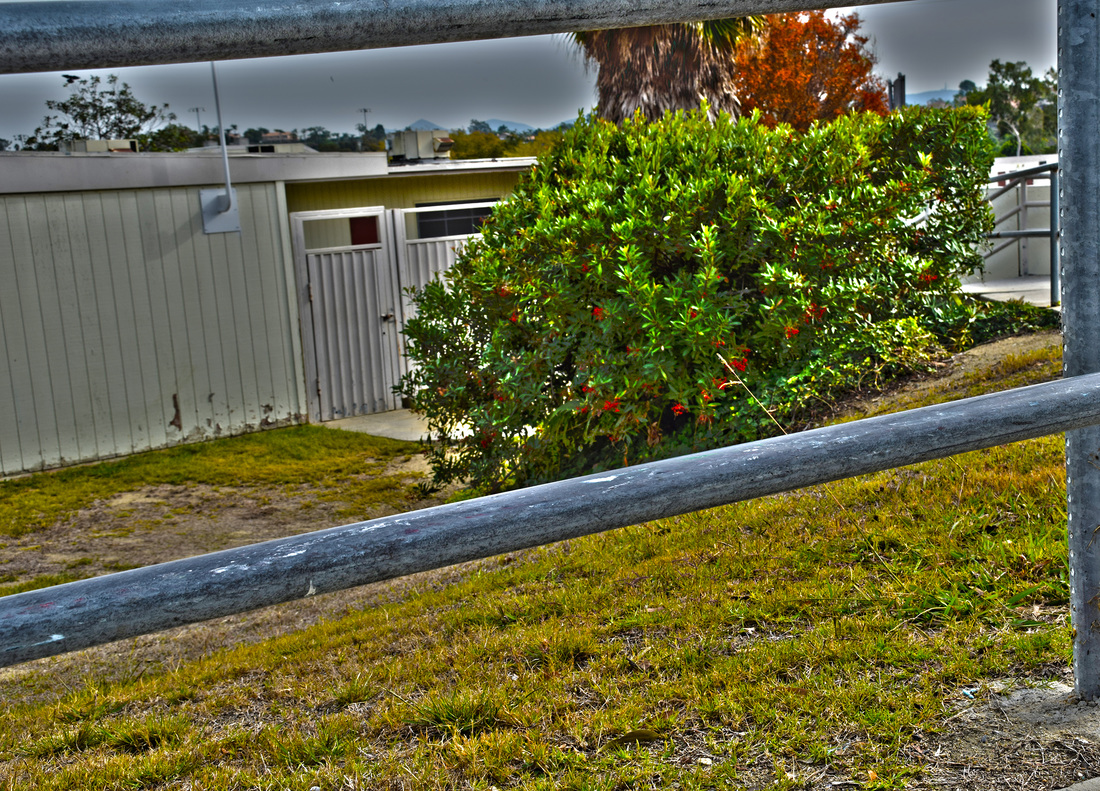
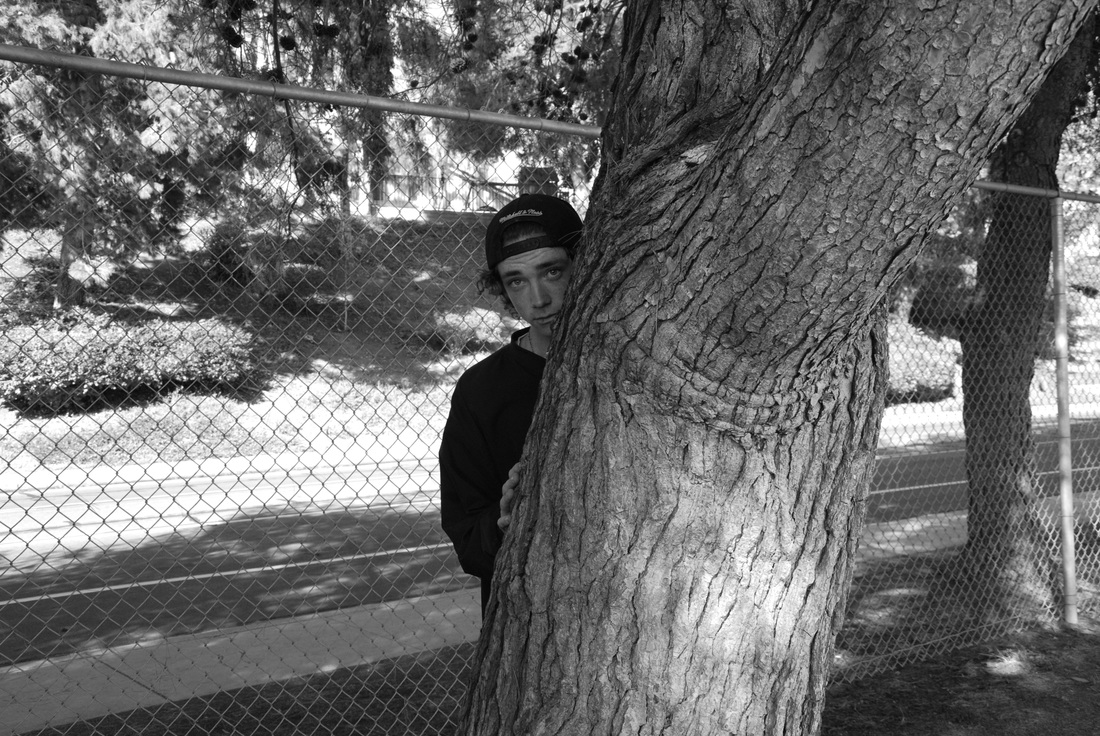
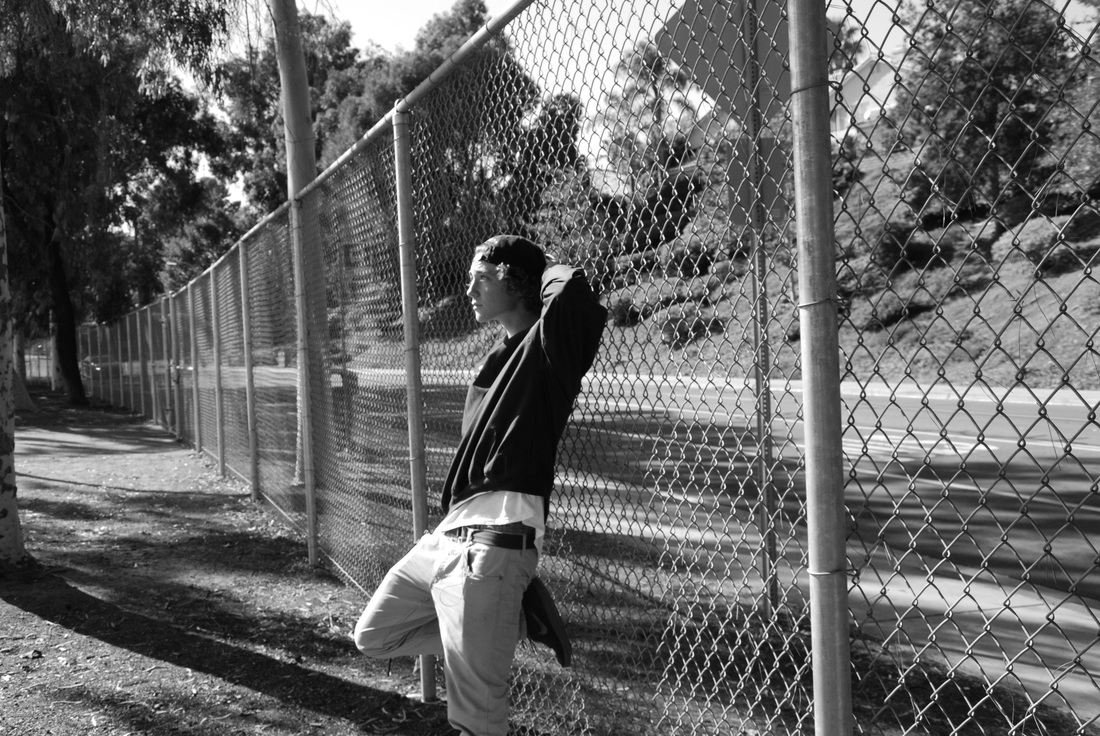
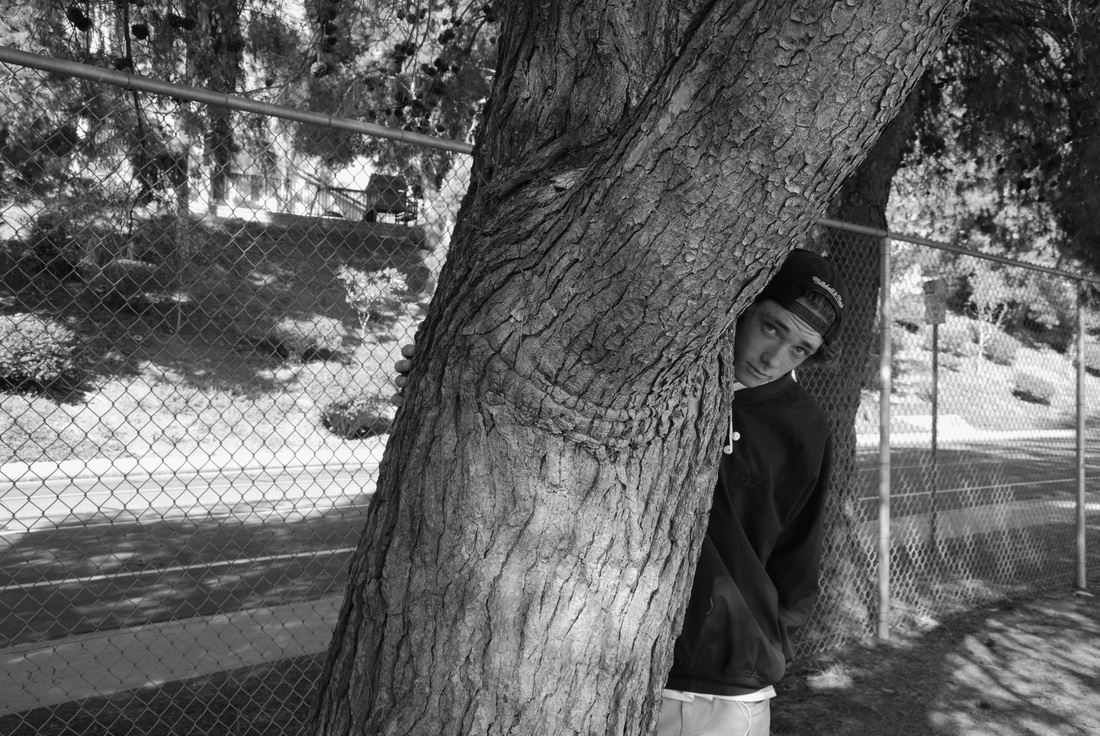
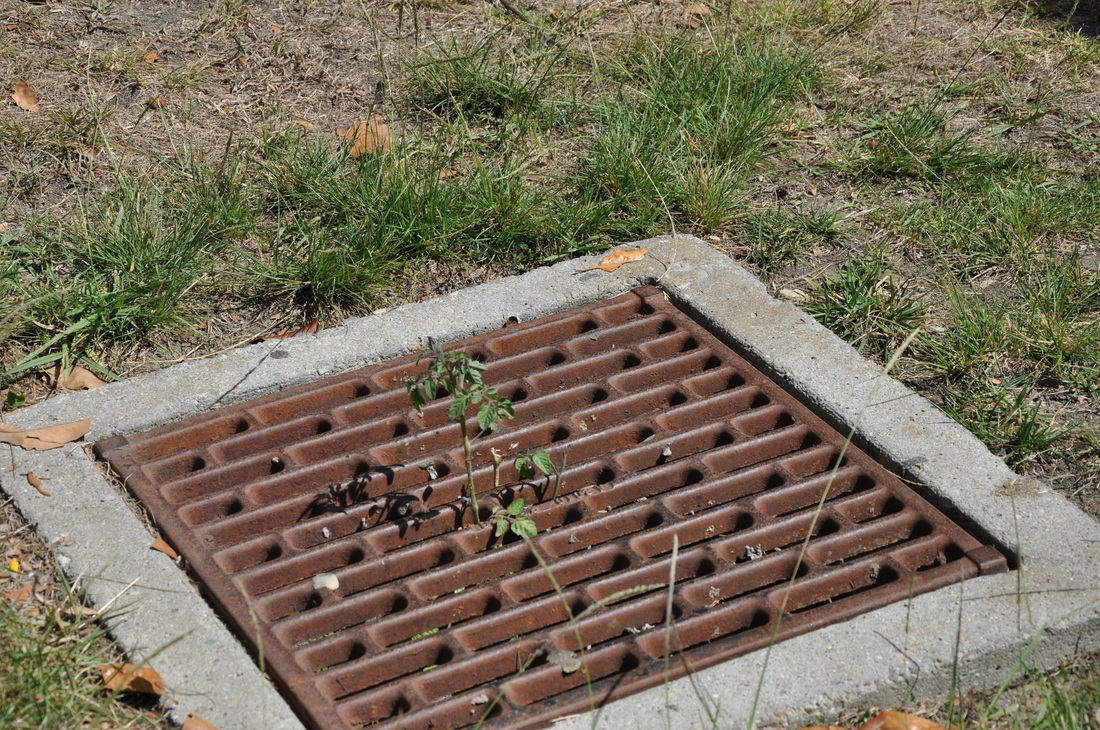
Mood
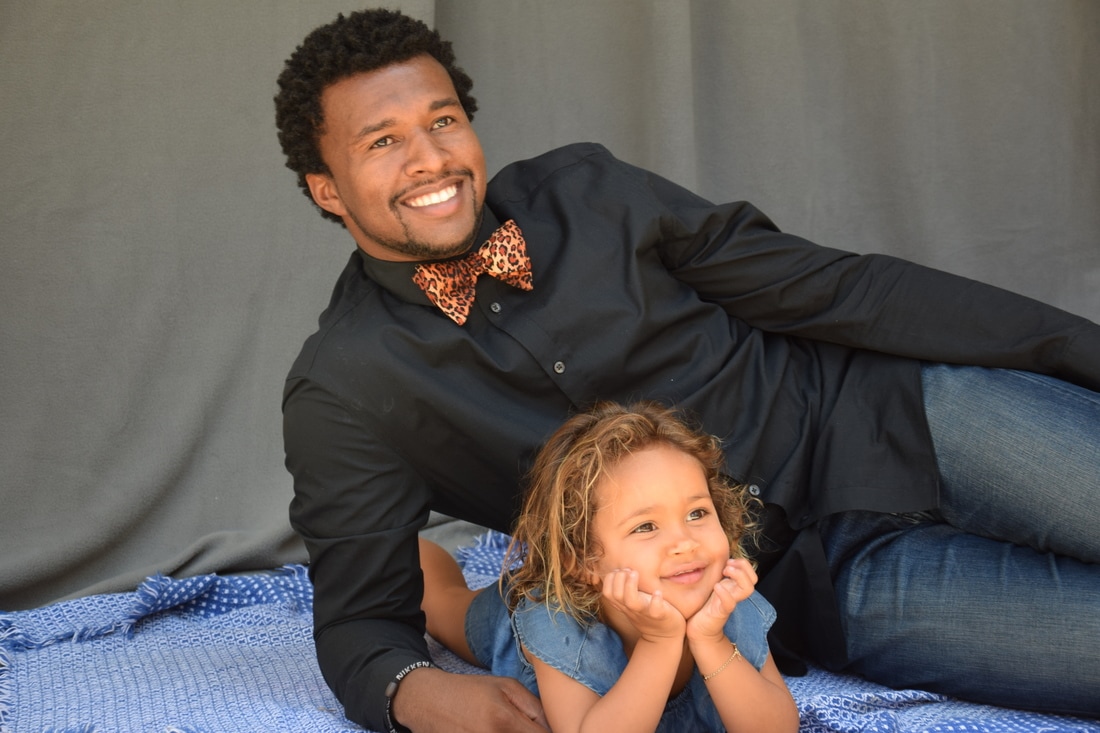
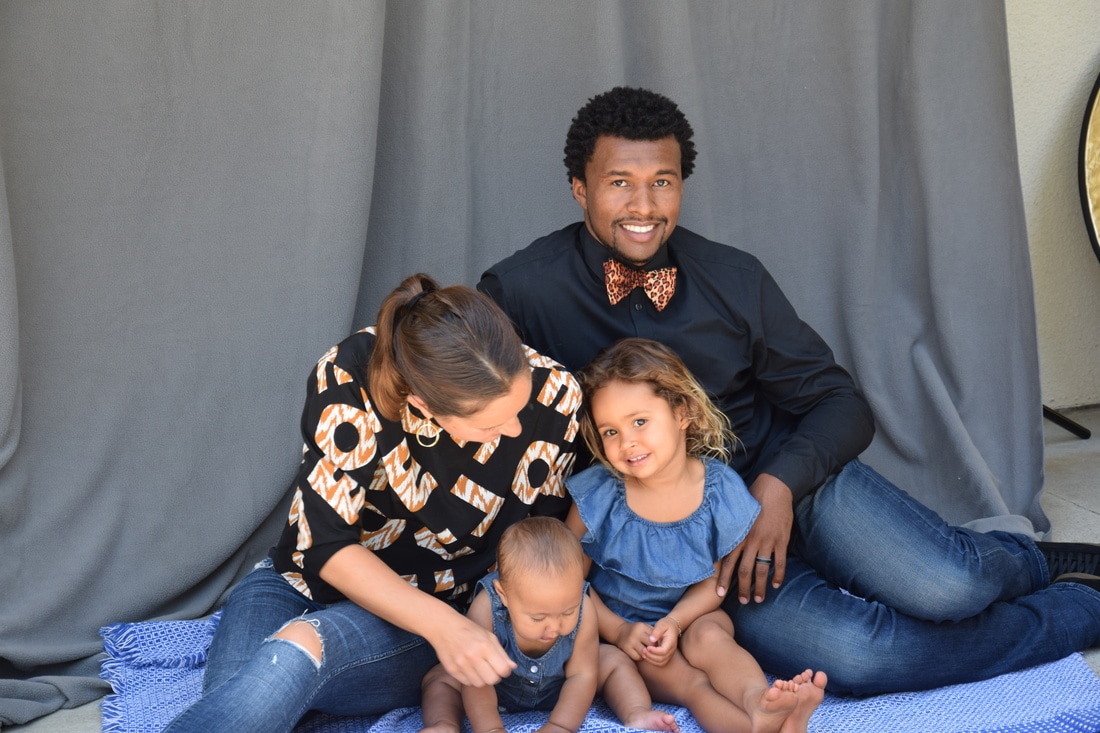
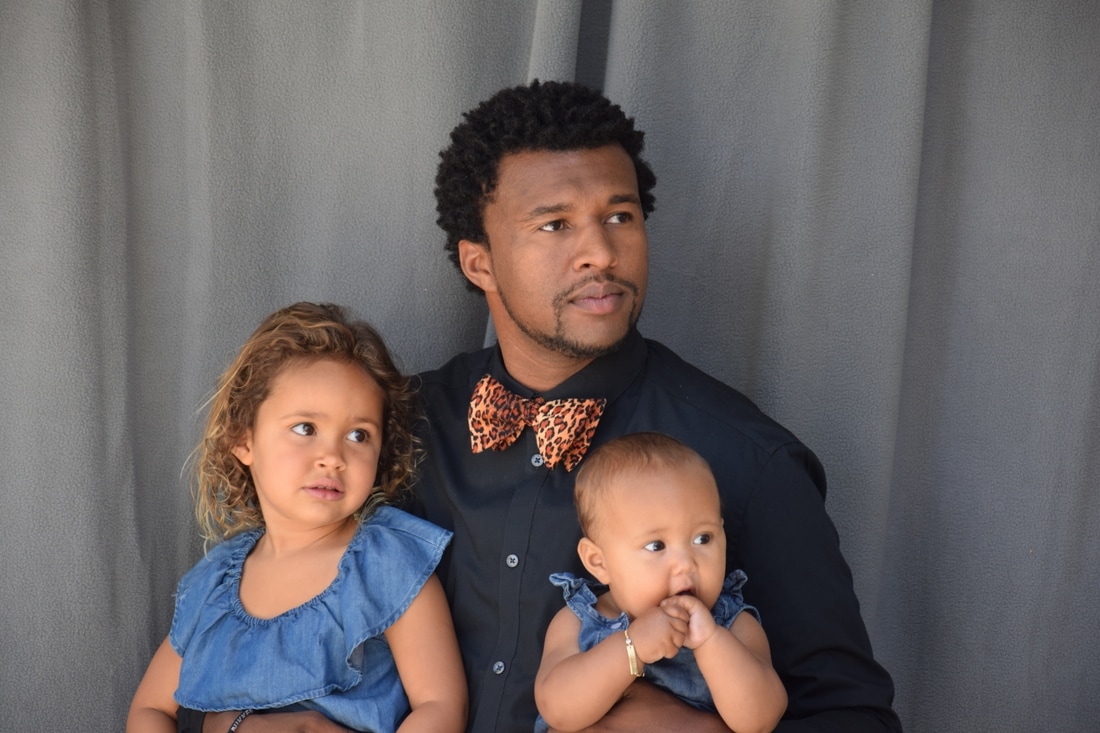
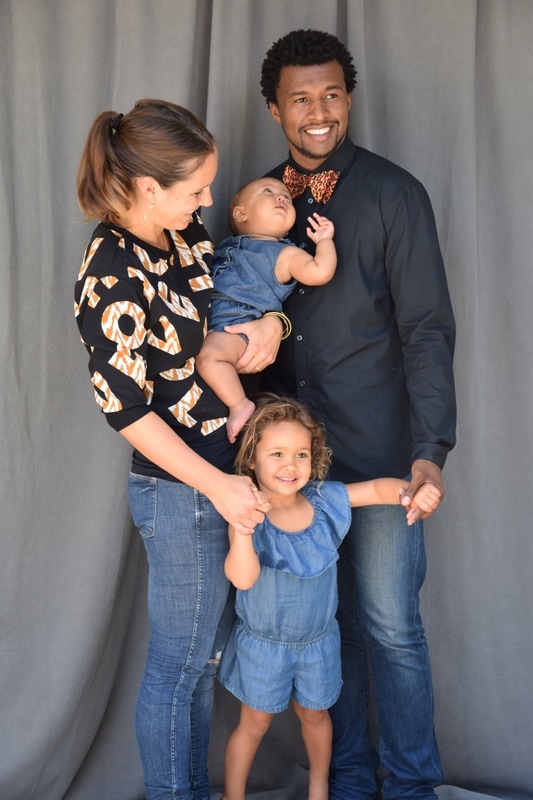
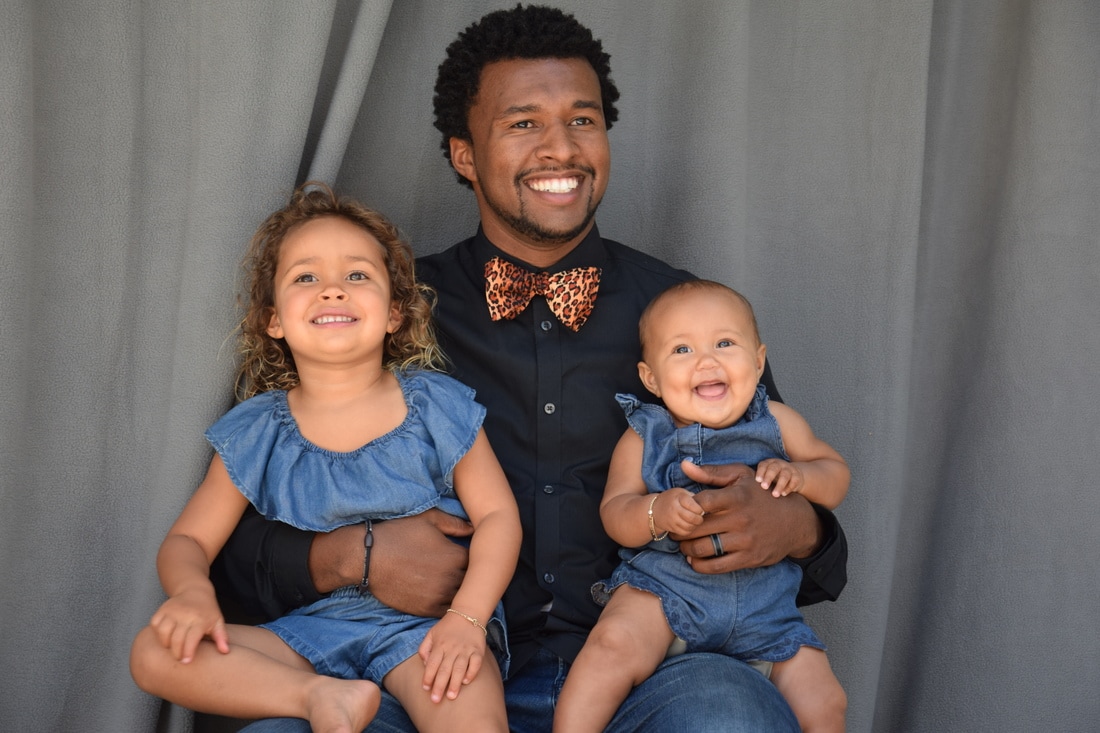
Family
5/6
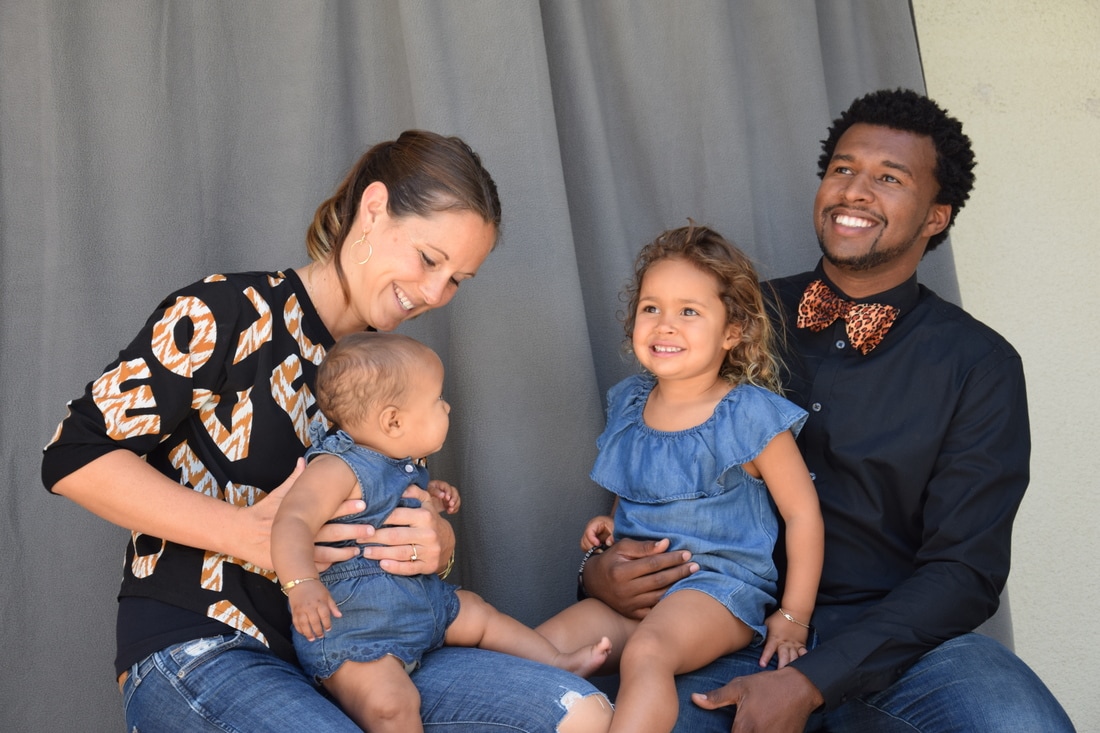
ISO 400 Aperture: f/5.6 Shutter Speed: 1/125
ISO 400 Aperture: f/5.6 Shutter Speed: 1/125
ISO 400 Aperture: f/5.6 Shutter Speed: 1/125
ISO 400 Aperture: f/5.6 Shutter Speed: 1/125
ISO 400 Aperture: f/5.6 Shutter Speed: 1/125
ISO 400 Aperture: f/5.6 Shutter Speed: 1/125
Del Mar Fair
Composition Project
4/19

Lil Kodak they don't like to see you winnin'
They wanna see you in the penitentiary
I need me a lil' baby who gon' listen
Girl I don't wanna be the one you iggin'
My mama told me, "Boy make a decision"
Right now I gotta keep a tunnel vision
How I created my image was with a lot of layer make to make the images look to sort of blend into the tunnel. The eyes, and the picture of connar are mine but the tunnel and the jail cell are off of google. I then made the whole picture black and white to give it a darker look, I made a duplicate layer of the eye and flipped it so it looked like they were on separate sides but are the sane exact eye. I changed the opacity on the cell door so it looks like he is almost choosing and looking to what path he wants to go down.
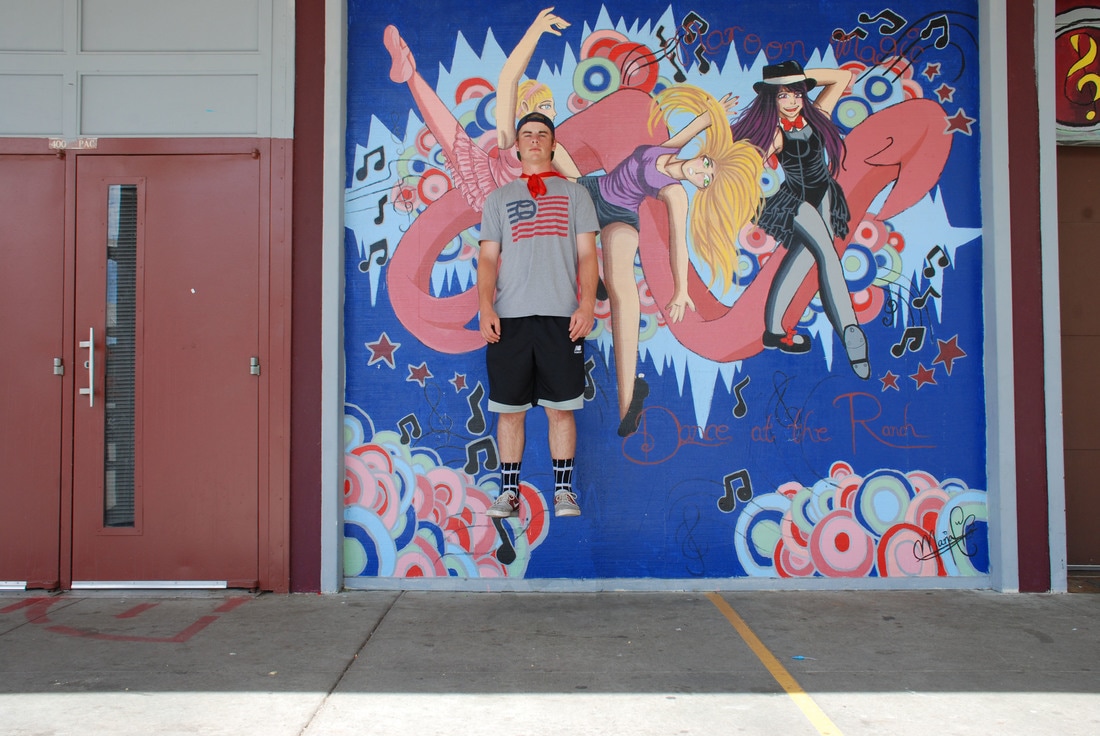
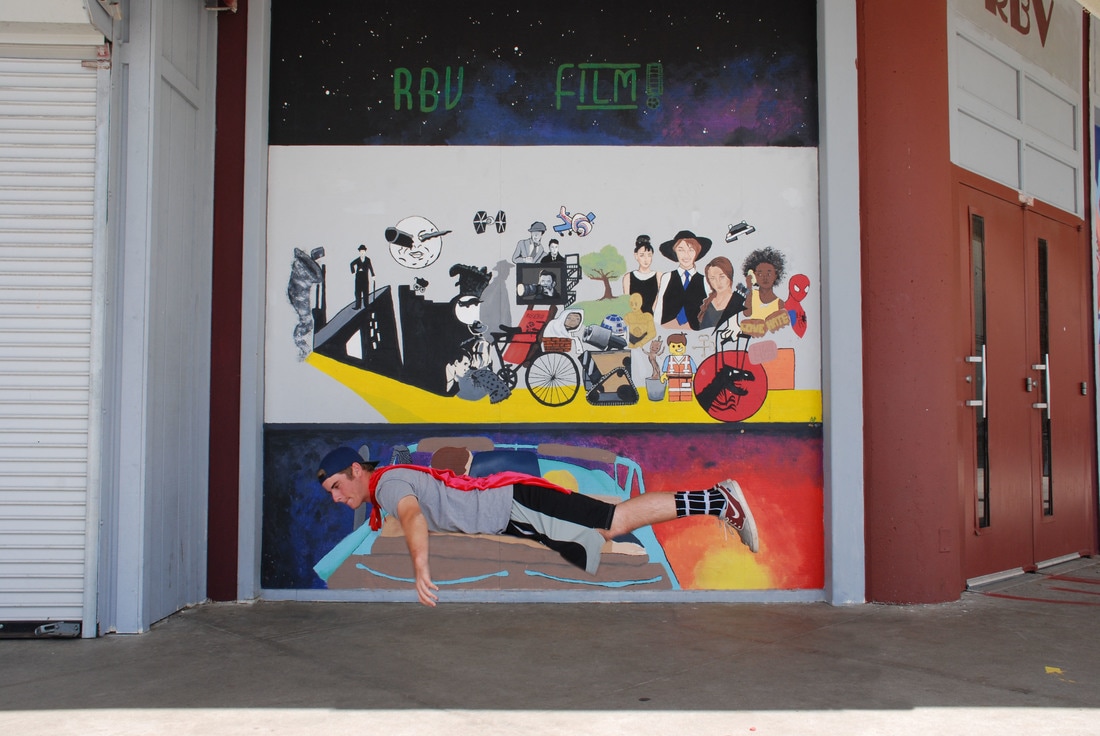
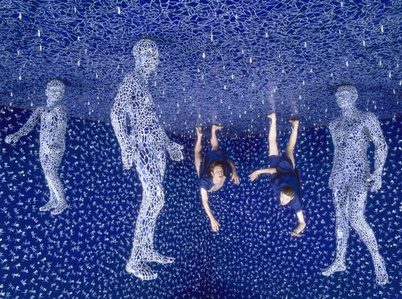
Flying/Invisible
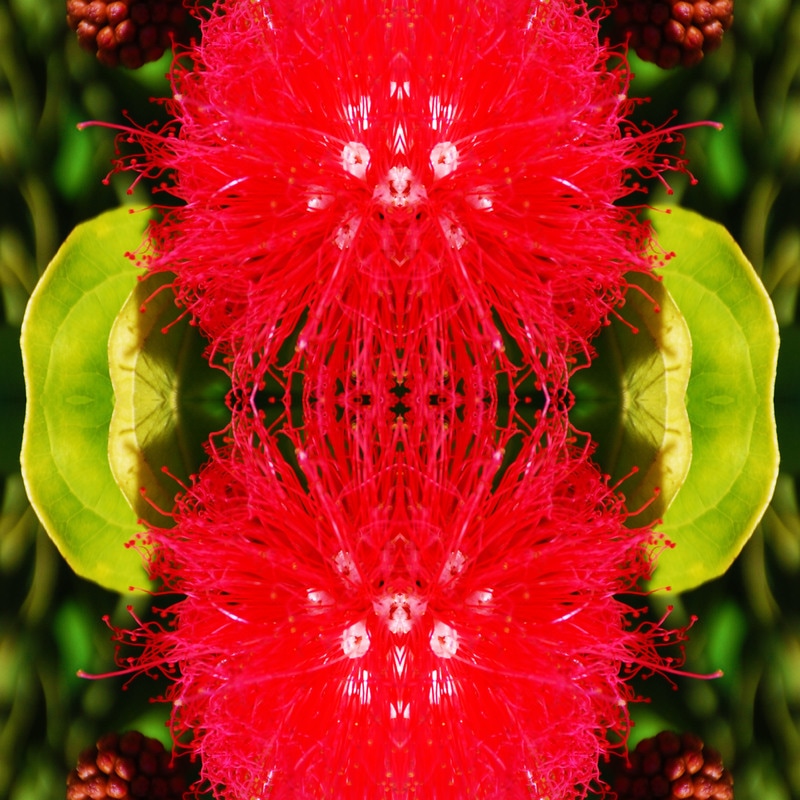
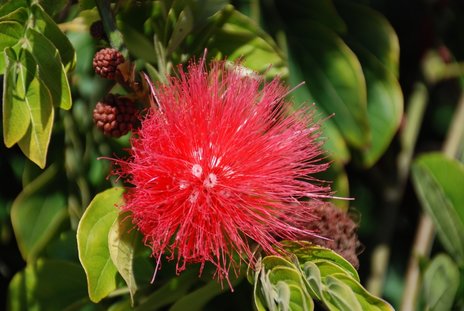
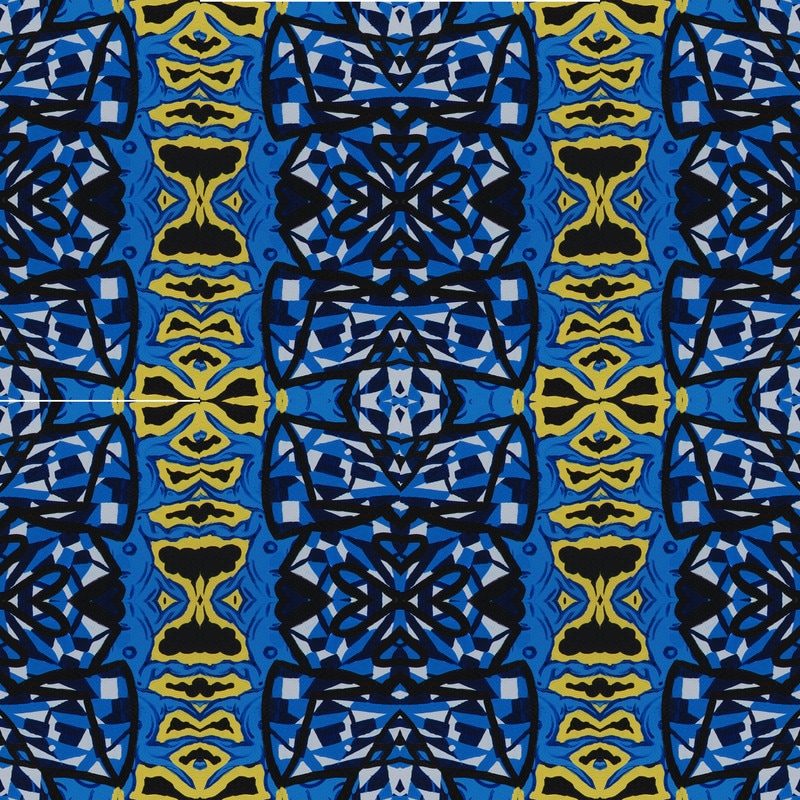
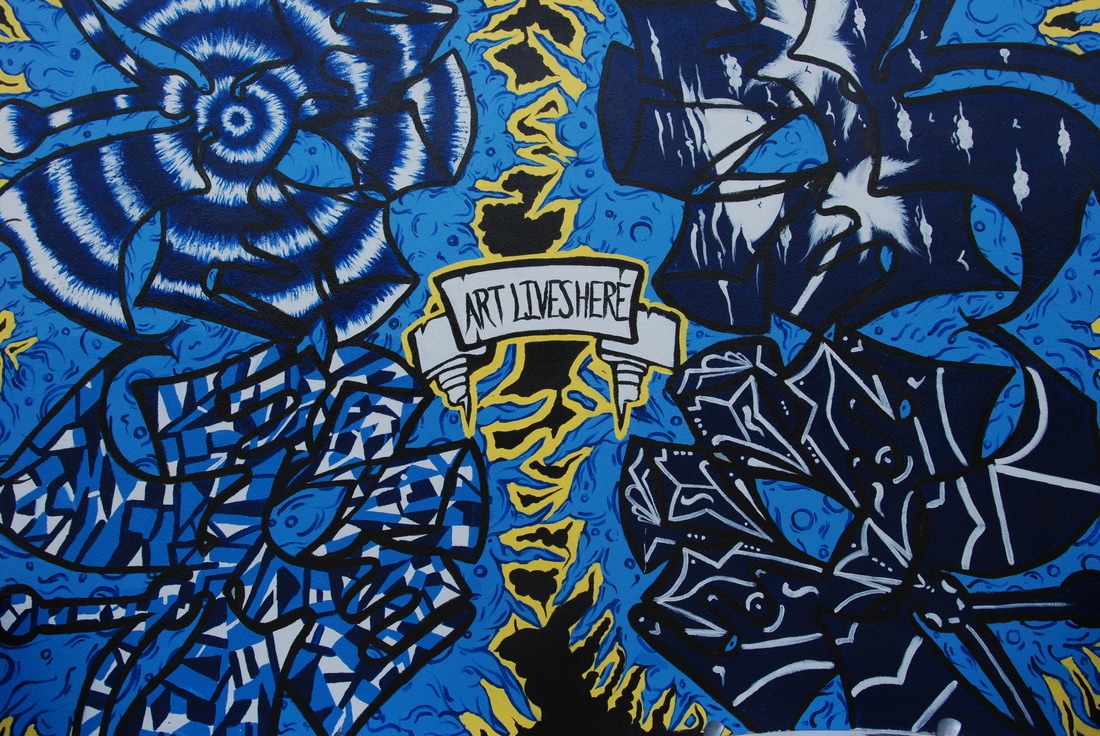
Tessellations & Mandelas
3/10
|
|
|
|
|
|
|

|
|
|

|

|
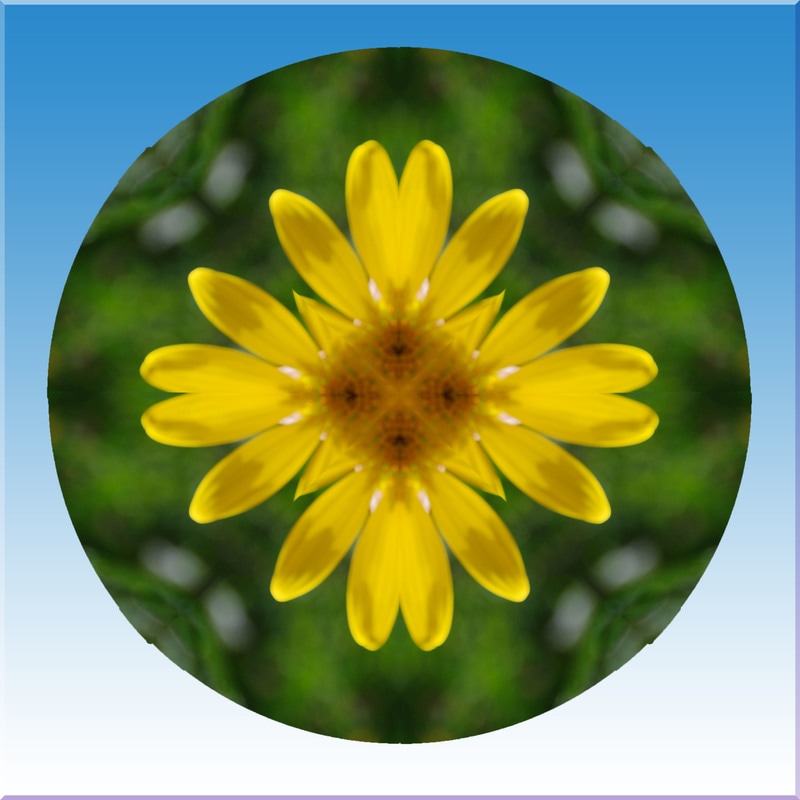
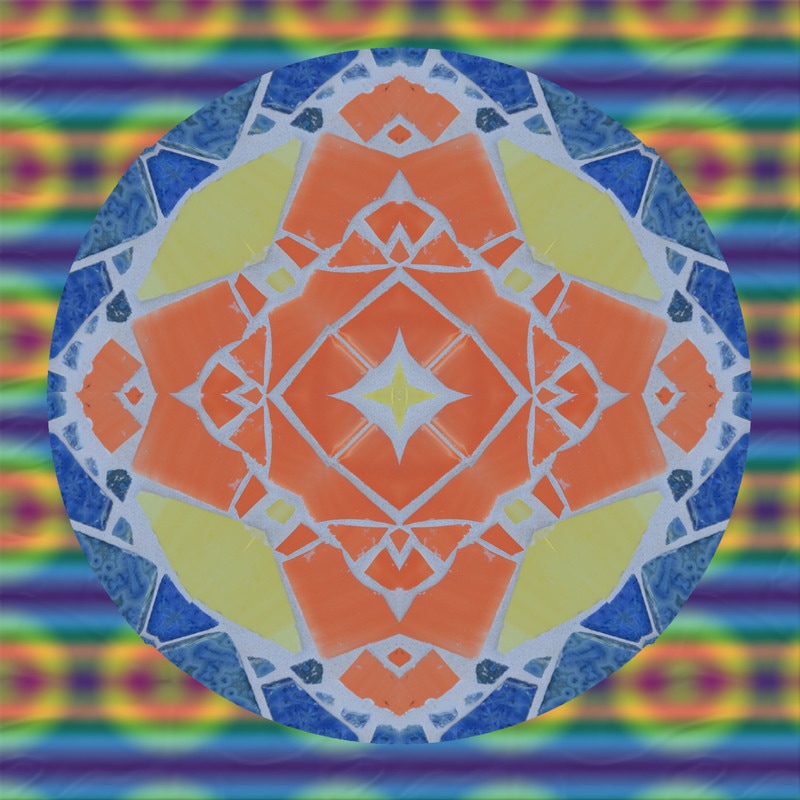
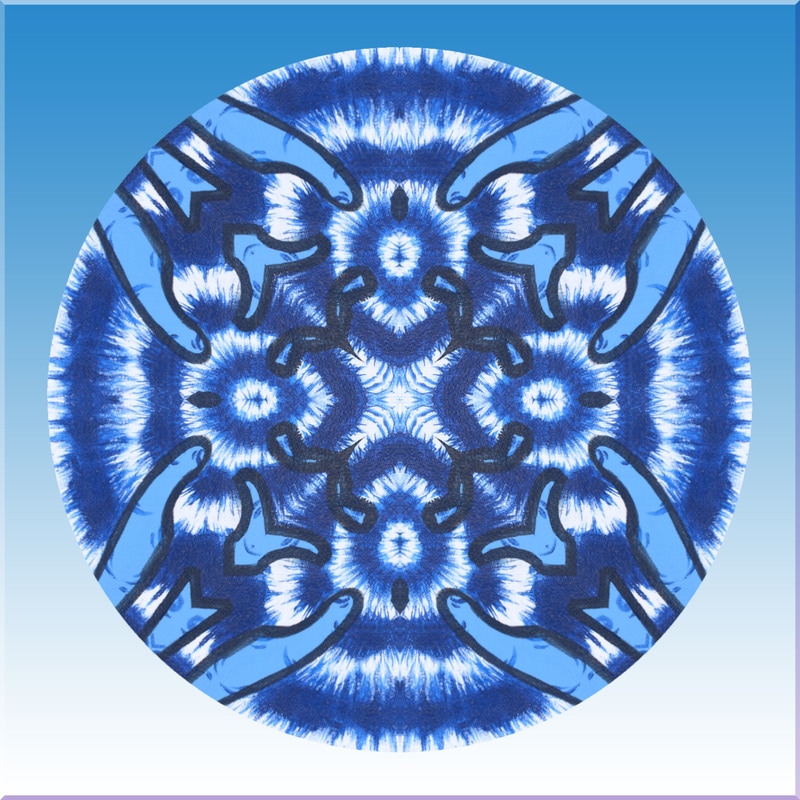
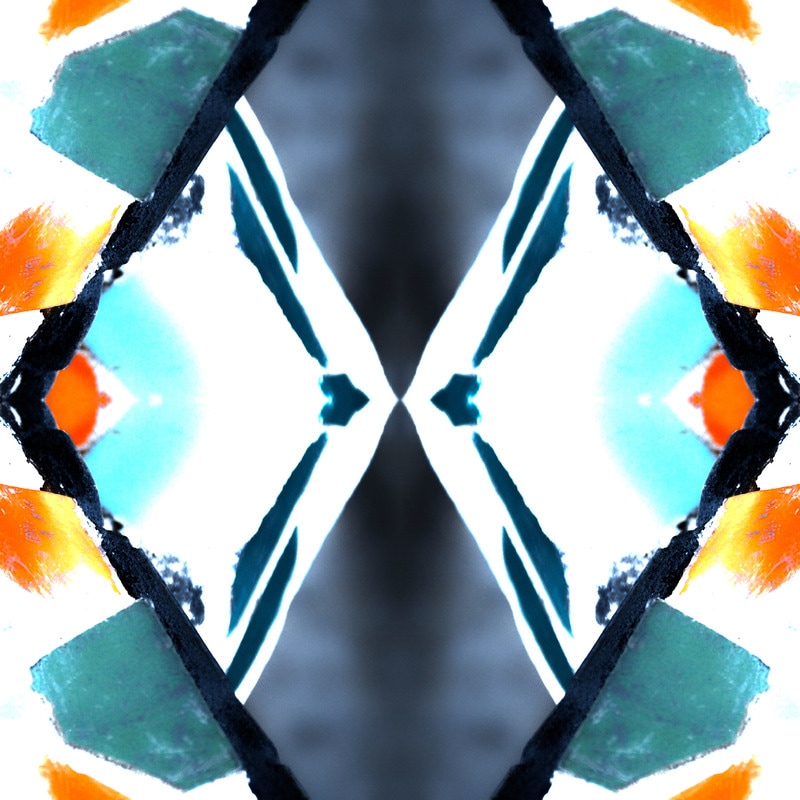
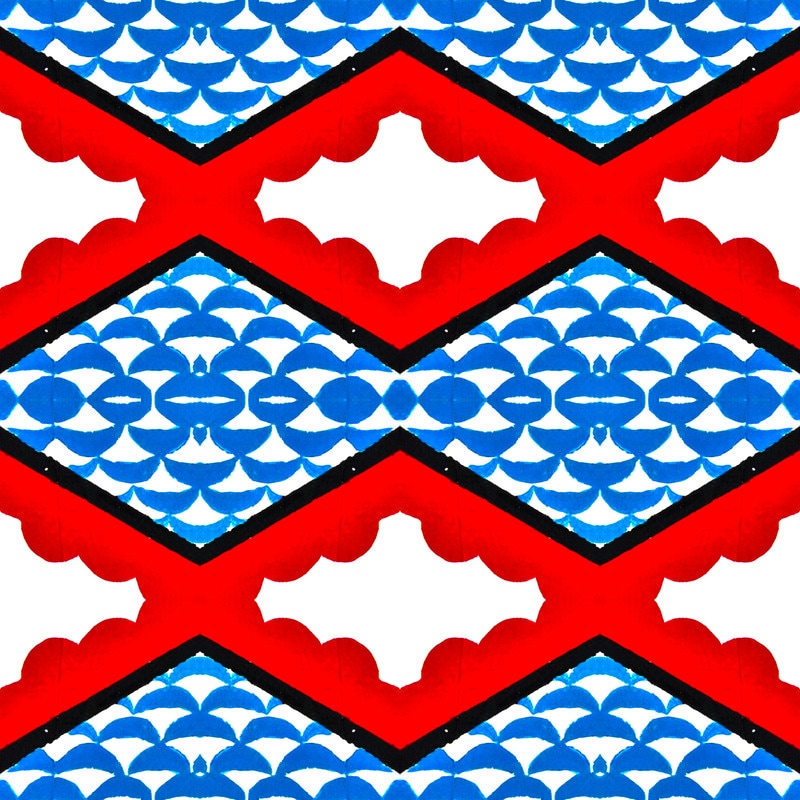
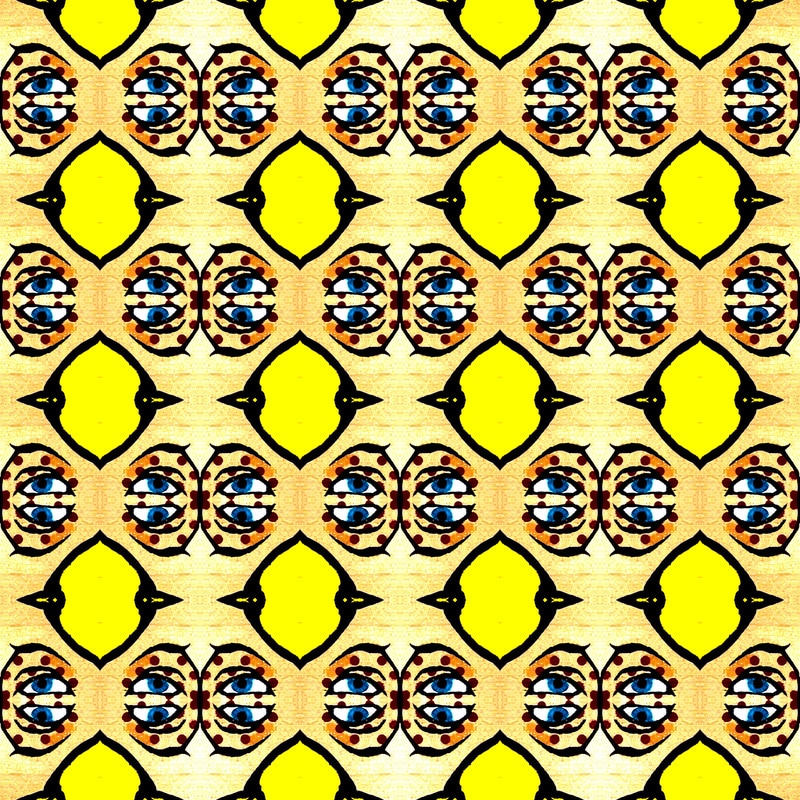
1) A Mandela in my own words is an abstract form of computer art using the same segment of a picture over and over using a number of flips and rotations in photoshop.
2)The steps that I took to create my tessellation was to create a template in photoshop using guidelines. The next step was to crop an image i want to the right size to fit inside of the template. Then you need to start rotating the images so it fits into the shape you need it to. After you finish you merge all of the layers together and do any edits you would like to make it look better (brightness, saturation etc).
3)What I liked the most about this is how I made images that look nothing like the tessellation look completely different. My favorite image out of them is the eye just for how unique the image looks.
4) I struggled with remembering the steps on how to make the tessellation, and having the patience for the 1x1.
5) If i had to do it over again I would have chose better and more unique pictures to give the images a different result.
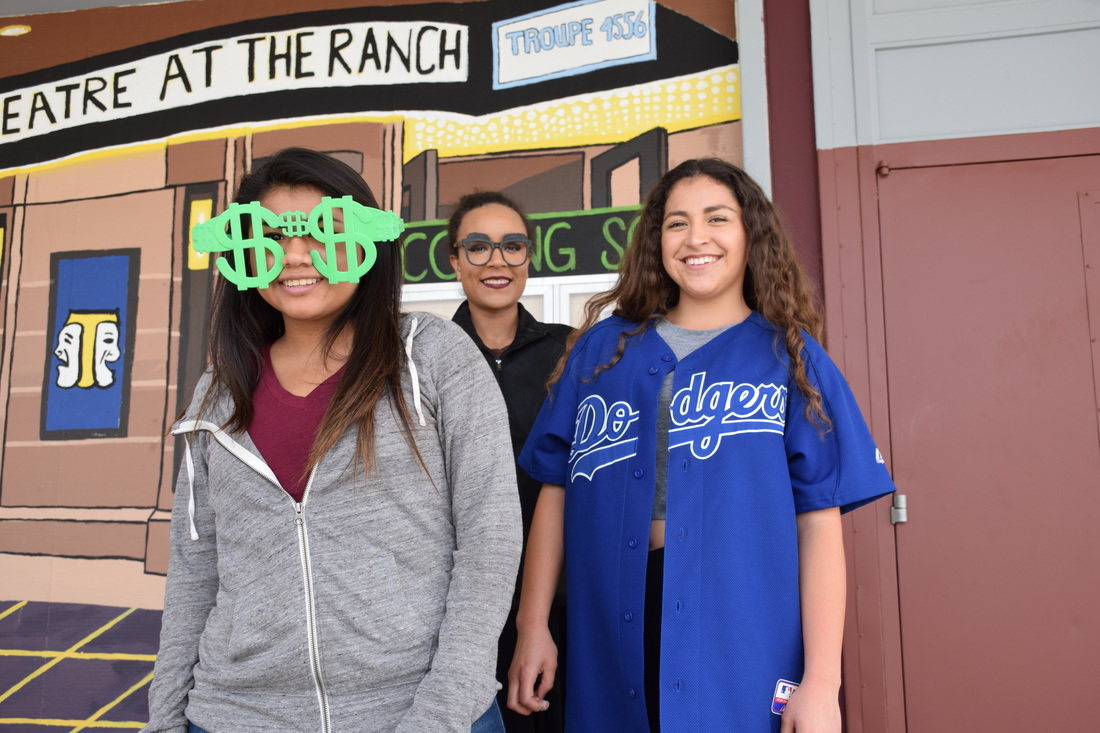
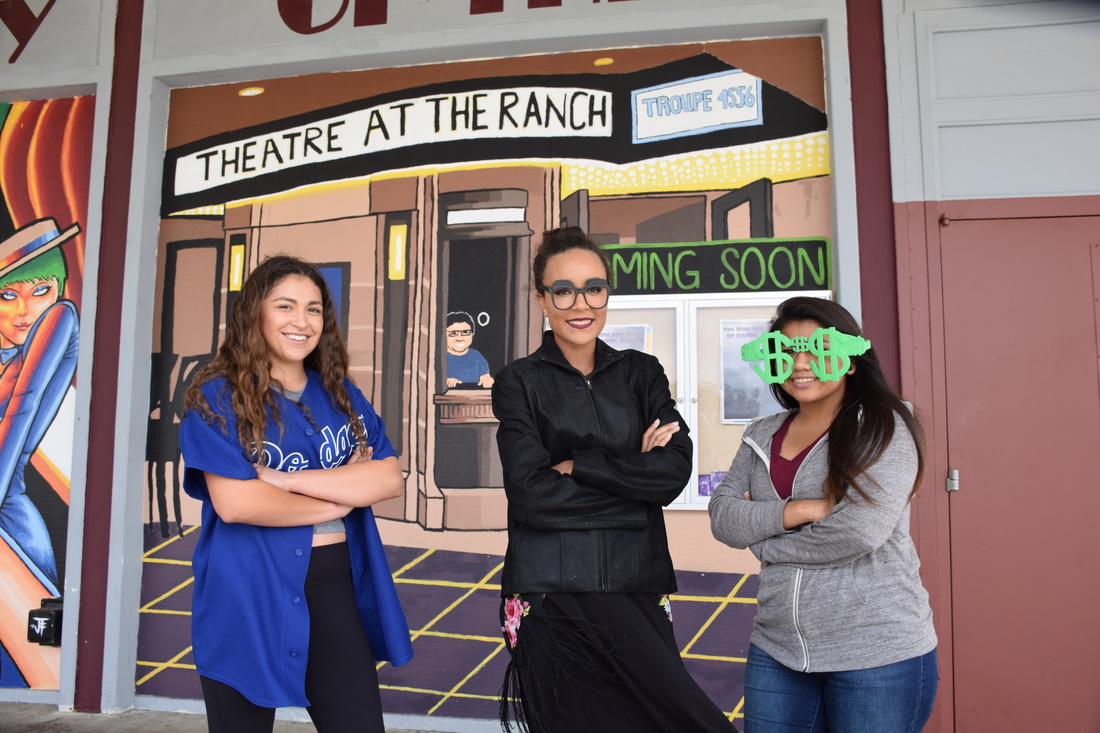
Portait
2/22

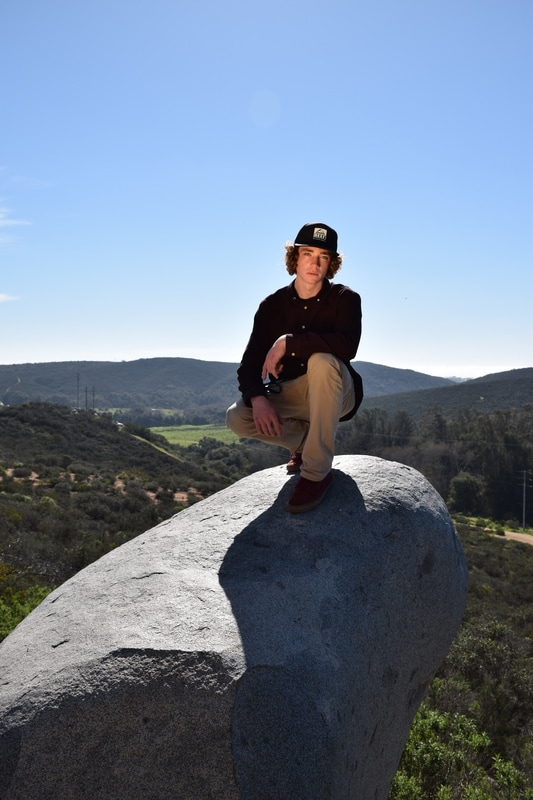
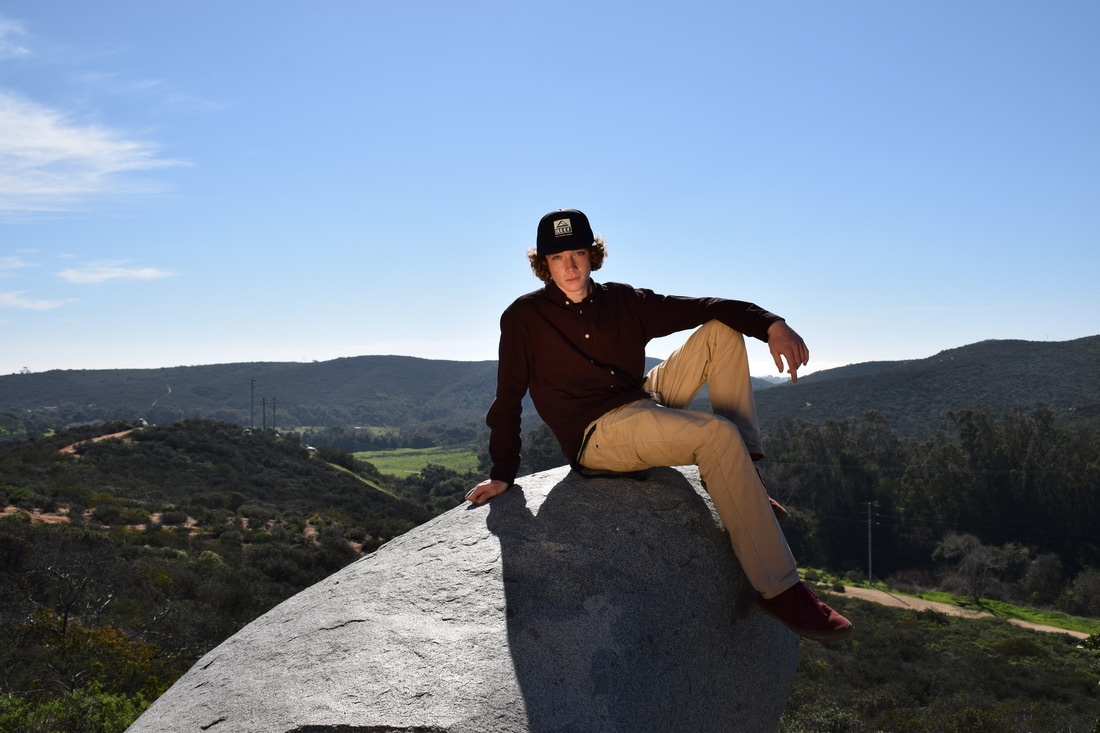
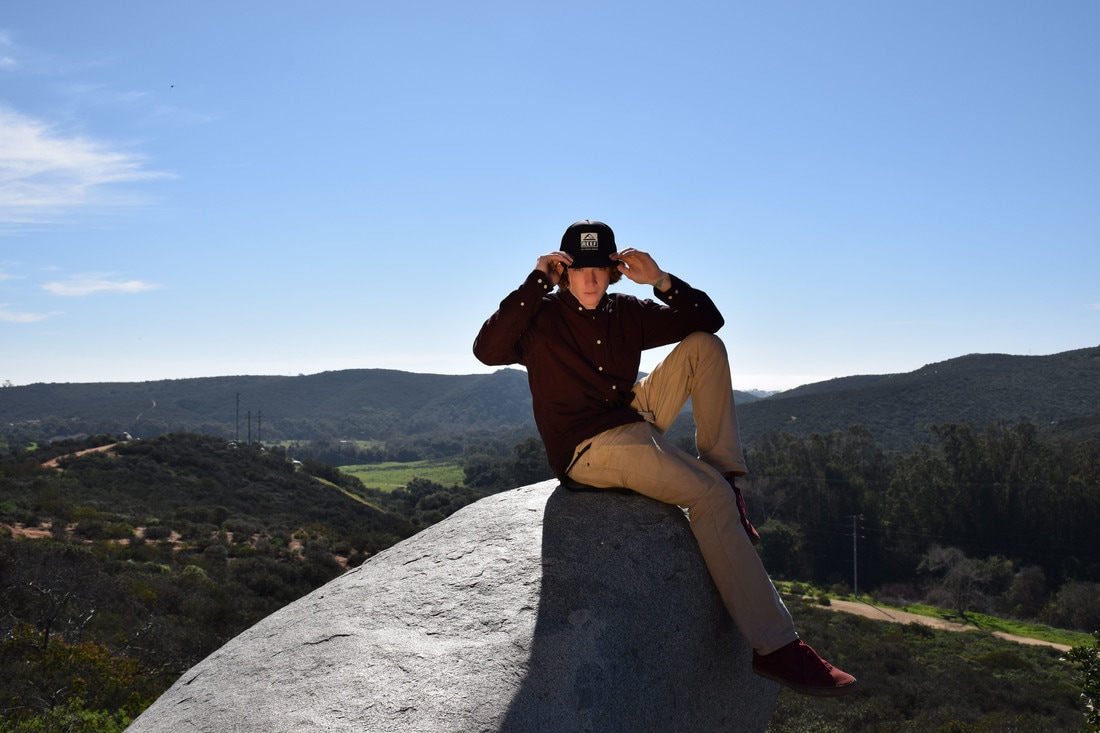
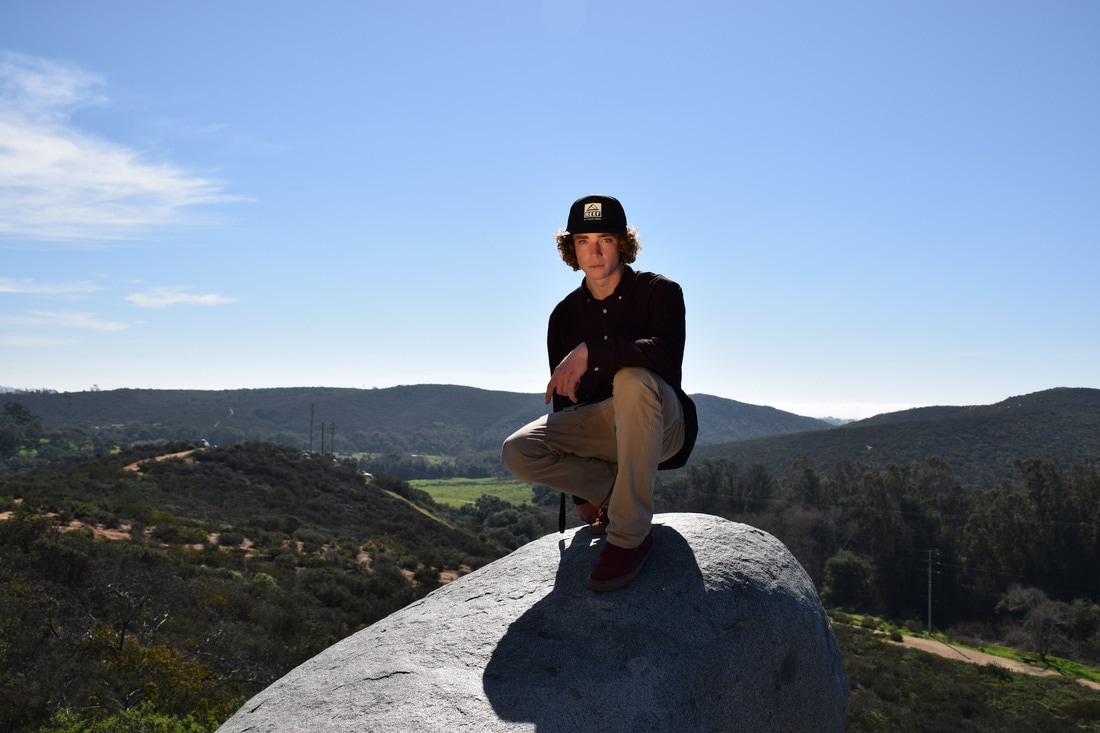
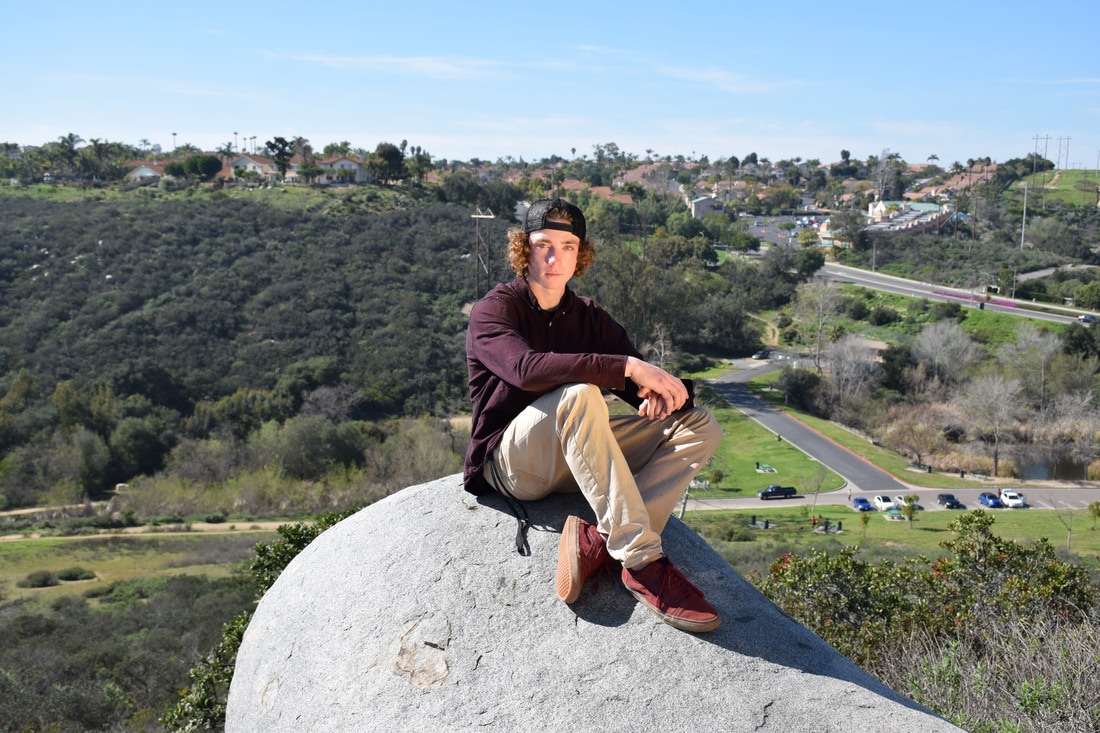
ISO 200 Aperture:f/8 Shutter Speed:1/1,000
ISO 200 Aperture:f/8 Shutter Speed:1/1,000
ISO 200 Aperture:f/8 Shutter Speed:1/1,000
ISO 200 Aperture:f/8 Shutter Speed:1/1,000
ISO 200 Aperture:f/8 Shutter Speed:1/1,000
ISO 200 Aperture:f/8 Shutter Speed:1/1,000
1) I learned that good poses and good lighting can make your image look significantly better than just point and shoot.
2) It was a piece of paper with a bunch of different poses to choose from, it did help a lot.
3)We used the reflector to shine light on the models face, it was very useful and helped the model to look cleaner and brighter.
4) I removed any blemishes on the models face and retouched anything that didn't fit, blurred etc.
5)Sports Photography, Sports Teams, 17-$66k,25-$100 an image
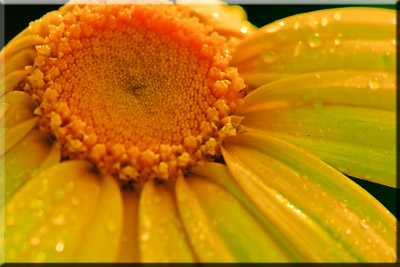
Food Photography
2/1/17
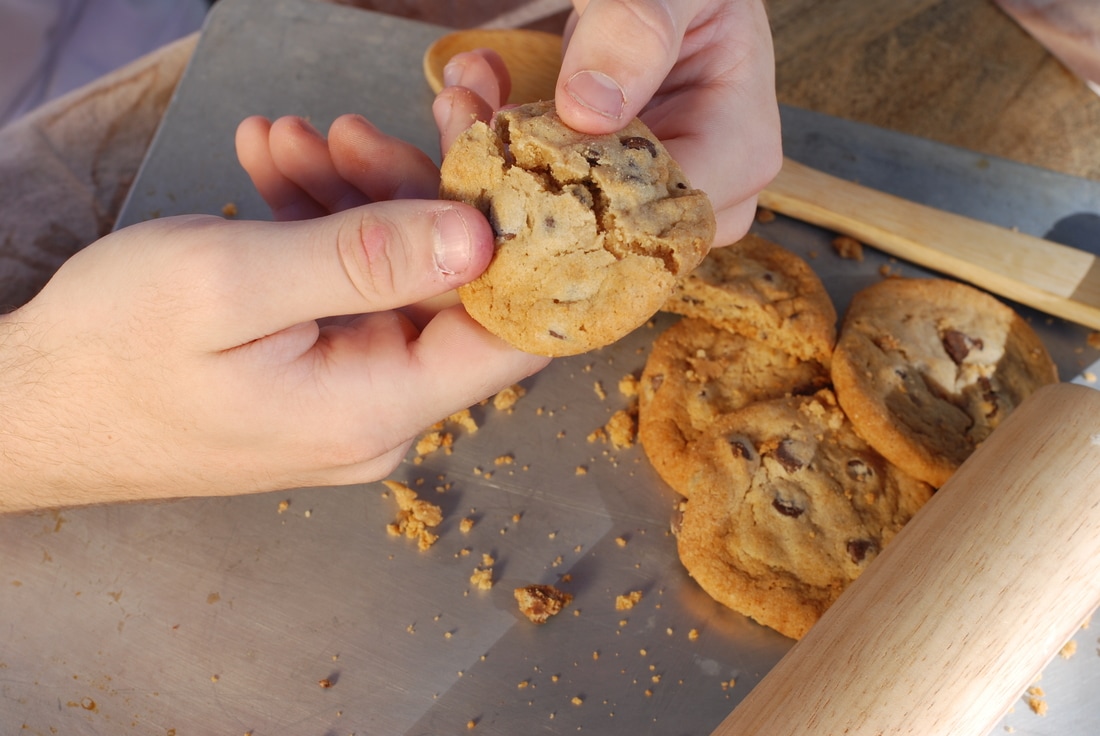
ISO 100 Aperture: f/8 Shutter Speed: 1/160
ISO 100 Aperture: f/1.8 Shutter Speed: 1/3,200

ISO 100 Aperture: f/8 Shutter Speed: 1/125
ISO 100 Aperture: f/8 Shutter Speed: 1/125
ISO 100 Aperture: f/1.8 Shutter Speed: 1/3,200
ISO 100 Aperture: f/1.8 Shutter Speed 1/1,600
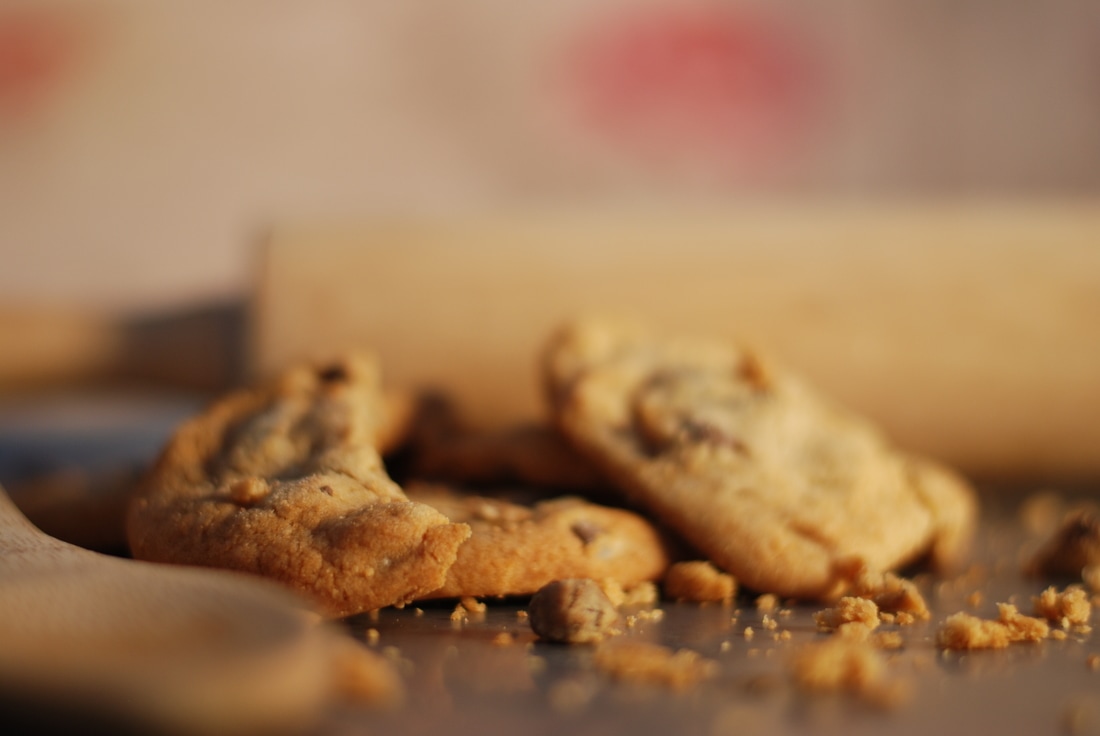
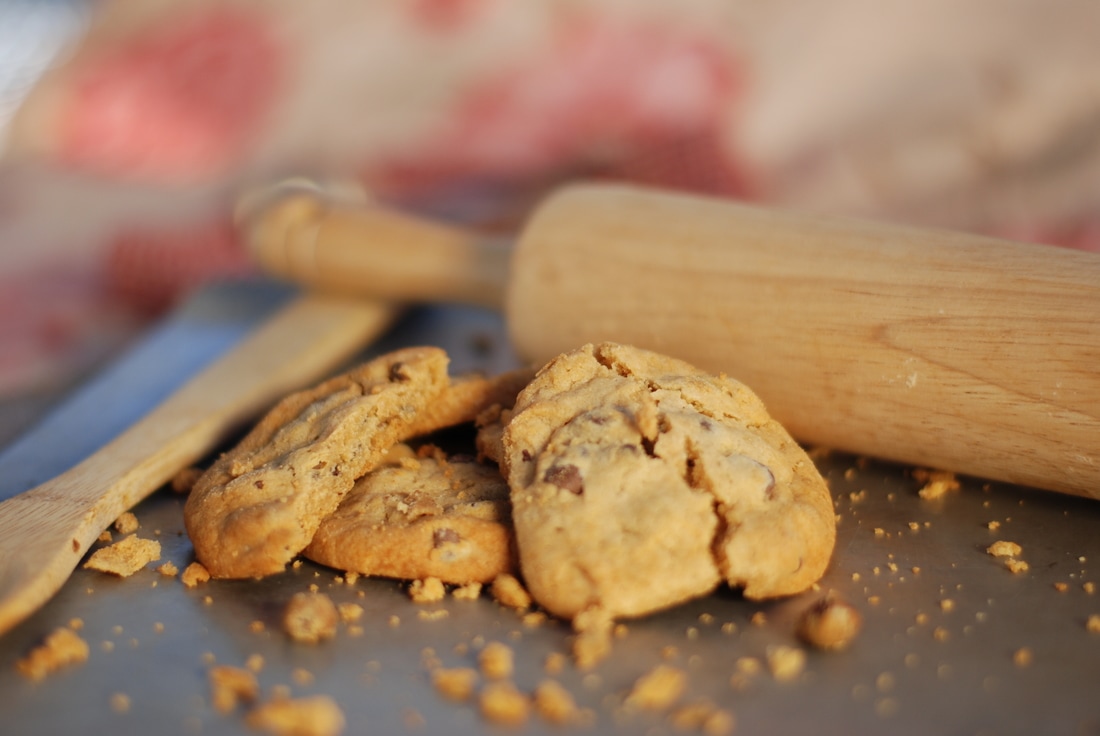
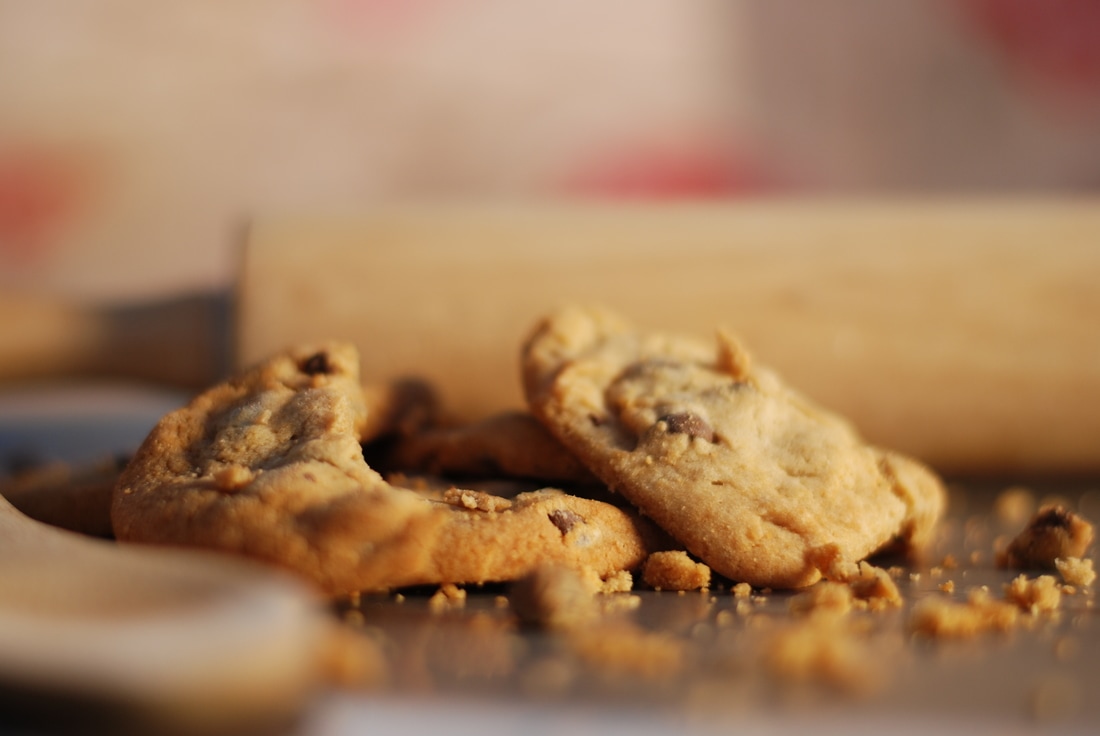
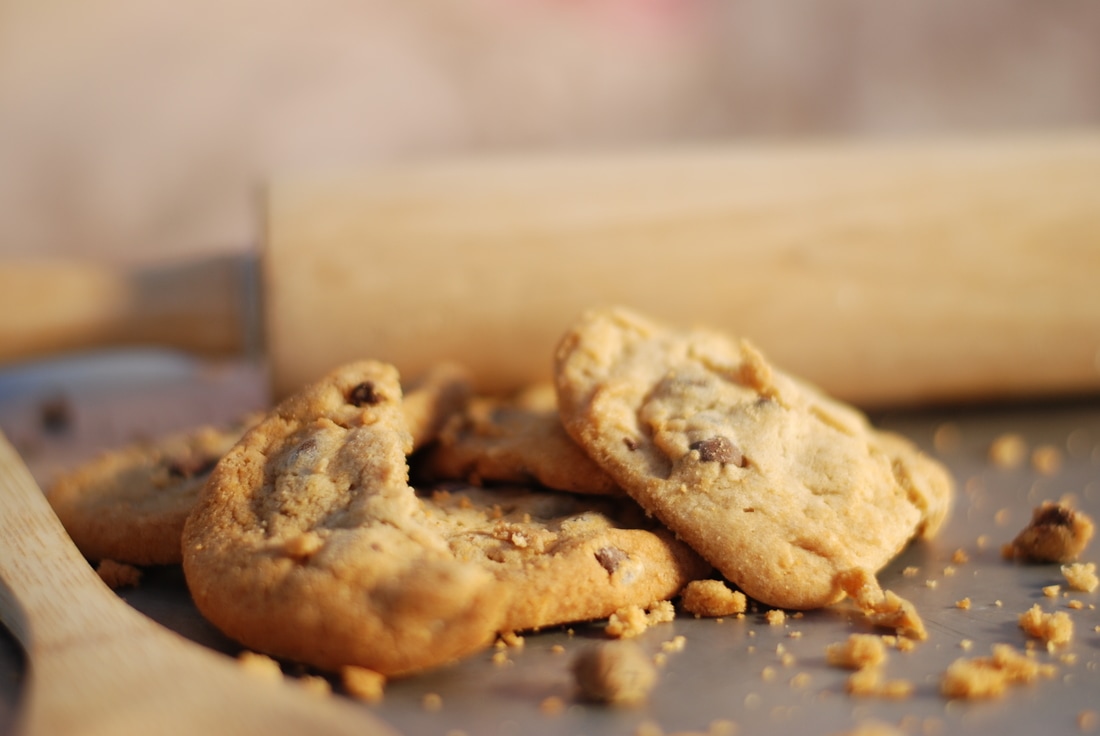
1) I brought albertsons chocolate chip cookies, the props that I used were a table cloth, a roller, a wooden spoon, some little spoons, a cutting board, and a thin aluminum tray.
2)Five things I learned are
-Good Lighting helps a lot!
-You can make just about any food look good
-Props help a lot!
-DOF is a must
- You get very hungry after taking the pictures so try not to ruin the food so you can eat it
3) What I did to make it look professional was I had good lighting, good props, and good camera angles
4) -It is hard to get it perfect
- It is hard not to eat the food
- DOF Is a must
5) Lots of food businesses need food photography. Albertsons to Vigguluccis they all need it.
6) I think I was successful in getting the perfect picture of my cookies. This is something I would for sure do again because I love how much fun I had doing it.
Name Project
1/25/17
1)-The steps that I used in photoshop were to drag the template into photoshop
-You then have to drag your cropped and black and white images you took into the template
- You then position them perfectly into the photoshop template and then save it as a JPEG and PSD file.
2) I was unsure how to get the template at first on google drive until I found out it was in the common drive
3) I was proud to figure out how to do this in the future
4) I like that my artwork is unique an nobody else has the same picture as me
5) I think I vouldve improved the K in my name because it does not look dark enough.
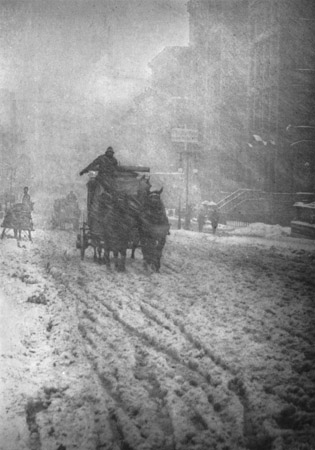
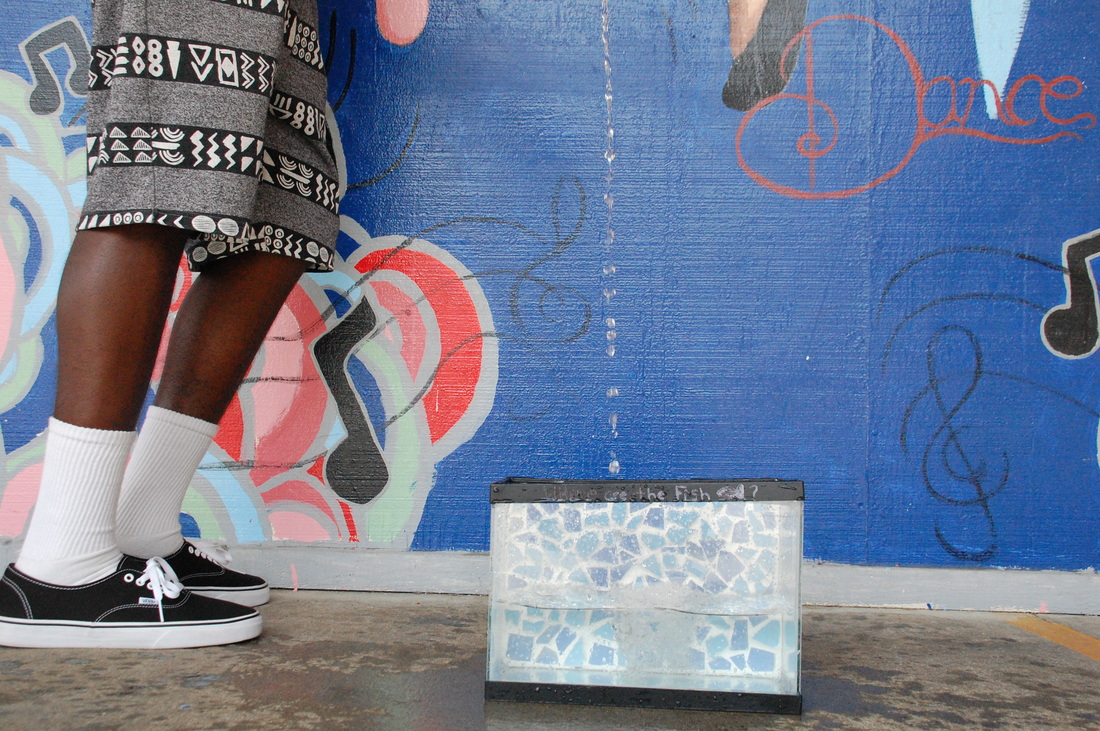
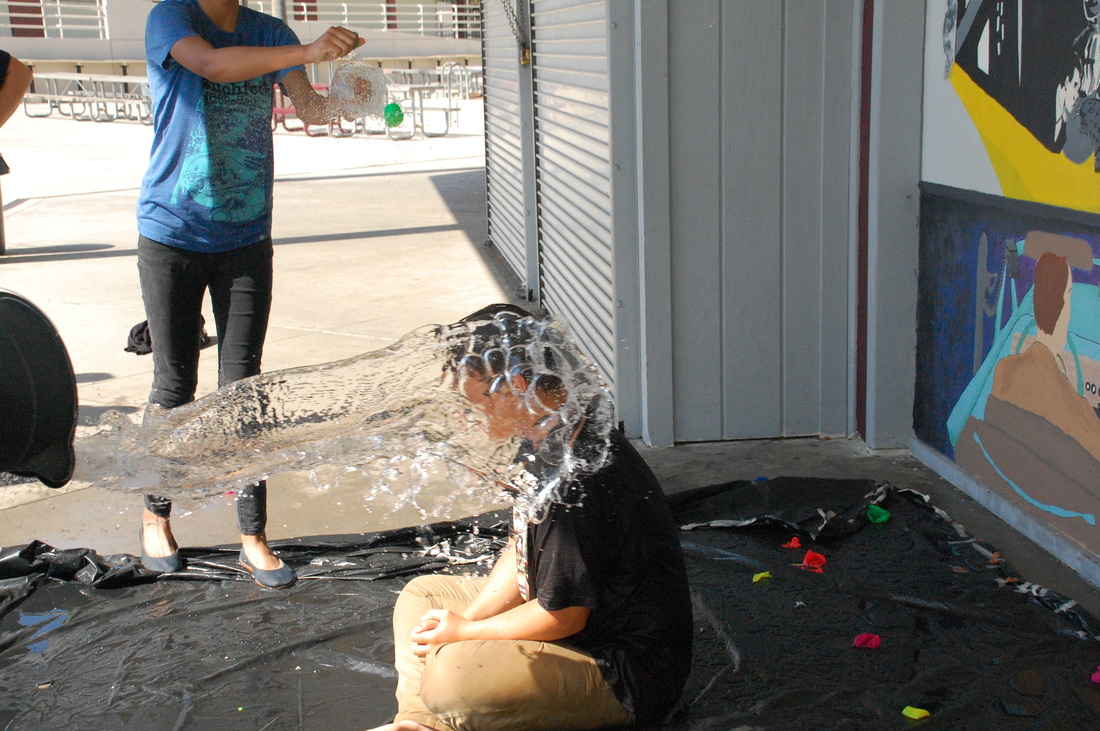
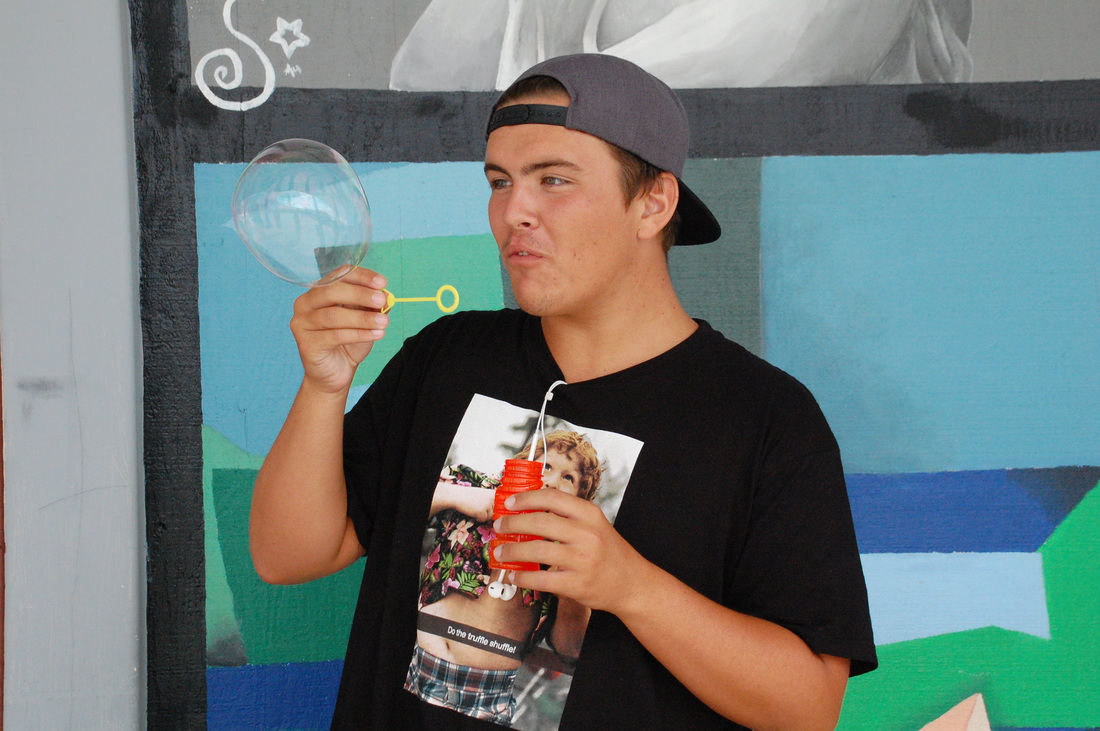
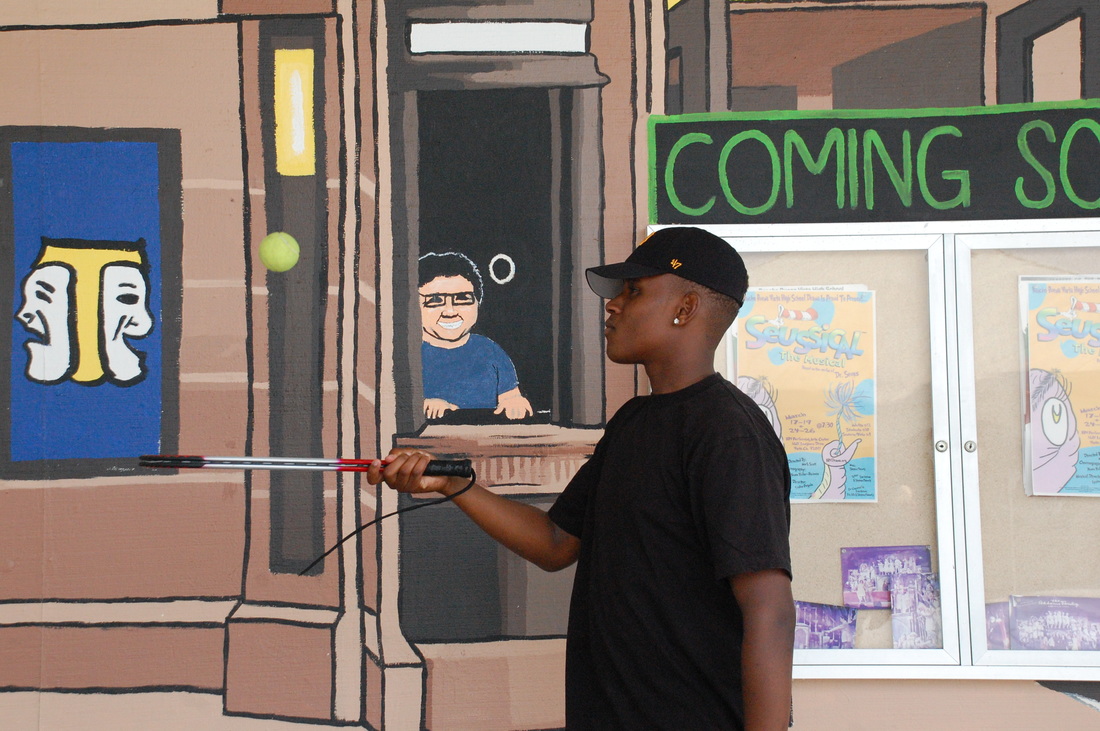
Rainy Day
1/23/17
The Future Me
1/10/17
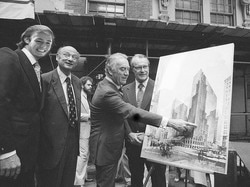
I put my face on Donald Trumps face where I see myself in 10 years. I did this because I see myself in 10 years being successful. I see myself being a businessman and hopefully working and making big transactions like he did. I will also be working in a business and not for say by myself.
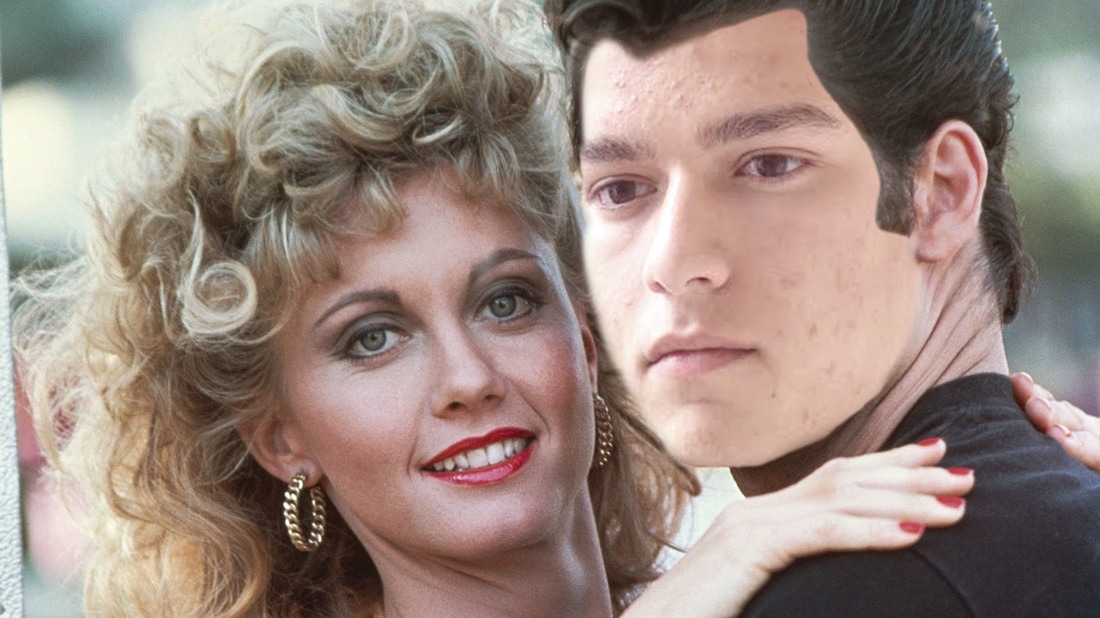
I am John Travolta in Grease posing with Olivia Newton-John. I chose to be John Travolta because I thought it would be funny considering we look nothing alike. But he is a stud in Grease so thats another reason why I chose him. I am posing with her for a photos hoot for our movie Grease.
Steps:
Step 1: Find and image you would like to put your face on
Step:2 Take a picture of your face that will match the picture you want to have your face on
Step 3: Go into photoshop and place your face on the picture you saved
Step:4 Change opacity to 60% and try to center it perfectly on there
Step 5: Fix any edges that don't fit and mess with the skin color so it looks more natural
Step 6: When happy change opacity back to 100% and save your image
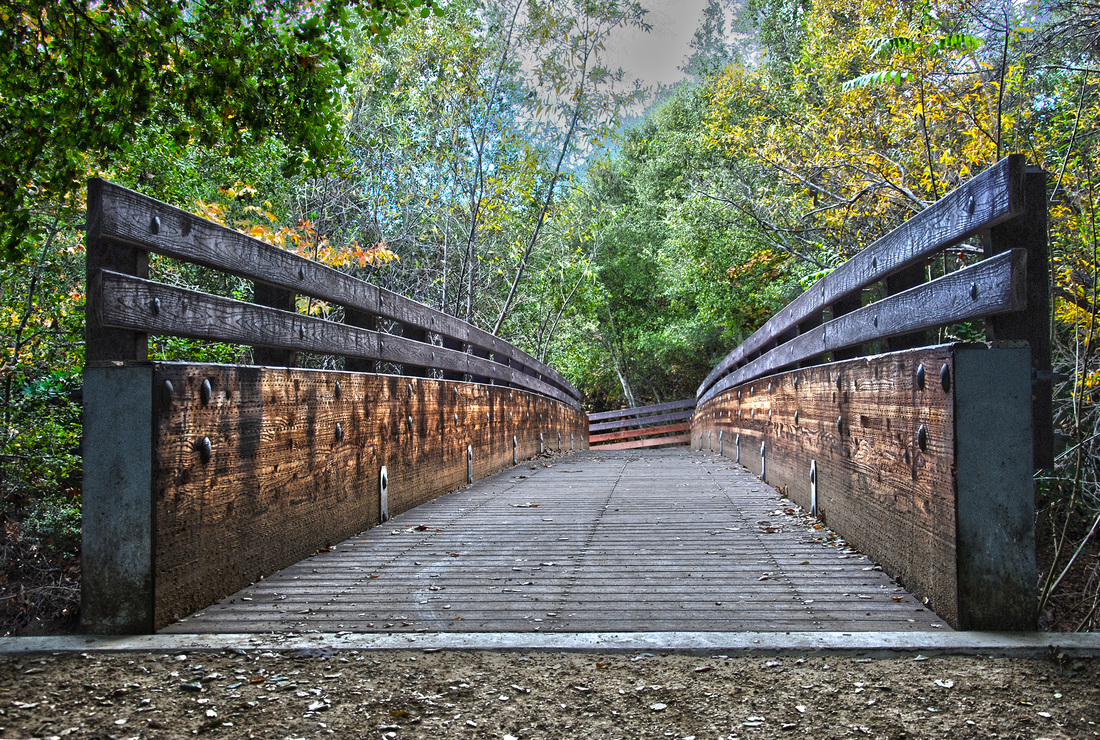
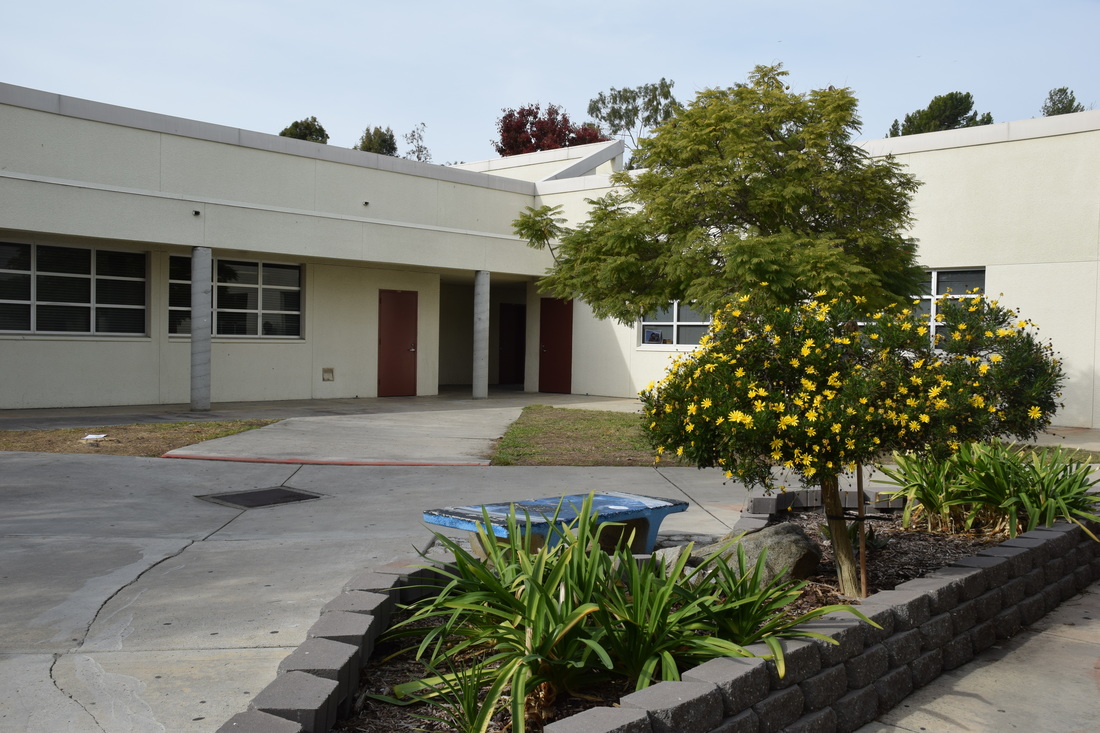
HDR Compositions
12/13
ISO 200 Aperture: f/5 Shutter Speed:1/125
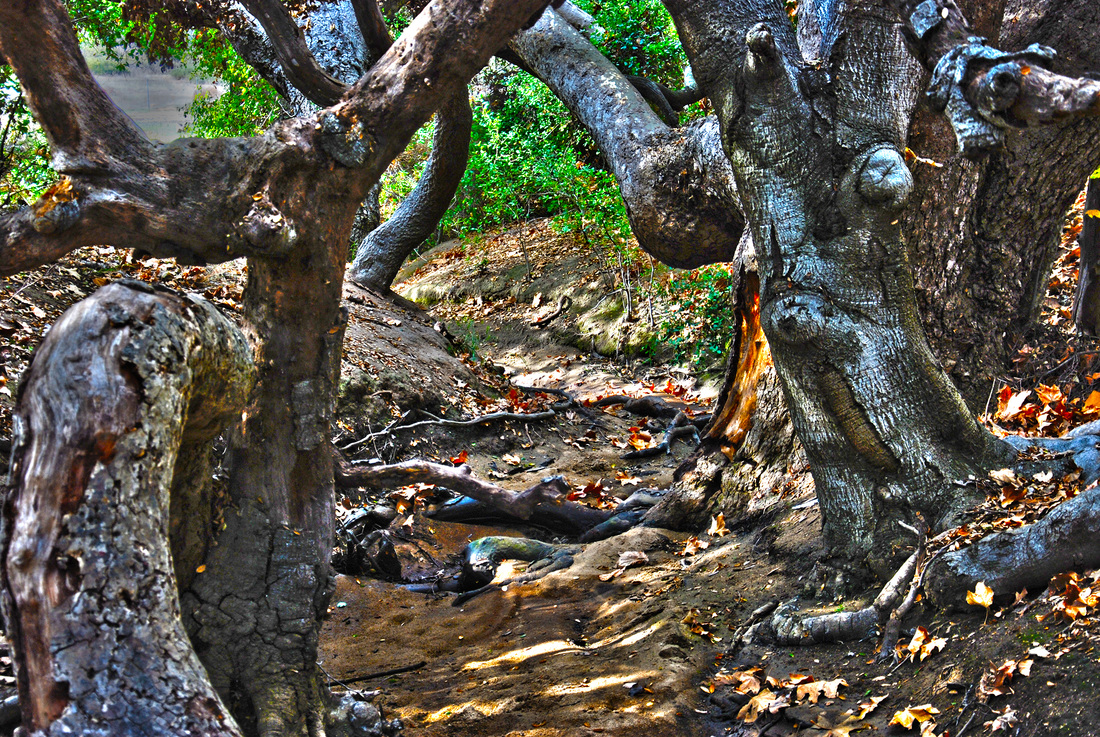
ISO 200 Aperture: f/5 Shutter Speed:1/125
In order to make an HDR photo you need to expose the image using the button + or - on the camera
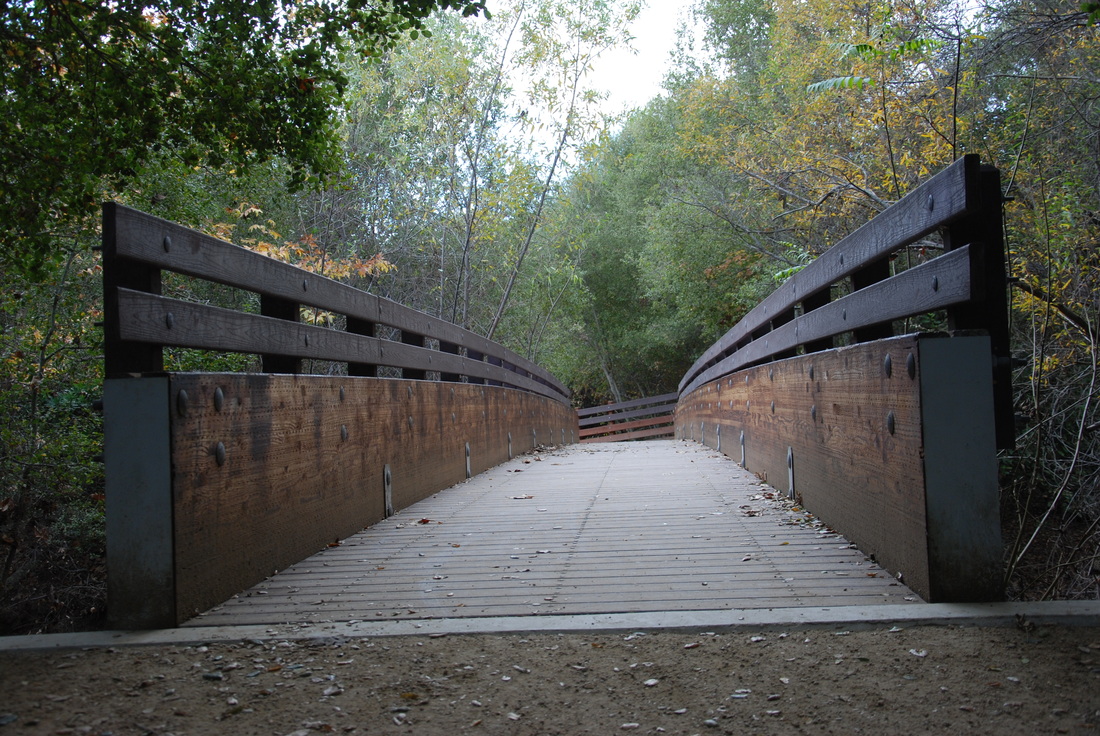
ISO 200 Aperture:f/4.8 Shutter Speed: 1/125
ISO 200 Aperture:f/4.8 Shutter Speed: 1/125
ISO 200 Aperture: f/9.5 Shutter Speed 1/350
ISO 200 Aperture: f/9.5 Shutter Speed 1/350
ISO 200 Aperture f/16 Shutter Spped 1/20
ISO 200 Aperture f/16 Shutter Spped 1/20
ISO:200 Aperture: f/9.5 Shutter Speed:1/250
ISO:200 Aperture: f/9.5 Shutter Speed:1/250
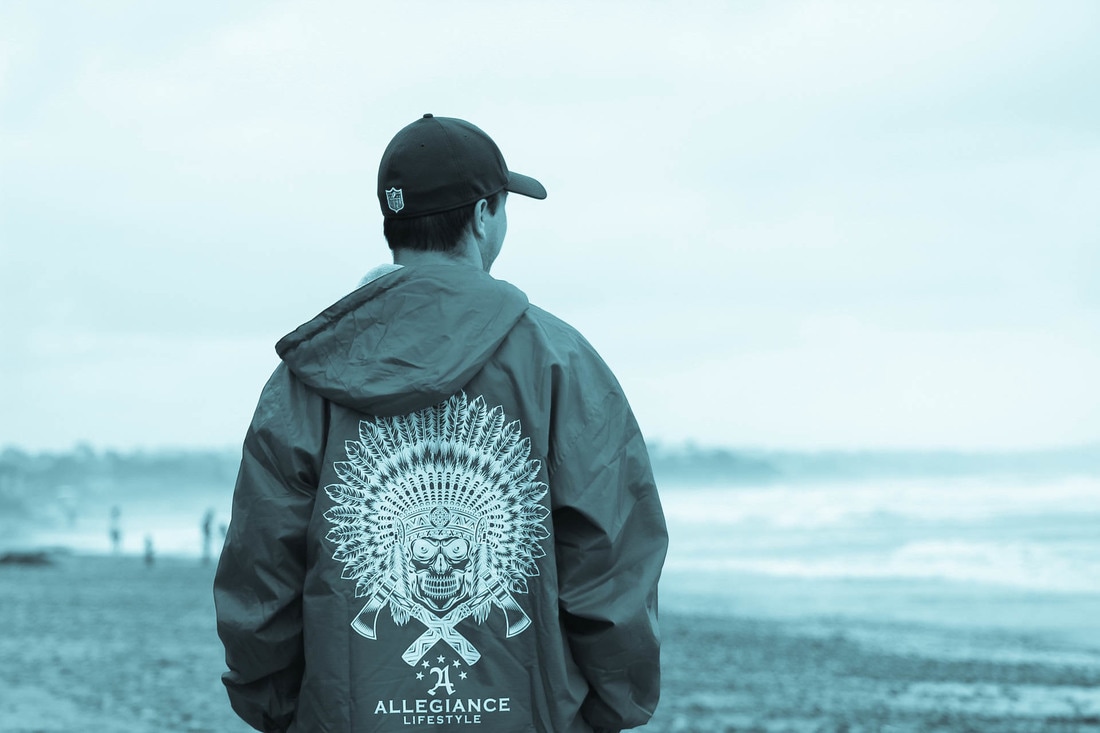
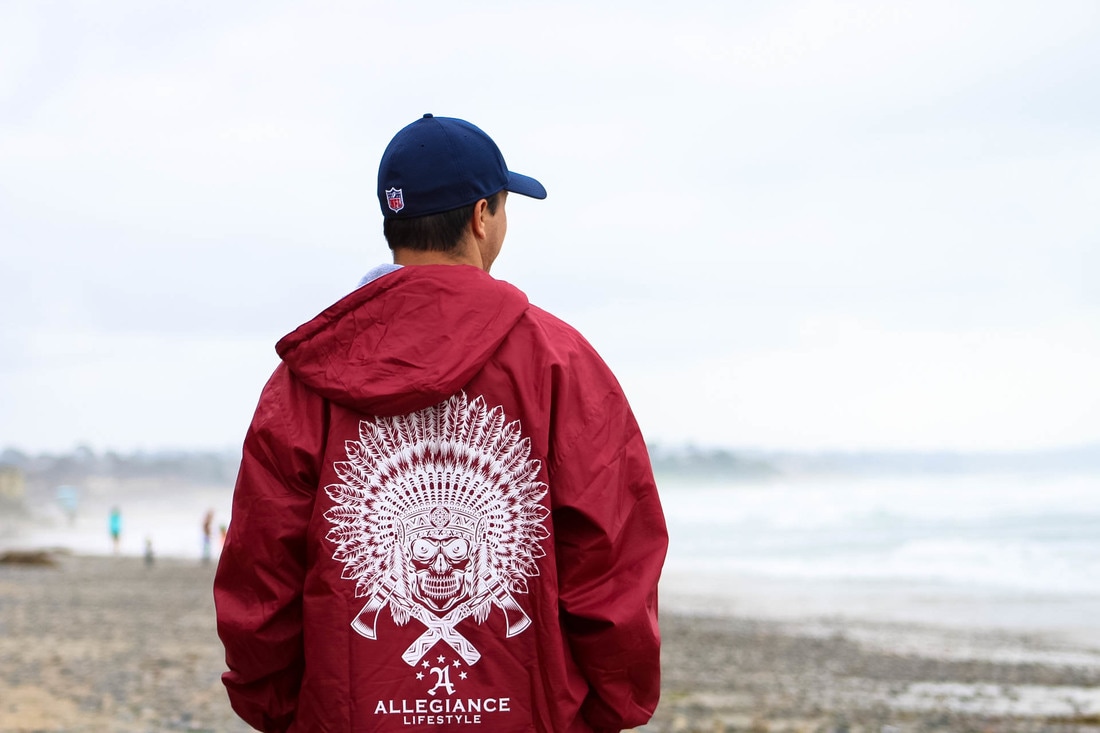
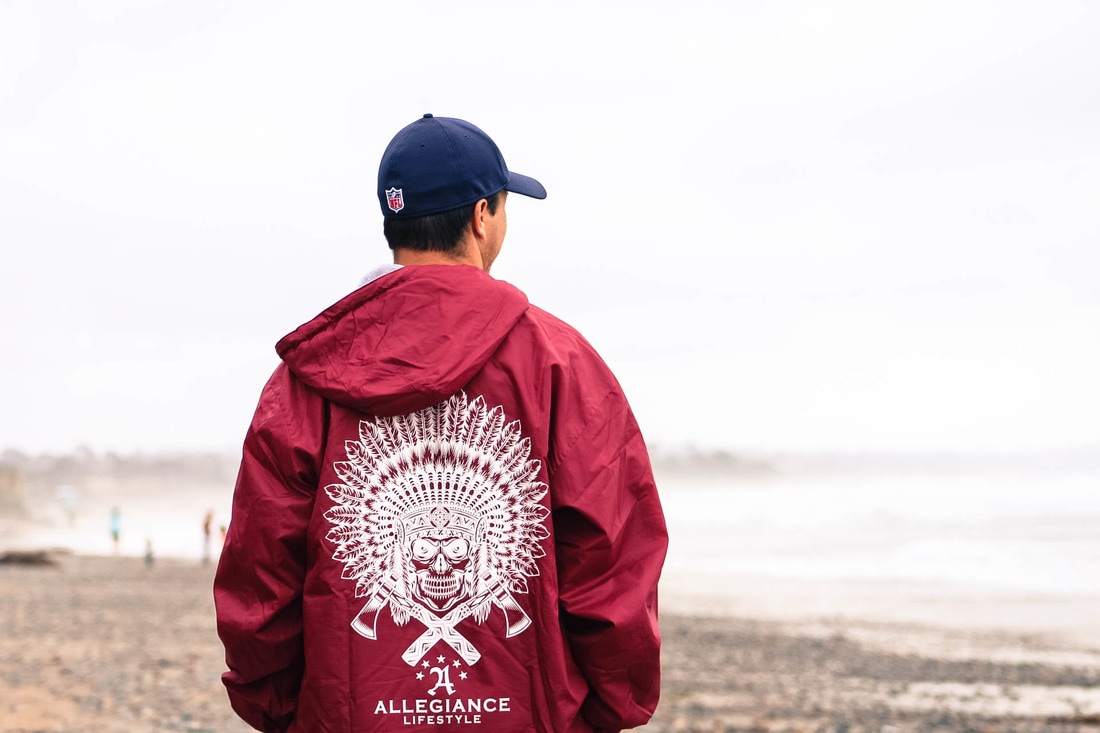
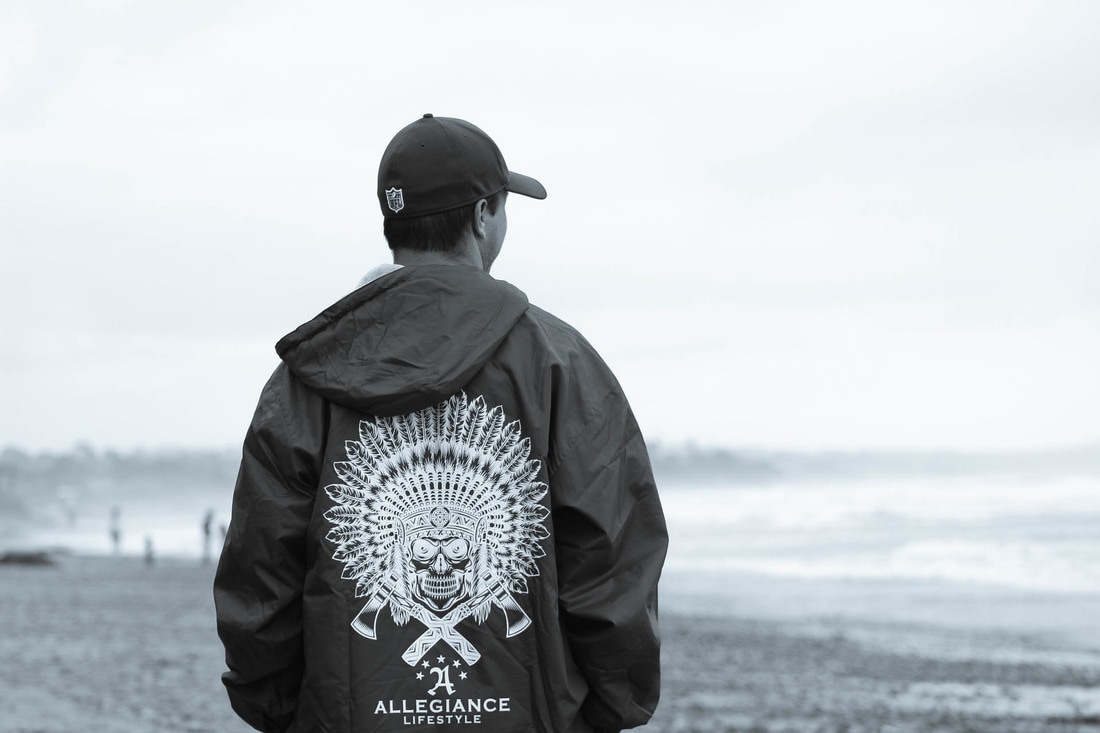
Photographer Project
ISO 400 Aperture f/8 Shutter Speed: 1/180
IOS 400 Aperture:f/8 Shutter Speed: 1/350
IOS 400 Aperture:f/8 Shutter Speed: 1/180
ISO:400 Aperture:f/8 Shutter Speed: 1/750
IOS 400 Aperture: f/8 Shutter Speed 1/350
Selfie
11/18

Artist as Mentor
11/17
Mary Ellen Mark - https://docs.google.com/presentation/d/1F9Uk3HuC-j-sqtVeUgOvzffwsJMkzmNsusHIBe9M9vc/edit?usp=sharing
Super Moon
11/14
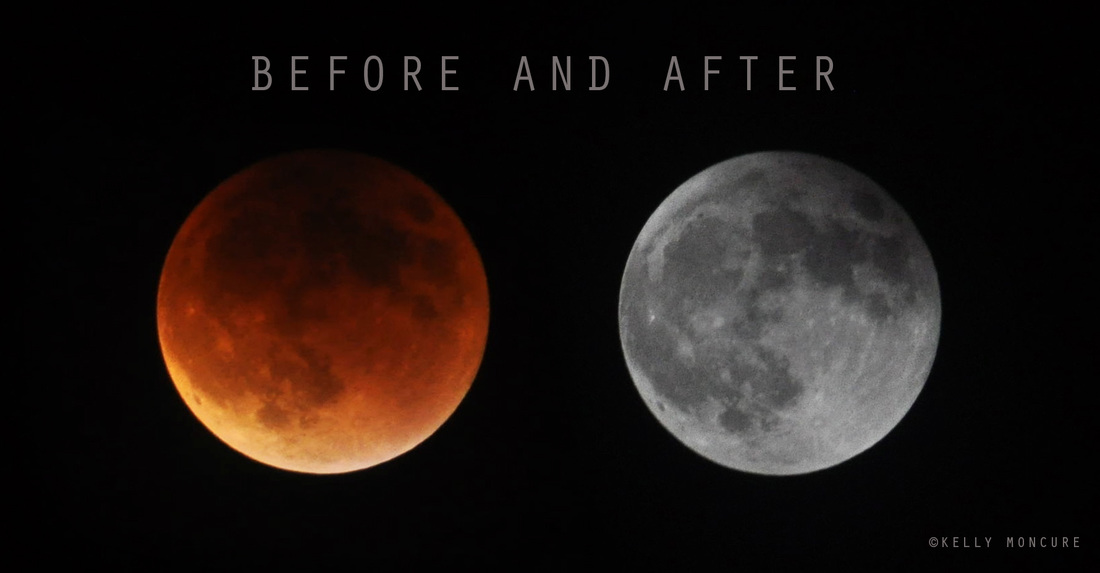
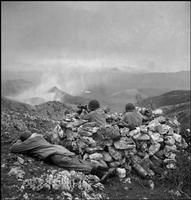
Blood Moon Lunar Eclipse, September 27, 2015. Left image: 70-300mm lens @ 270mm, ISO 1000, aperture f/5.3, shutter speed 1.3 secs. Right image: 70-300mm lens @ 300mm, ISO 800, aperture f/13, shutter speed 1/1250 sec.
To photograph the moon:
1. Use a tripod! A flat surface will only allow you to shoot straight, and shooting the moon means that you'll be shooting up and constantly re-adjusting the tripod as the moon moves throughout the night.
2. Use a shutter release cord, remote or the camera's self timer if you don't have one, so that you don't move the camera when pressing the shutter release during a long exposure.
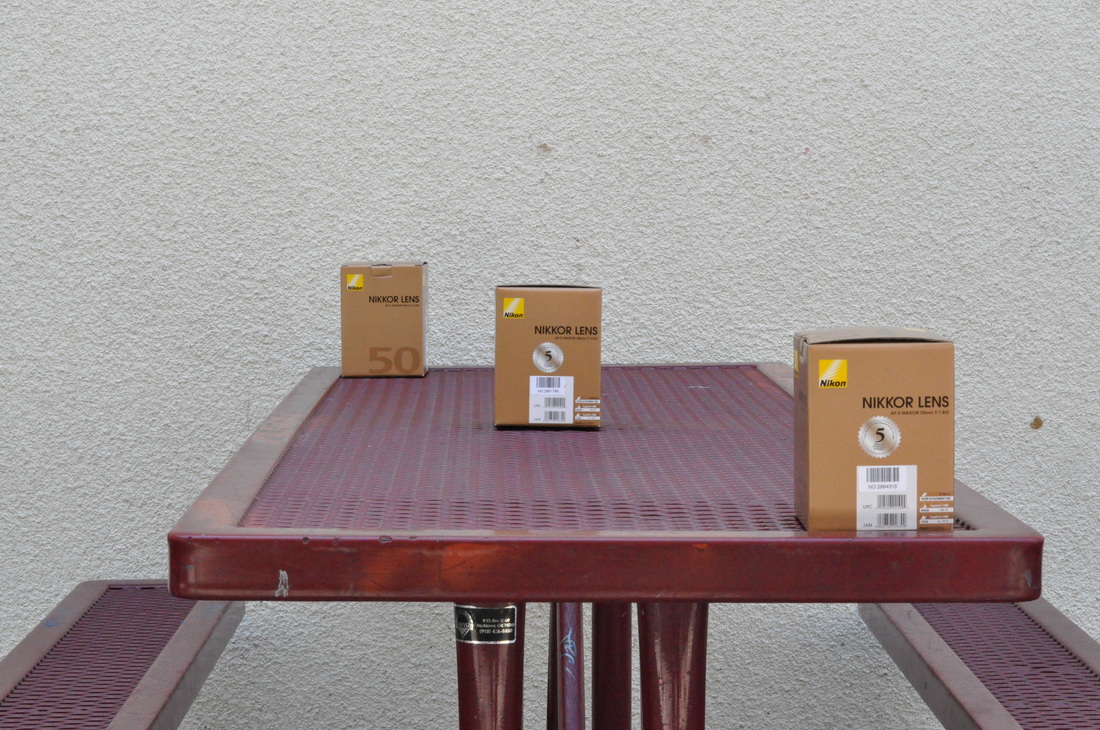
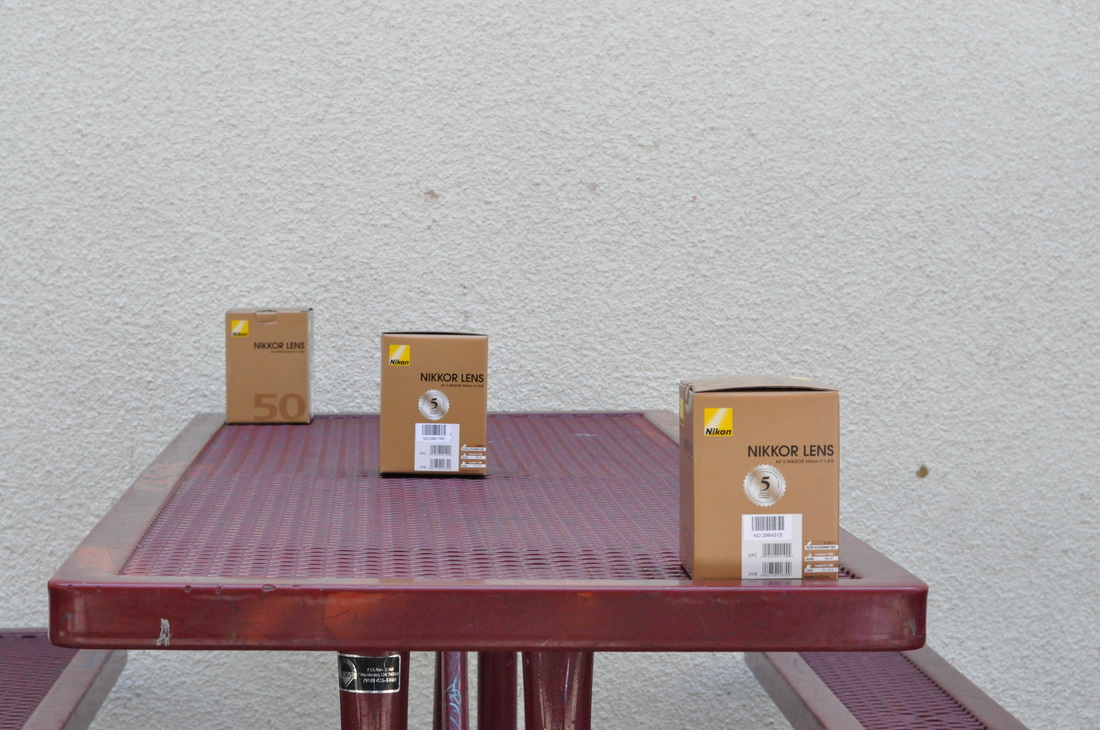
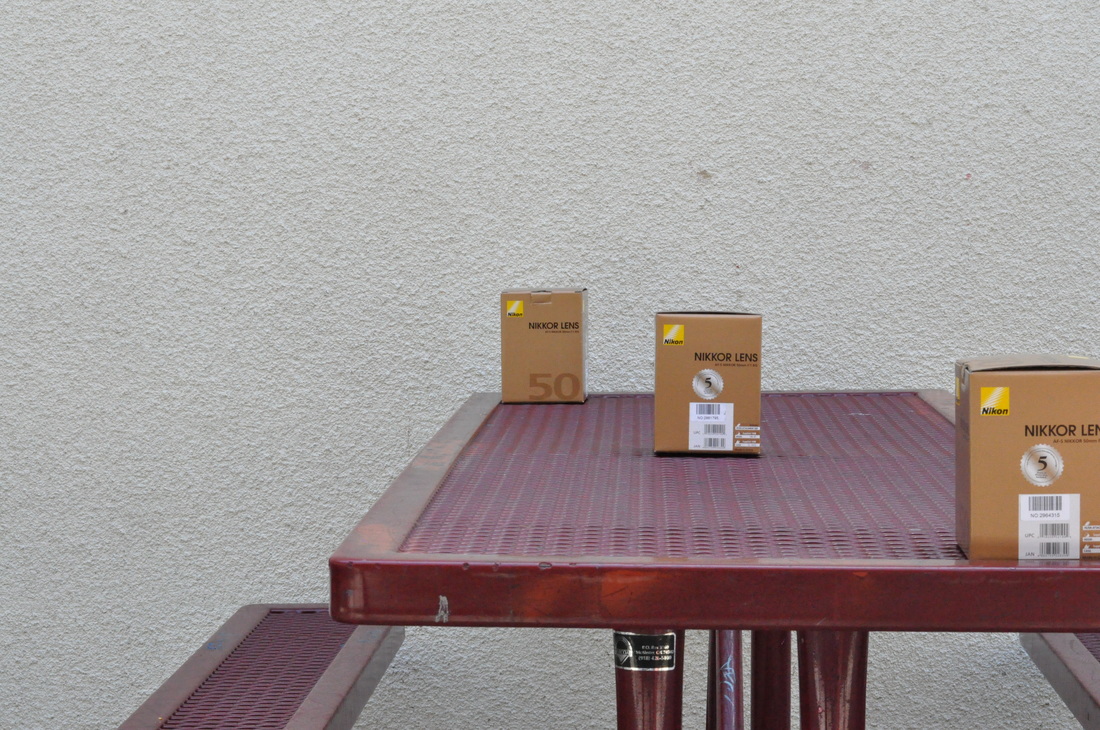
3. Use a zoom lens and zoom in as much as you can to the moon. It's okay if it's not a super fancy lens, this was shot using a 15 year old $100 lens. Focus in on the craters and details on the moon.
4. ISO 1250- 1600, so that you can use as fast a shutter speed as you can without losing detail-the longer the shutter speed, the more chances you have the camera will shake even slightly in the wind, resulting in an out of focus photograph.
5. Aperture priority of f/5.6 since you are not worried about capturing any details other then the moon.
6. Bracket your exposure, meaning over expose and underexpose the photograph from what the camera is telling you. Generally the camera will overexpose the moon, so you'll get nothing but a white blob in the sky. Use the exposure compensation button (the +/- button below the shutter release) and change the exposure to -0.5, then -1.0, then -1.5 and so on, until you start seeing detail in the moon. You may go as far as -5.0 exposure compensation to get what you need.
7. Take a fair amount of photos and keep refocusing as the night progresses. The photographs may look focused on the camera's display, but you won't really see if they're completely in focus until you upload them onto your computer screen.
1. Use a tripod! A flat surface will only allow you to shoot straight, and shooting the moon means that you'll be shooting up and constantly re-adjusting the tripod as the moon moves throughout the night.
2. Use a shutter release cord, remote or the camera's self timer if you don't have one, so that you don't move the camera when pressing the shutter release during a long exposure.
3. Use a zoom lens and zoom in as much as you can to the moon. It's okay if it's not a super fancy lens, this was shot using a 15 year old $100 lens. Focus in on the craters and details on the moon.
4. ISO 1250- 1600, so that you can use as fast a shutter speed as you can without losing detail-the longer the shutter speed, the more chances you have the camera will shake even slightly in the wind, resulting in an out of focus photograph.
5. Aperture priority of f/5.6 since you are not worried about capturing any details other then the moon.
6. Bracket your exposure, meaning over expose and underexpose the photograph from what the camera is telling you. Generally the camera will overexpose the moon, so you'll get nothing but a white blob in the sky. Use the exposure compensation button (the +/- button below the shutter release) and change the exposure to -0.5, then -1.0, then -1.5 and so on, until you start seeing detail in the moon. You may go as far as -5.0 exposure compensation to get what you need.
7. Take a fair amount of photos and keep refocusing as the night progresses. The photographs may look focused on the camera's display, but you won't really see if they're completely in focus until you upload them onto your computer screen.
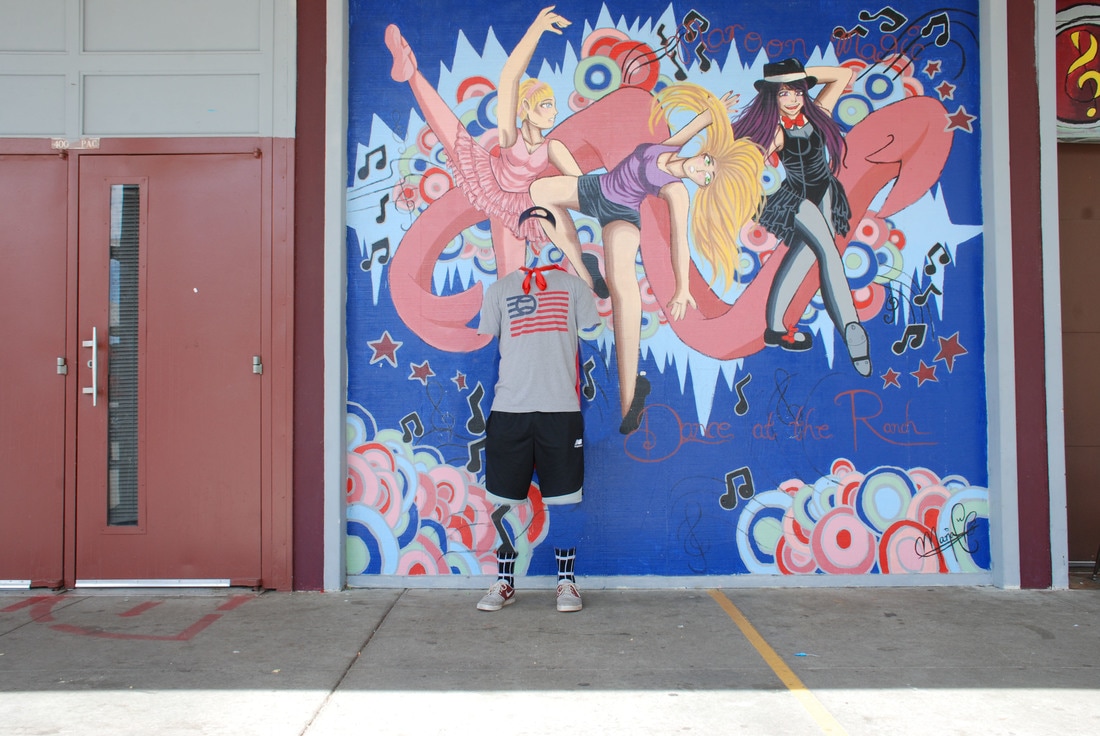
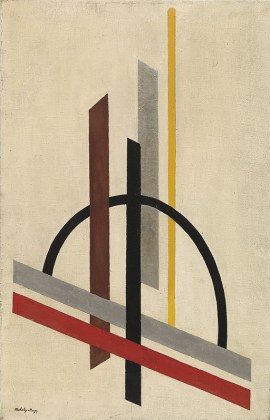
Principles of Art
11/2
Balance
ISO:400 Aperture:f/8 Shutter Speed: 1/180
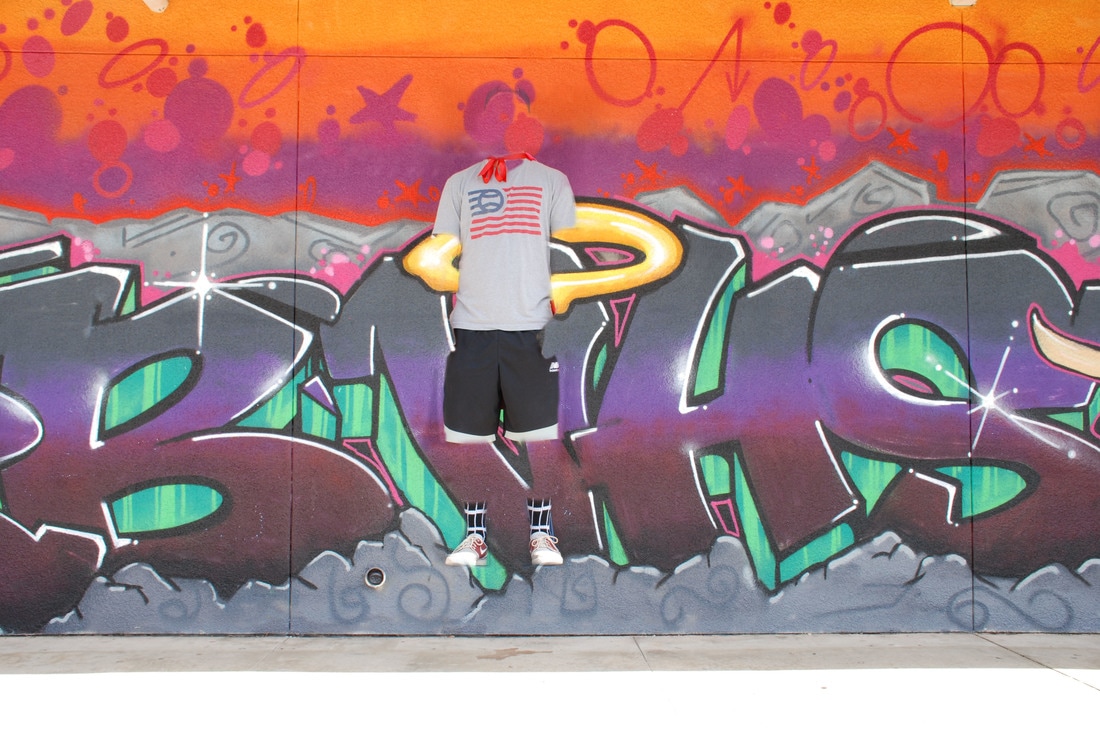
Proportion
ISO:400 Aperture:f/8 Shutter Speed: 1/4000
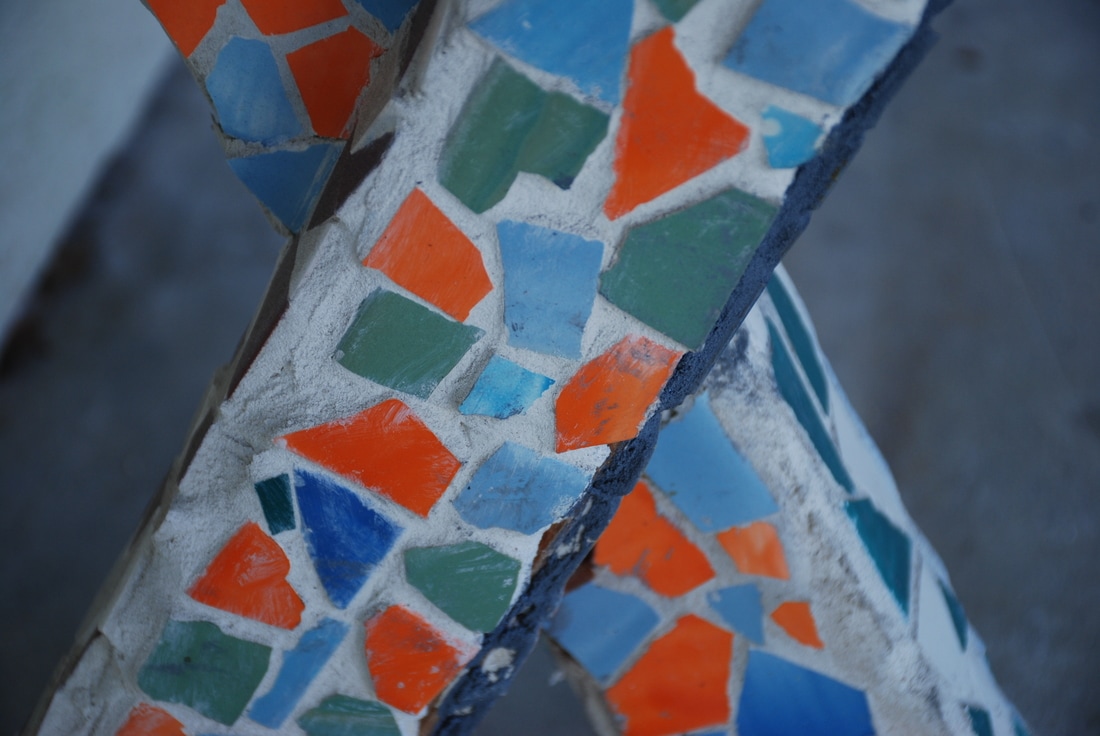
Emphasis
ISO:400 Aperture f/8 Shutter Speed 1/1000
Rhythm
ISO 400 Aperture: f/8 Shutter Speed 1/2000
Harmony
ISO:400 Aperture f/8 Shutter Speed: 1/1000
Variety
ISO:400 Aperture: f/8 Shutter Speed: 1/250
Unity
ISO:720 Aperture: f/8 Shutter Speed: 1/1000
Halloween
10/31

ISO:400 Aperture:f/8 Shutter Speed: 1/250

ISO:400 Aperture:f/8 Shutter Speed: 1/250
ISO:400 Aperture:f/8 Shutter Speed: 1/250
ISO:400 Aperture:f/8 Shutter Speed: 1/250
ISO:400 Aperture:f/8 Shutter Speed: 1/250

ISO:400 Aperture:f/8 Shutter Speed: 1/250
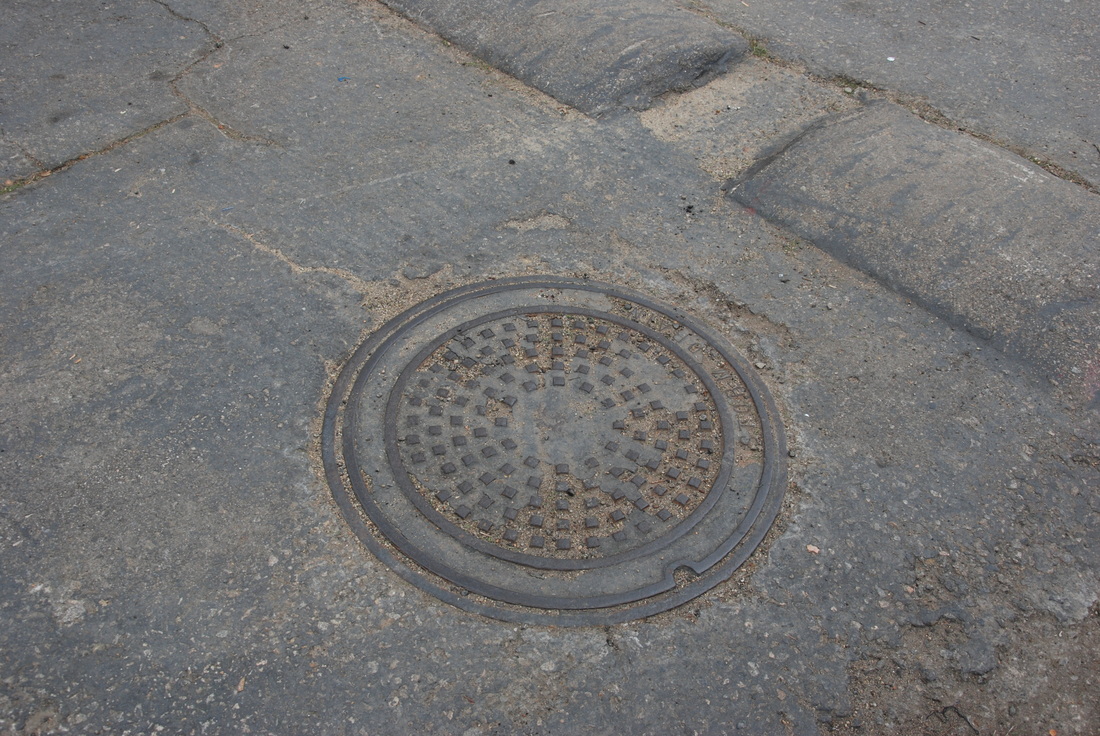
Elements
Line
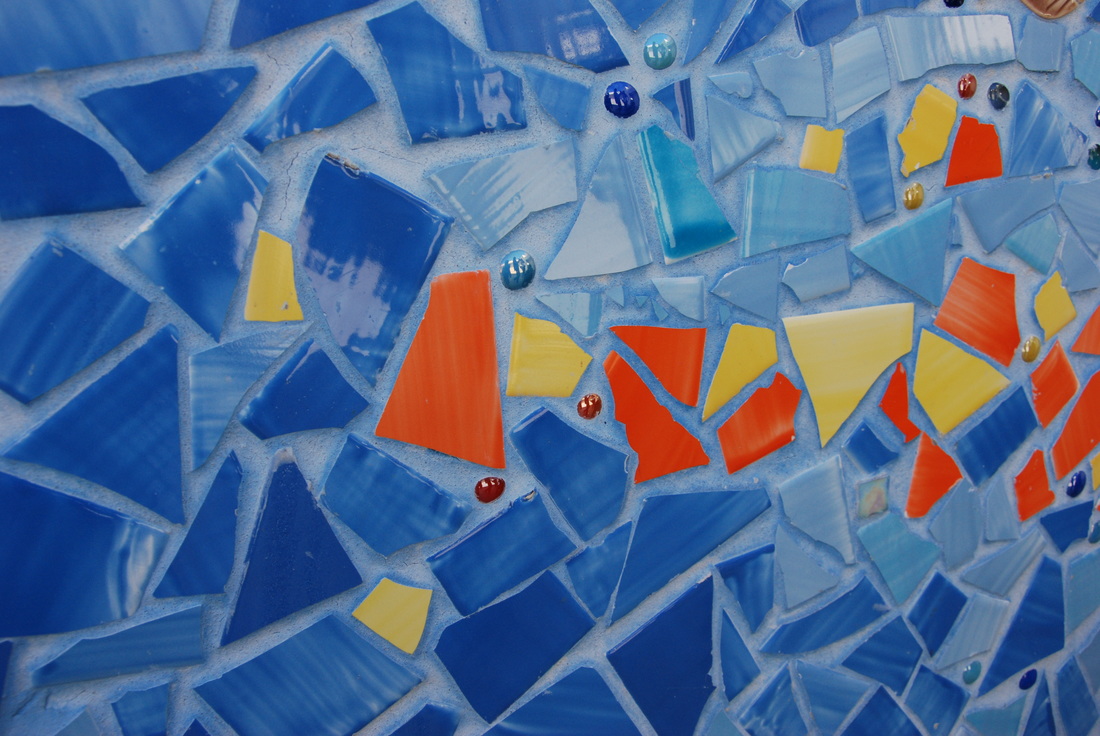
Color
Form
Shape
Texture
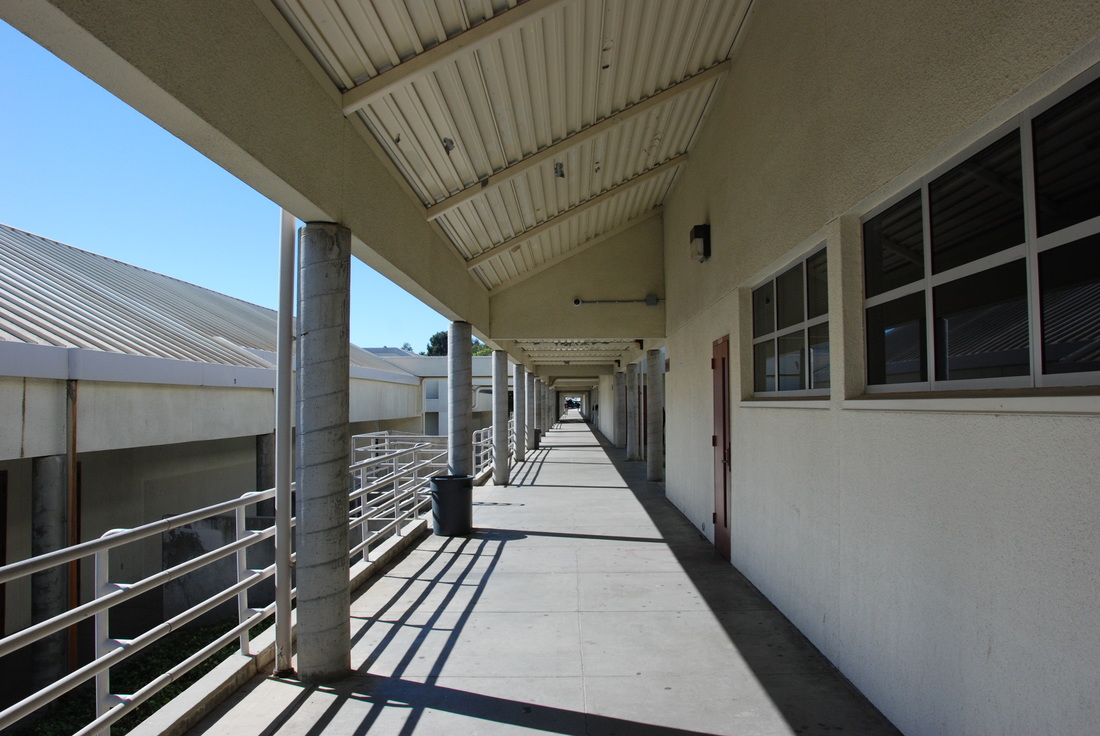
Space
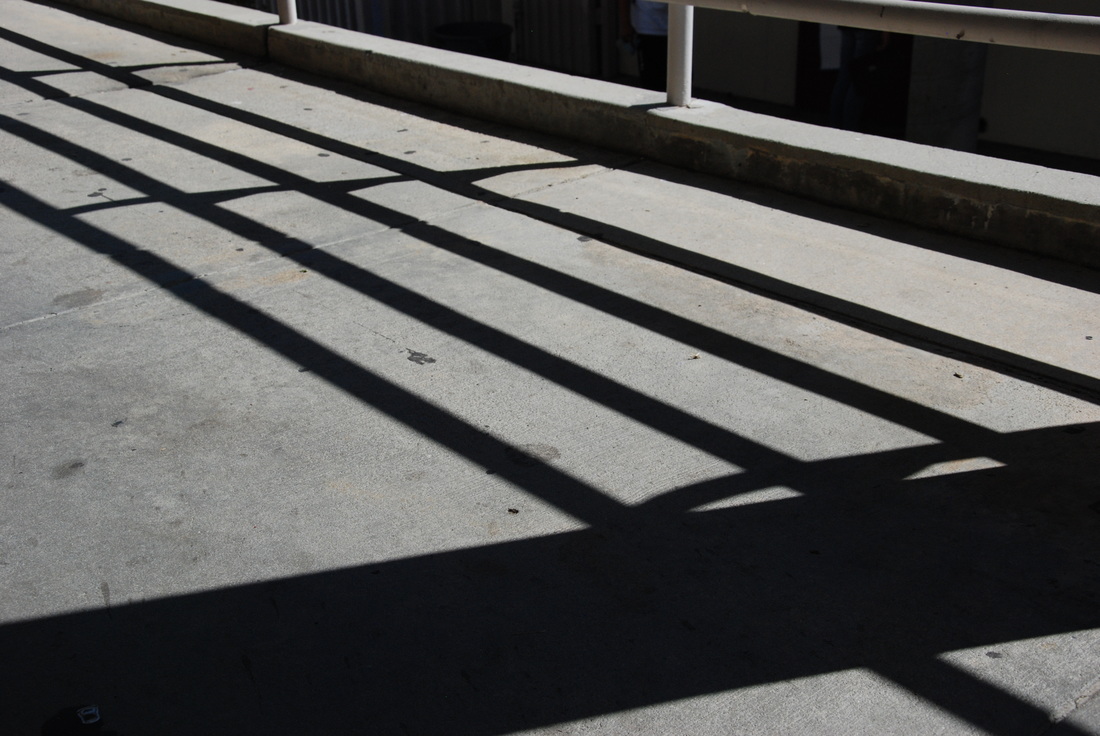
Value
Notes on Elements & Principles of Art
Line:
- A line is one dimensional and can vary in width, direction and length. Lines also can define the edges of a form. Lines can be horizontal,vertical,or diagonal,straight or curved , thick or thin. Lines lad your eye around the composition
- A line is one dimensional and can vary in width, direction and length. Lines also can define the edges of a form. Lines can be horizontal,vertical,or diagonal,straight or curved , thick or thin. Lines lad your eye around the composition
Color:-color has 3 main characteristics hue (red , yellow, green ) value ( how light or dark it is) amd intensity (how bright or dark it is) colors can also be described as warm ( red and yellow) or cool (blue green)
-furthermore monochromatic one color plus it’s tints adding white and shades adding black
-furthermore monochromatic one color plus it’s tints adding white and shades adding black
Shape: -Shape is two dimensional , height and width
-Organic shape is a shape made by nature, not completely defined
-Inorganic shape is manmade, such as triangles and rectangles
-Organic shape is a shape made by nature, not completely defined
-Inorganic shape is manmade, such as triangles and rectangles

Form:
-Form is three dimensional, has height width and depth
-Photographers emphasize form by the use of highlights and shadows
-Form is three dimensional, has height width and depth
-Photographers emphasize form by the use of highlights and shadows
Texture:
-The surface quality of an object that we sense through touch. All objects have physical texture
- In a two dimensional work, texture gives a visual sense of how an object depicted would feel in real life if touched,
-The surface quality of an object that we sense through touch. All objects have physical texture
- In a two dimensional work, texture gives a visual sense of how an object depicted would feel in real life if touched,
Space: -Real space is three dimensional.
-Positive Space is the space occupied by the primary object
-Negative Space is the space around the primary object
-Positive Space is the space occupied by the primary object
-Negative Space is the space around the primary object
Value:
-Value is the lightness of darkness of a surface. It is frequently used when talking about shading, but is also important in the study of color.
-Value is the lightness of darkness of a surface. It is frequently used when talking about shading, but is also important in the study of color.
Principles of Art:
-The principles of art are the rules or guidelines for art
-Used to organize or arrange the structural elements of design.
-Principles are balance, proportion, rhythm, emphasis, harmony, variety , and unity.
-The principles of art are the rules or guidelines for art
-Used to organize or arrange the structural elements of design.
-Principles are balance, proportion, rhythm, emphasis, harmony, variety , and unity.
Balance:
-Balance is similar to our physical sense of balance . It is how the artist uses opposing forces in a composition that results in visual stability.
-Balance is similar to our physical sense of balance . It is how the artist uses opposing forces in a composition that results in visual stability.
Proportion:
-Proportion relates to the relative size and scale of the various elements in a design. Specifically, the relationship between the objects.
-Proportion relates to the relative size and scale of the various elements in a design. Specifically, the relationship between the objects.
Rhythm:
-Rhythm in an artwork indicates movement by the repetition of elements. Rhythm can make an artwork seem active.
-Rhythm in an artwork indicates movement by the repetition of elements. Rhythm can make an artwork seem active.
Emphasis: -Rhythm in an artwork indicates movement by the repetition of elements. Rhythm can make an artwork seem active.
Harmony:
-Harmony is the pleasing quality achieved by different elements of composition interacting to form a whole. Harmony is often accomplished through repetition of the same or similar characteristics
-Harmony is the pleasing quality achieved by different elements of composition interacting to form a whole. Harmony is often accomplished through repetition of the same or similar characteristics
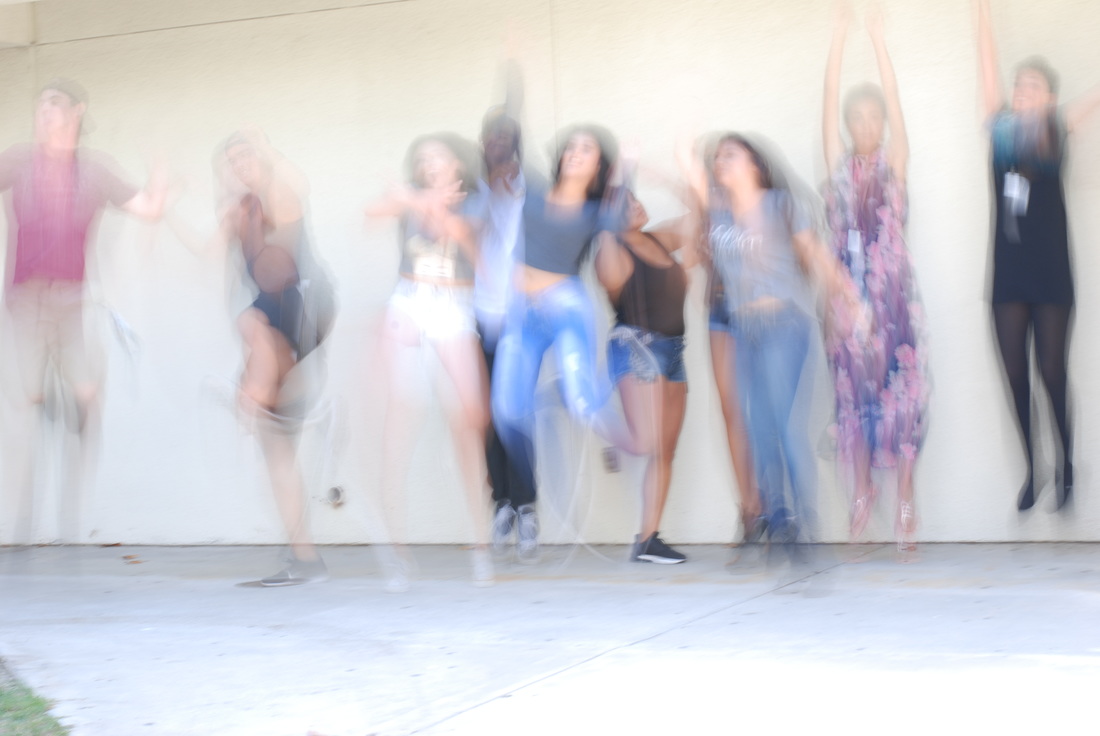
Fast Shutter Speed
10/12
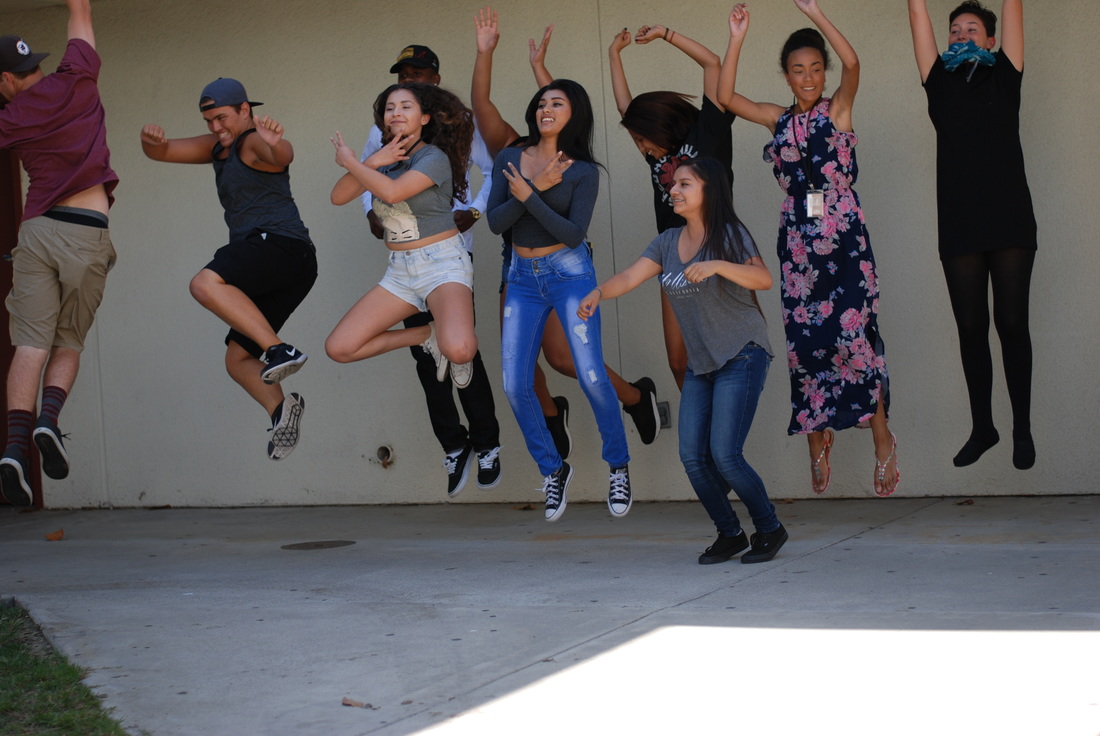
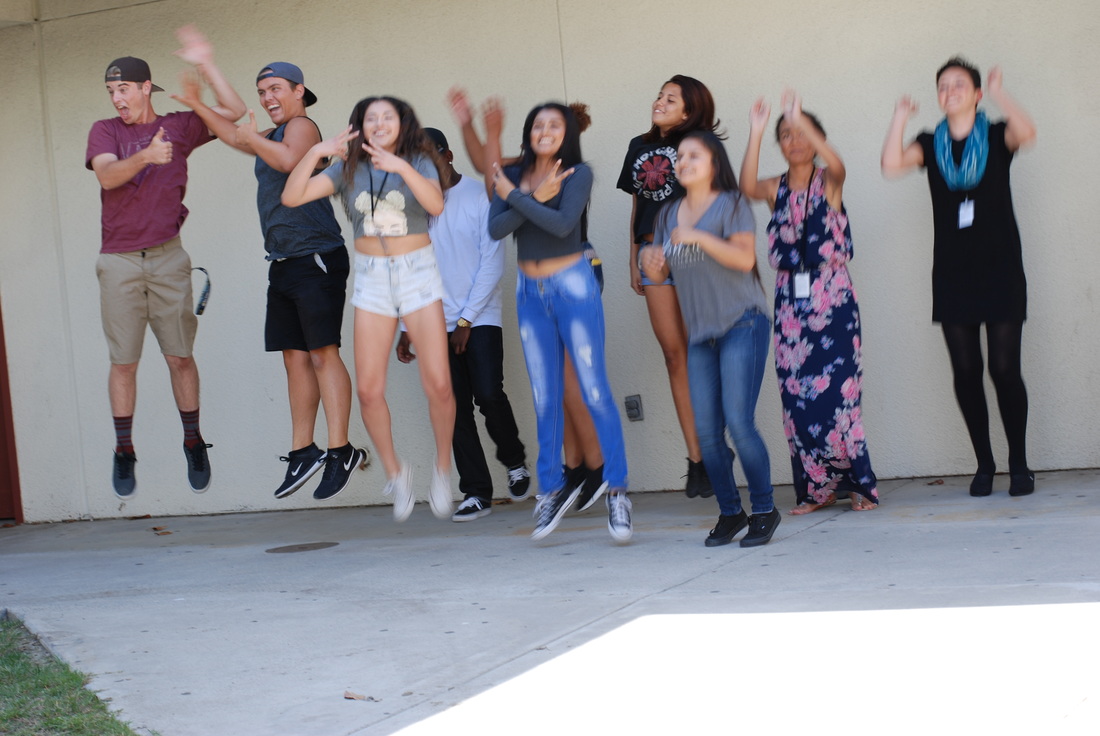
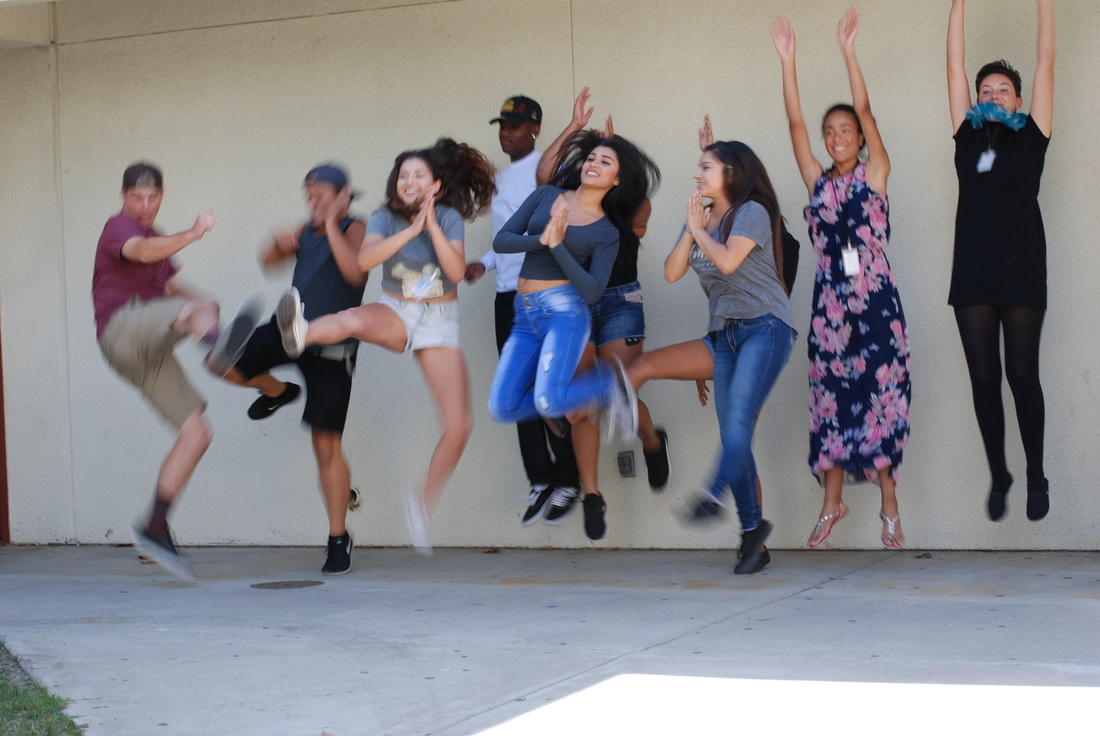
1) I took the photographs using the shutter speed mode on the camera dial.
2) A struggle I had was taking the picture to early and getting a moment that I didn't want , so I took bursts.
3) One thing I learned is that if you take a picture on shutter speed priority you can get the moment you want, Shutter Speed captures the image very quickly when adjusted correctly, Shutter speed can get moments you normally couldn't get with for example an iPhone Camera.
4)You could use fast shutter speed for baby pictures and weddings.
ISO 1600 Aperture:f/7.1 Shutter Speed: 1/800
ISO 1600 Aperture f/10 Shutter Speed: 1/800
ISO 1600 Aperture:f/10 Shutter Speed:1/800
ISO 1600 Aperture: f/10 Shutter Speed: 1/800
ISO 1600 Aperture:f/10 Shutter Speed: 1/800
ISO 1600 Aperture f/9 Shutter Speed 1/800
Respect Picture
10/10
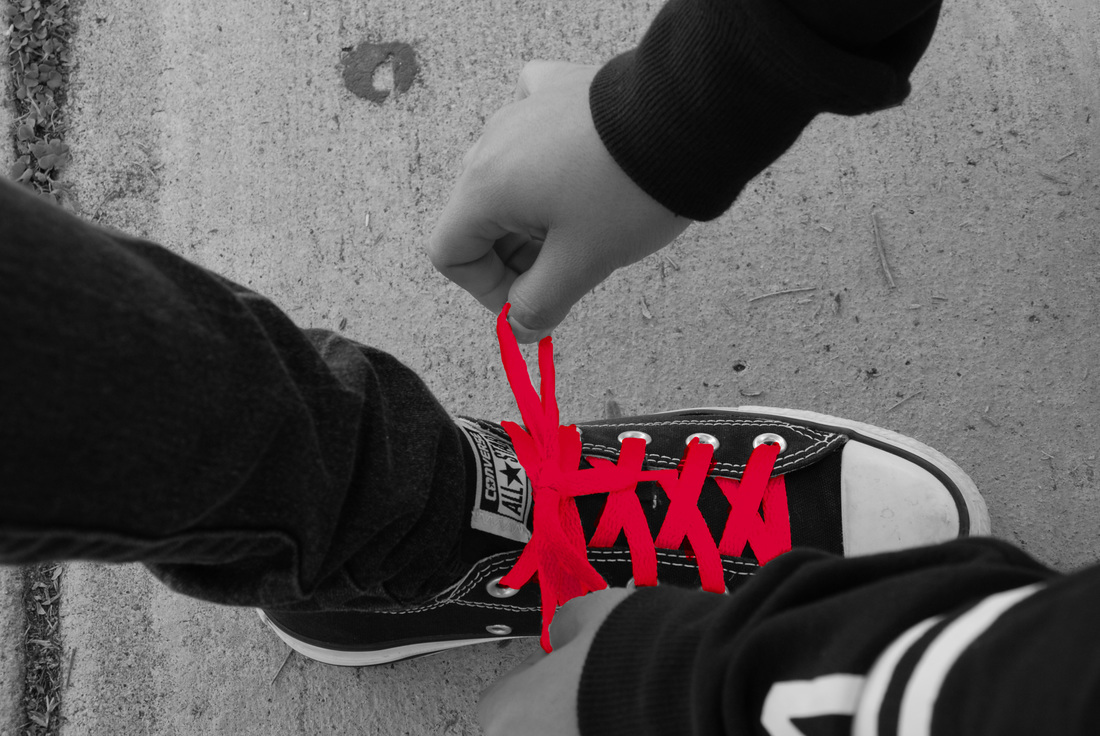
I did my respect project on someone tying another persons shoes. This symbolizes respect as they are trying to help the person out. I did it in red to symbolize red ribbon week also. I chose to do tying shoes because I find that it is a very simple but nice act of kindness you can do for someone.
I used photoshop to transform the image into what it looks like. I made the image black and white so what I wanted to do would stand out. I then highlighted the laces on the shoe to be changed to a different color. Then I changed the color to bright red. The ISO was 200, the aperture was f/9.5 and the shutter speed was 1/50.
I used photoshop to transform the image into what it looks like. I made the image black and white so what I wanted to do would stand out. I then highlighted the laces on the shoe to be changed to a different color. Then I changed the color to bright red. The ISO was 200, the aperture was f/9.5 and the shutter speed was 1/50.
ISO:200 Aperture:f/9.5 Shutter Speed:1/50
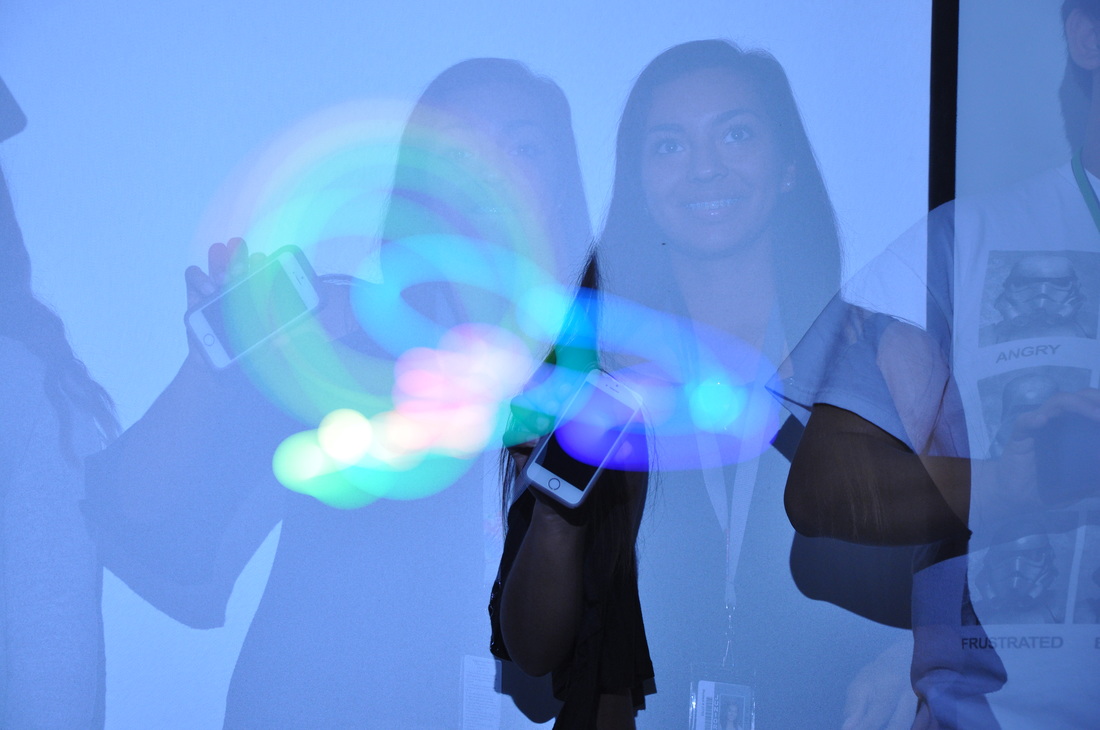
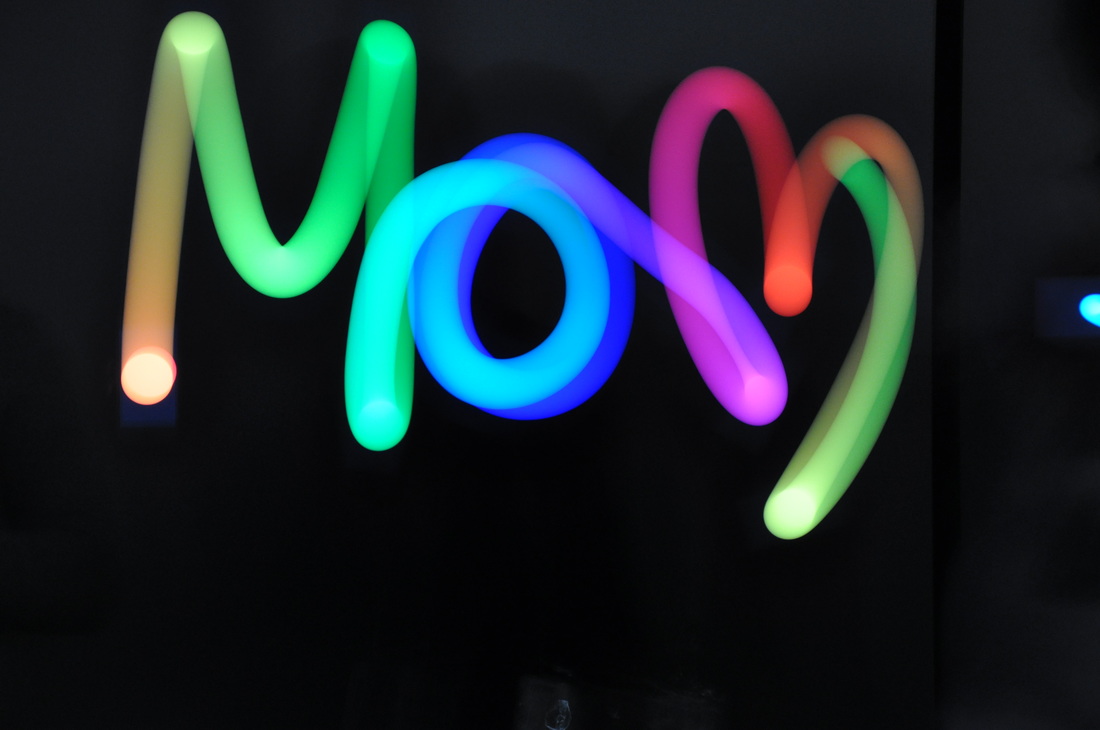
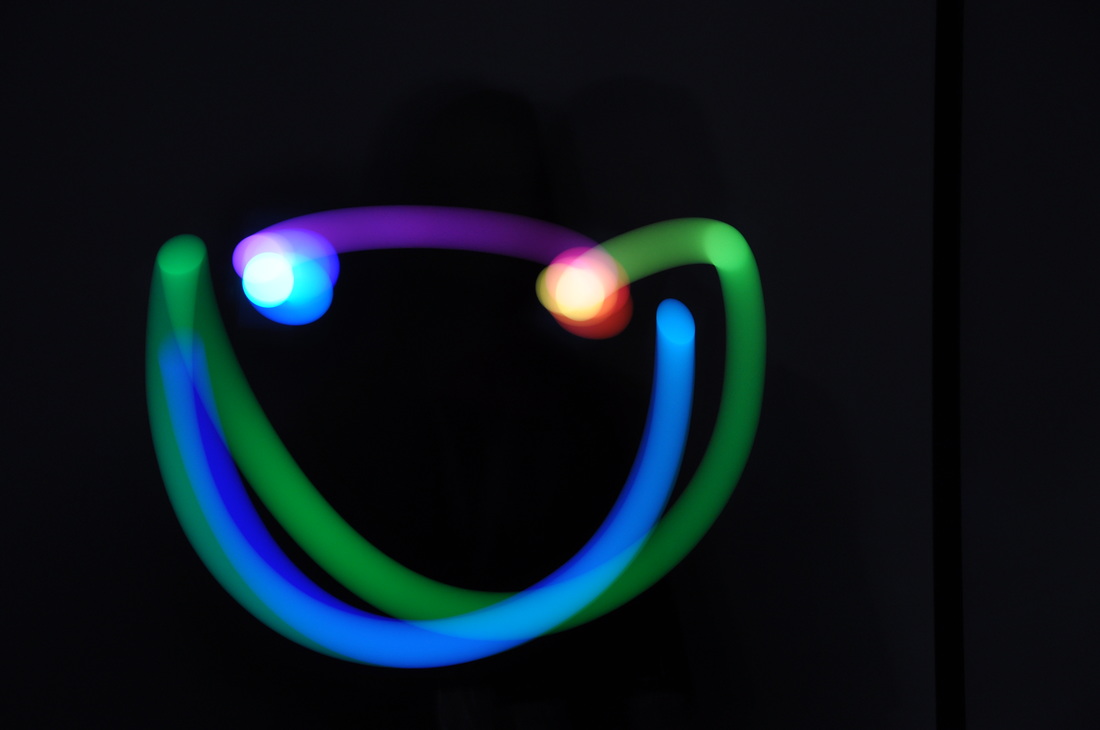
Light Painting
9/30
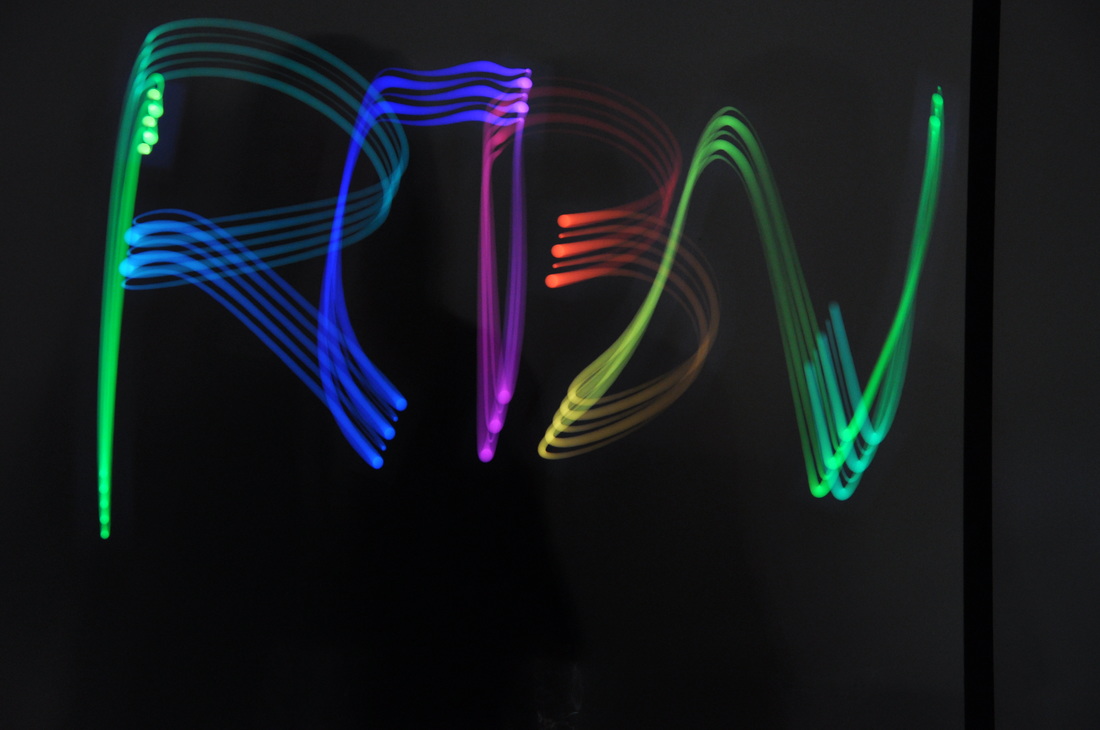
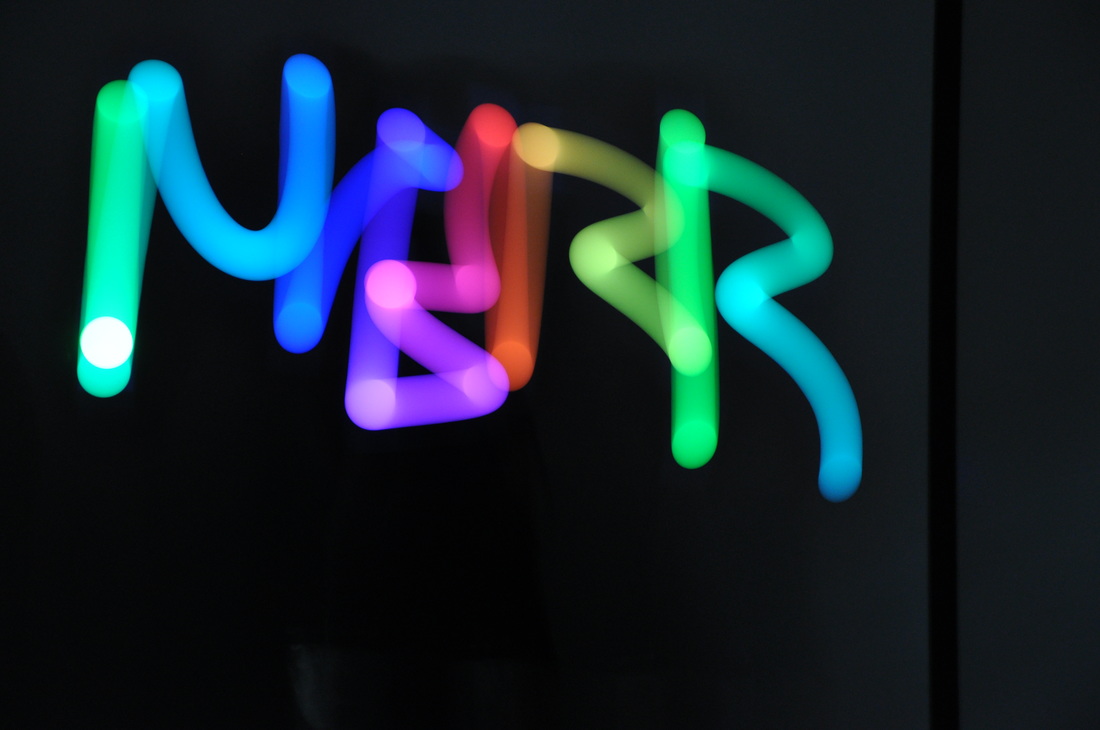
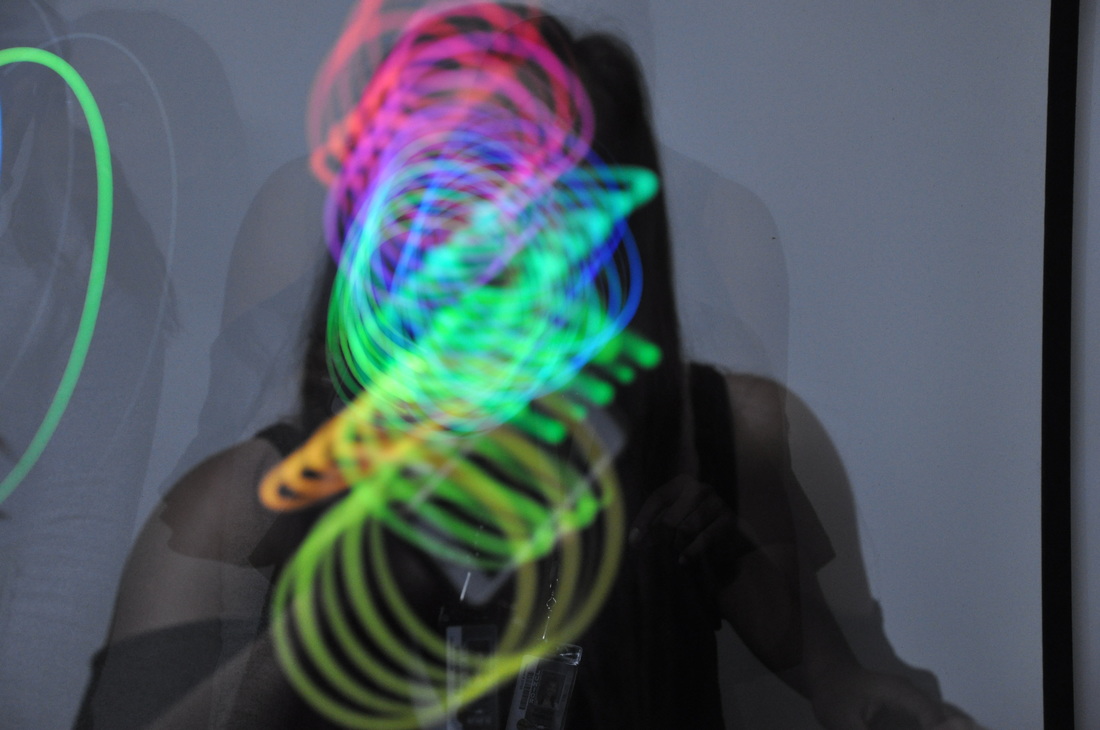
1) I set the tripod up so its pointing at them, I then had them get a light app on their phone and she did movements of her choice while I clicked the picture button so the camera takes a picture and lets the light in for 6 seconds.
2) Some struggles I had was perfecting it upside down and getting everything I wanted in 6 seconds
3) I learned that you can make some really cool different pictures with manual mode
4) You could do cars passing on a freeway.
2) Some struggles I had was perfecting it upside down and getting everything I wanted in 6 seconds
3) I learned that you can make some really cool different pictures with manual mode
4) You could do cars passing on a freeway.
ISO 640 Aperture:f/5.6 Shutter Speed:6.0
ISO 720 Aperture: f/5.6 Shutter Speed:6.0
ISO 900 Aperture: f/5.6 Shutter Speed:6.0
ISO 560 Aperture: f/5.6 Shutter Speed:6.0
ISO 900 Aperture:f/5.6 Shutter Speed: 6.0
ISO 280 Aperture: f/5.6 Shutter Speed:6.0
Shutter Speed
9/28
What I did to change the shutter speed was to adjust the dial to shutter speed mode.
The photograph captures everything within the milliseconds as it happens so quickly.
You would use shutter speed priority for like jumping, or sporting events.
Notes:
Shutter Speed:
-Shutter speeds are both a technical and aesthetic choice a photographer needs to make before releasing the shutter.
-The shutter inside your camera controls the duration of time the sensor is exposed to light.
- Capturing blur or motion in your photograph can emphasize movement and add drama.
-A fast shutter speed is often utilized to freeze the movement of a subject.
- A slower shutter speed can be used to show motion and visualize movement.
- Shutter speeds are expressed as seconds or fractions of seconds.
- As a general rule to prevent umintentional camera shake you could avoid handholding your digital cameras at shutter speeds lower than 1/2x focal strength
- Using a tripod can help eliminate camera shake when using slower shutter speeds.
- The visual blur and suggestion of movement occurs because the subject is moving against a static background.
- Fast shutter speeds can make normal subjects appear to freeze in the air.
- When photographing people running relatively close to the camera a shutter speed of 1/1000 second or faster should freeze most motion.
-The distance the subject is from the camera, the speed of the subject, and the focal length of the lens will affect whether the subject is sharp or blurred.
- Slower shutter speeds can help convey the idea of motion and movement.
- Slow shutter speeds combined with panning can help isolate the subject from a busy and distracting background.
- A tripod combined with a long exposure can capture the fireworks’ trails.
ISO 100 Aperture: f/16 Shutter Speed: 1/3
ISO 100 Aperture: f/2.8 Shutter Speed: 1/250
ISO 100 Aperture: f/5.6 Shutter Speed: 1/60

ISO 100 Aperture: f/8 Shutter Speed: 1/30
ISO 100 Aperture: f/1.8 Shutter Speed: 1/1000
Daguerrotype
9/28
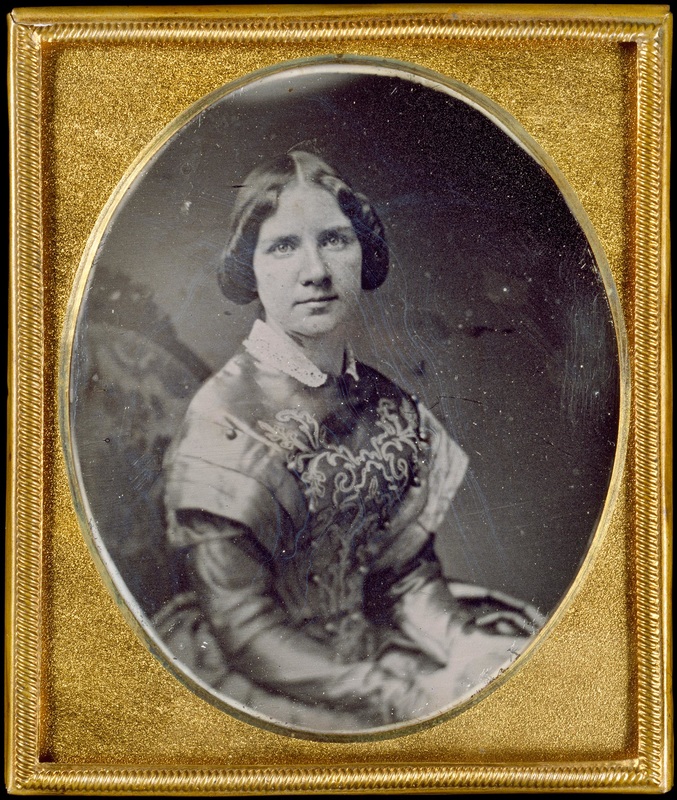
-Asphault was sensitive to light
-First photo was taken in the 1820’s
-Used to be called a camera obscura
-Americans that made the camera popular
-3500 Deguerro Types at museum
- They are both a negative and a positive
-First photo was taken in the 1820’s
-Used to be called a camera obscura
-Americans that made the camera popular
-3500 Deguerro Types at museum
- They are both a negative and a positive
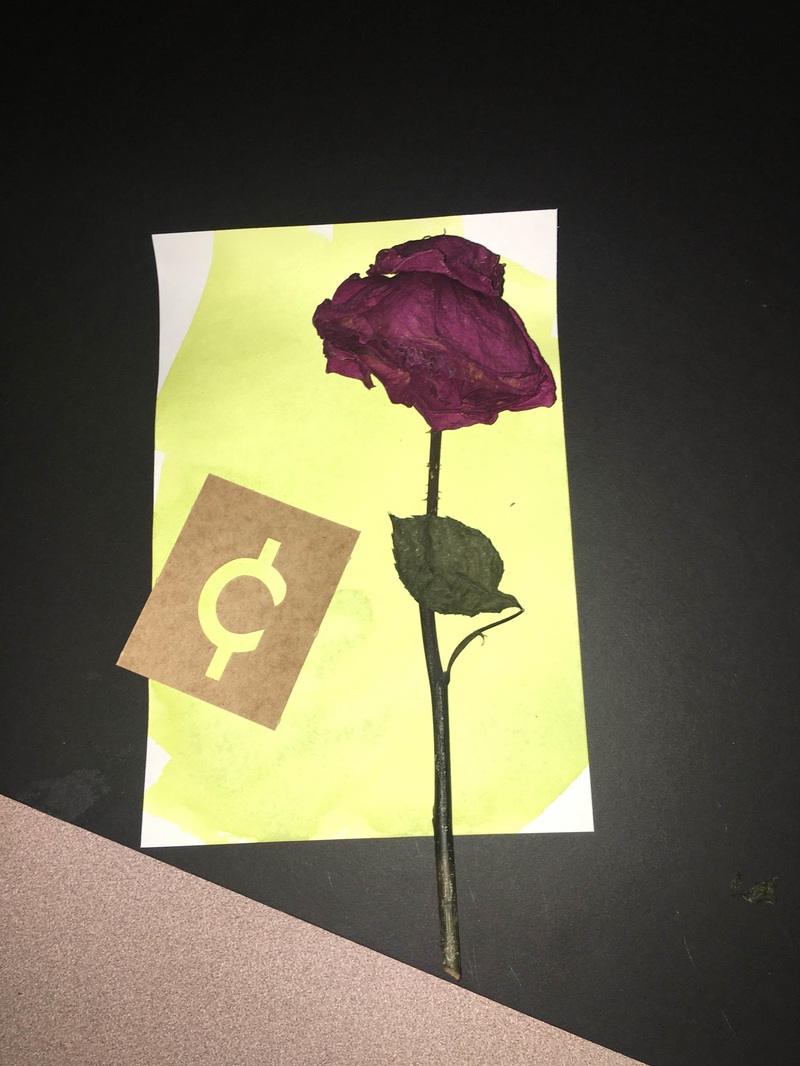
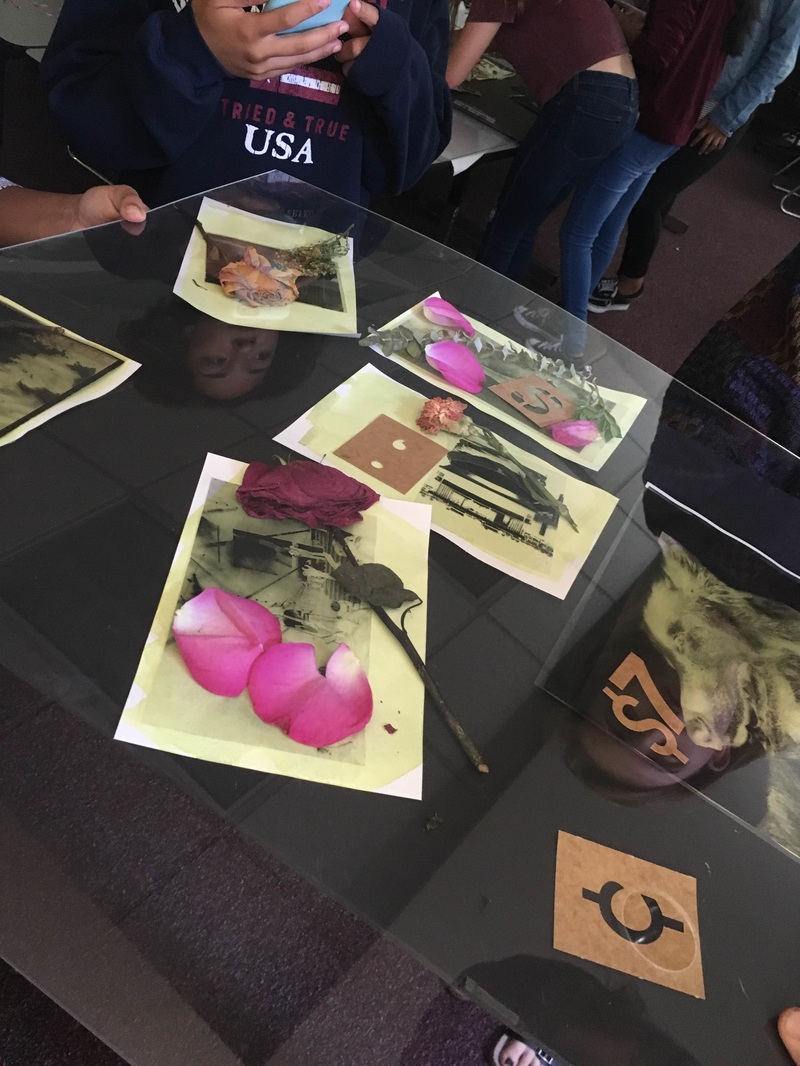
Cyanotype
9/28
- Cyanotype is made out of Pottasium ferricyanide and ferric ammonium nitrate
-Herschel invents the Cyanotype
- If you put the photo in water it will turn blue
-Blueprint invented
-Herschel invents the Cyanotype
- If you put the photo in water it will turn blue
-Blueprint invented
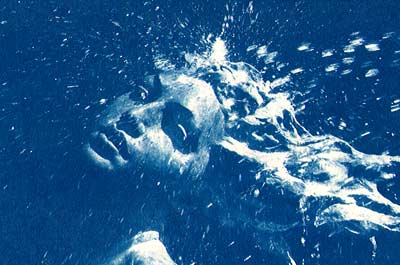
After picture since I lost the picture that I took of my real after picture.
Another Before Picture of the Cyanotype
Before Picture of the cyanotype
Toy Story
9/19/16
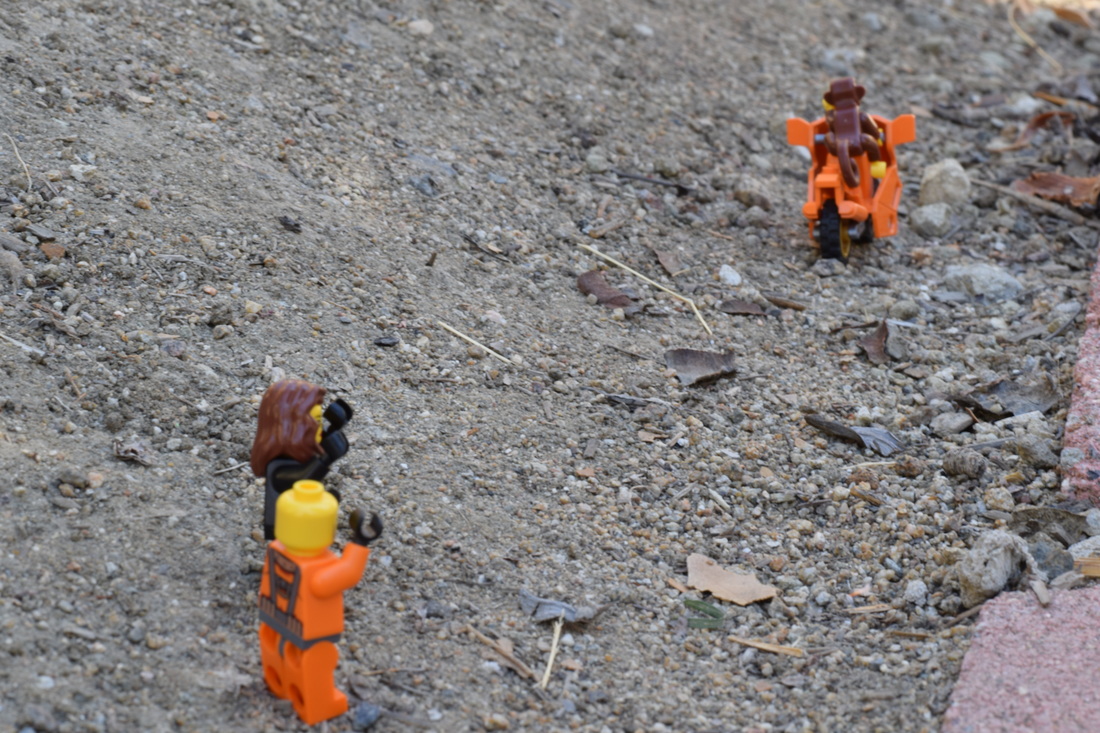
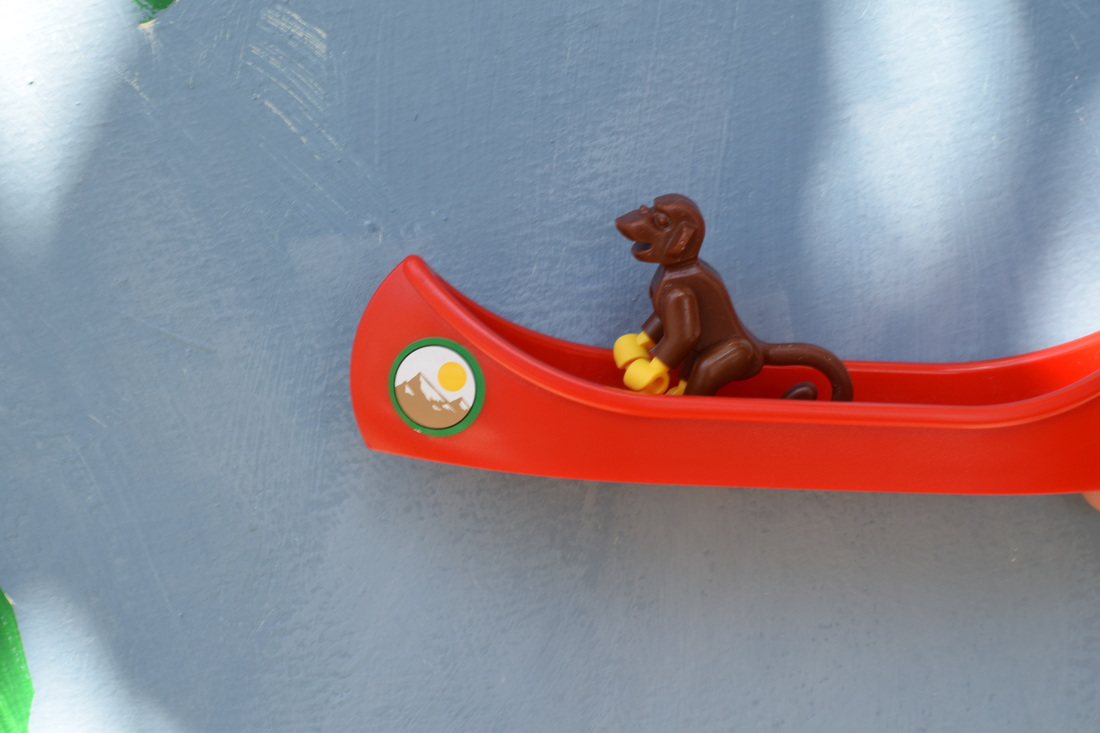
Harambe's Bananas
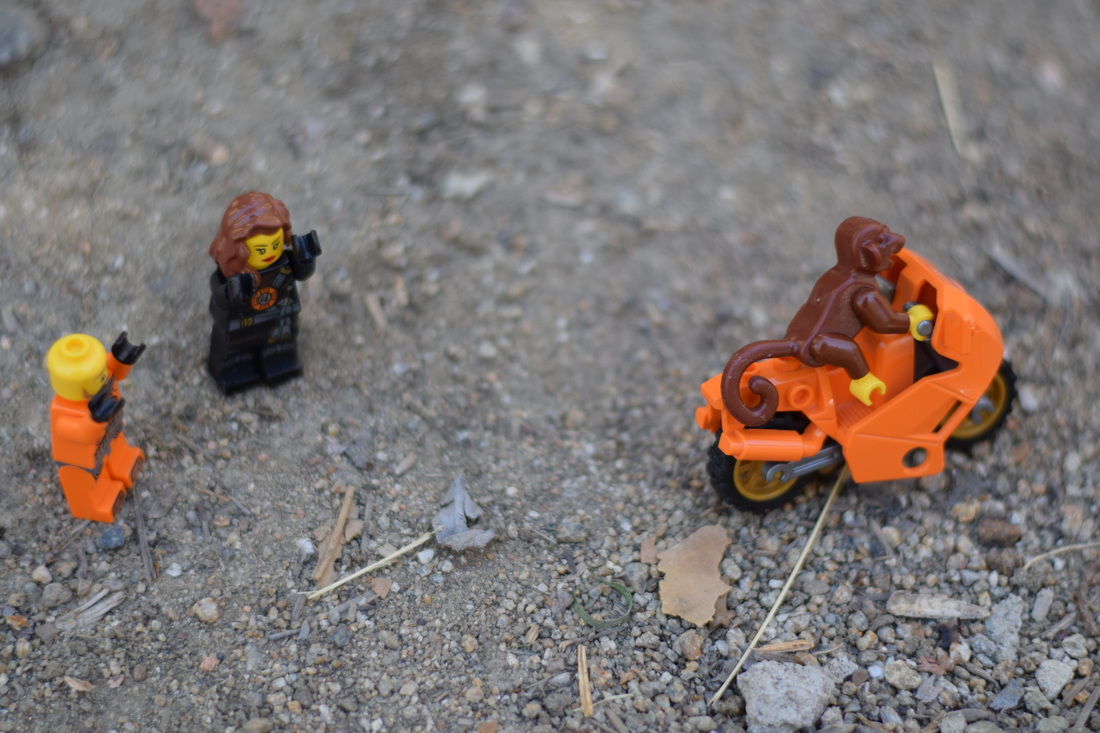
Harambe Strikes
ISO 200 f/1.8 1/800
Once upon a time there was a monkey named Harambe and a boy and a girl named Justin and Juliet. Harambe notices the parked motorcycle in the dirt so he proceeds to steal it in order to obtain some bananas! He then revs the motorcycle spitting dust into their faces. Justin and Juliet then throw up their hands in anger yelling at him to stop!
Stolen
ISO 200 f/16 1/13
Justin and Juliet proceed to watch Harambe drive off into the distance on their brand new orange motorcycle. They are determined to get their motorcycle back but hope not to hurt Harambe. They remember the magical boat that was hidden under some brush. They then decide that they are going to take it and pursue Harambe and get their motorcycle back.
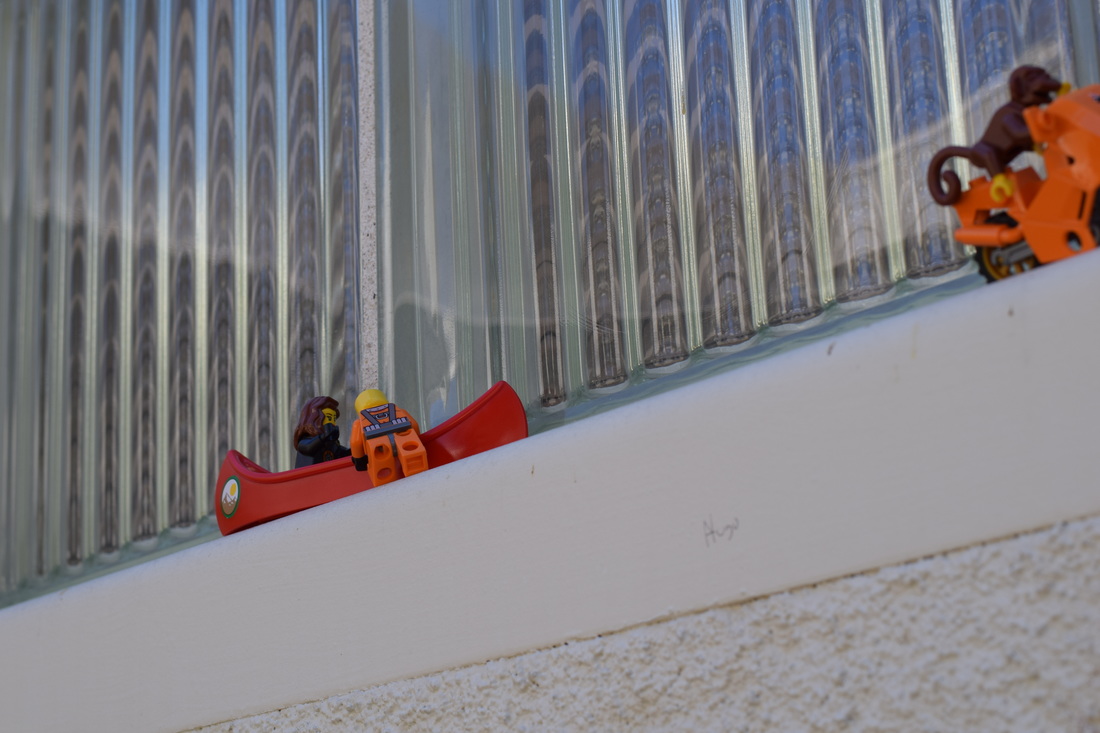
The Pursuit
ISO 200 f/8 1/160
They then sprint to the boat and hop into it. Justin prompts Juliet to hop into the boat first to she can start its magical engine. Harambe is already almost out of their vision so they know that they have to hurry if they ever want to see their motorcycle again. They then begin to pursue Harambe at full speed.
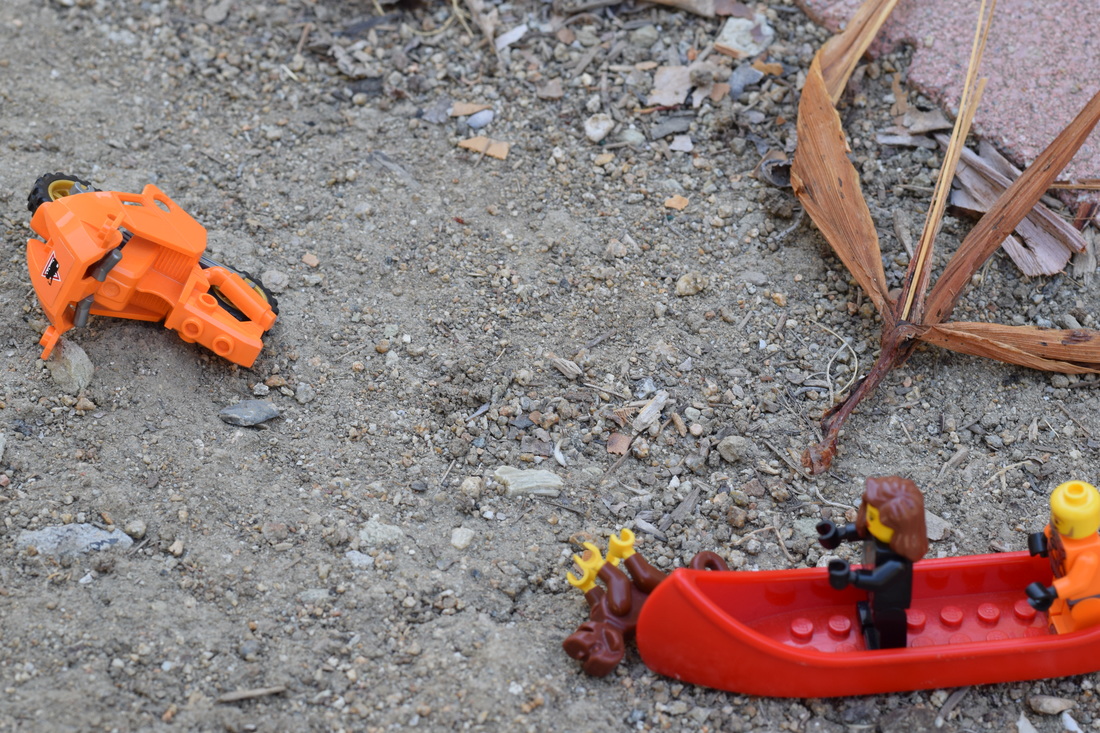
The Crash
ISO 200 f/8 1/160
They begin to catch up to Harambe riding their stolen motorcycle. They decide to sideswipe him in a last resort to get their motorcycle back. As they hit him Harambe slams onto the ground along with the orange motorcycle. Harambe then explains how sorry he is for taking their motorcycle saying that all he wanted was to go buy some bananas.
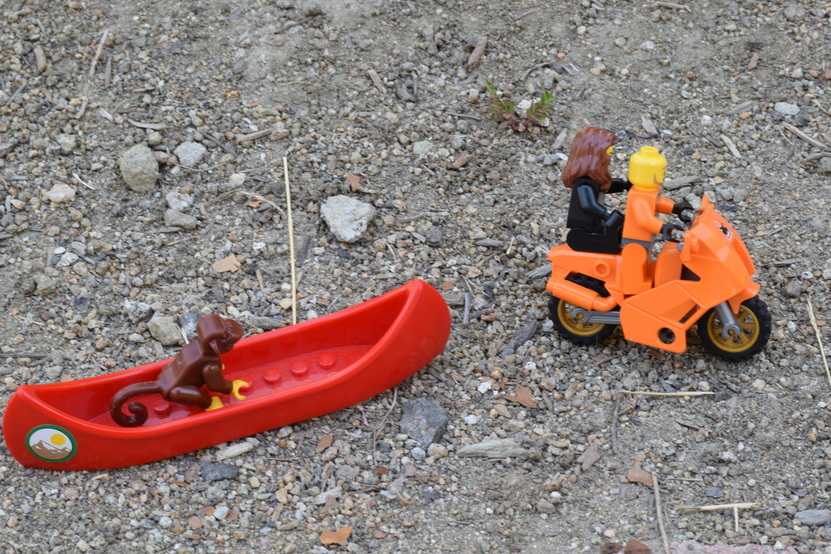
The Trade
ISO 200 f/16 1/15
Justin and Juliet understand and forgive Harambe from stealing their motorcycle. They give Harambe and opportunity to take the magical boat to go get his bananas if he gives them the motorcycle back. Harambe takes this opportunity without asking twice thanking them for not calling the police. Justin and Juliet then go on their way relived to have their orange motorcycle back.
Banana Run!
ISO 200 f/16 1/20
Harambe then hops into his newly obtained magical boat. He is excited that after all that had just happened he will still be able to get to go and get his bananas. Harambe then flys off into the distance and lives happily ever after. The end.
Aperture
9/9/16
Aperture f/1.8 Shutter Speed 1/2000th of a second ISO:200
Aperture f/ 8 Shutter Speed 1/110th of a second ISO:100
Aperture f/16 Shutter Speed :1/25th of a second ISO:200
Notes on Camera
9/7/16
What DSLR stands for:
-DSLR stands for “Digital Single Lens Reflex”
-A DSLR is a digital camera that uses mirrors to direct light from the lens to the viewfinder, which is a hole on the back of the camera that you look through to see what you are taking a picture of.
Exposure:
-Aperture
-Shutter Speed
-ISO
Aperture in a camera:
ISO:
General rule of thumb:
Modes on the DSLR:
How to hold a DSLR:
-DSLR stands for “Digital Single Lens Reflex”
-A DSLR is a digital camera that uses mirrors to direct light from the lens to the viewfinder, which is a hole on the back of the camera that you look through to see what you are taking a picture of.
Exposure:
- Exposure is the amount of light collected by the sensor in your camera during a single picture.
- If the shot is exposed too long the photograph will be washed out
- If the shot is exposed too short the photograph will appear too dark
- Almost all cameras today have light meters which measure the light in the given shot and set an ideal exposure.
- The three primary controls your camera uses for exposure are aperture, shutter speed, and ISO
-Aperture
-Shutter Speed
-ISO
Aperture in a camera:
- Simply put, aperture is a hole within a lens, through which light travels into the camera body.
- It is easier to understand the concept if you just think about your eyes, Every camera that we know of today is designed like human eyes.
- In photography, aperture is expressed in f- numbers. These f- numbers that are known as f- stops are a way of describing the size of the aperture, or how open or closed the aperture is.
- A smaller f- stop means a larger aperture, while a larger f-stop means a smaller aperture. For example f/1.4 is larger than f/2.0
- DOF is the distance to which objects behind and in front of the focal point appear to be in focus.
- Shutter speed. Also known as “exposure time”, stands for the length of time a camera shutter is open to expose light into the camera sensor.
- If the shutter speed is fast, it can help to freeze action completely.
- If the shutter speed is slow, it can create an effect called “motion blur”, where moving objects appear blurred along the direction of the motion.
- Shutter speeds are typically measured in fractions of a second , when they are under a second.
- The slowest shutter speed for handheld photography is 1/60. Anything lower then that should either be on a tripod or on a straight, solid surface.
- Any slower handheld shutter speed begins to get motion blur and your photograph may be out of focus.
ISO:
- ISO is the level of sensitivity of your camera to available light.
- The lower the ISO number, the less sensitive it is to the light. while a higher ISO number increases the sensitivity of your camera.
- The component within your camera that can change sensitivity is called “image sensor” or simply “censor”
- With increased sensitivity, your camera sensor can capture images in low light environments without having to use flash. But higher sensitivity comes at an expense-- it adds grain or “noise” to the pictures.
General rule of thumb:
- Bright and sunny. 100 ISO
- Cloudy, 250 ISO
- Indoors, 500 ISO
- Night time without a flash, 1600 ISO
Modes on the DSLR:
- M- Manual Control over aperture and shutter
- A- Aperture Priority
- S- Shutter Priority
- P- Camera sets shutter speed and aperture
How to hold a DSLR:
- Have the camera strap around your neck at all times and hold the camera by the lens and hand grip if possible- treat with care!
Camera Obscura
9/2/16
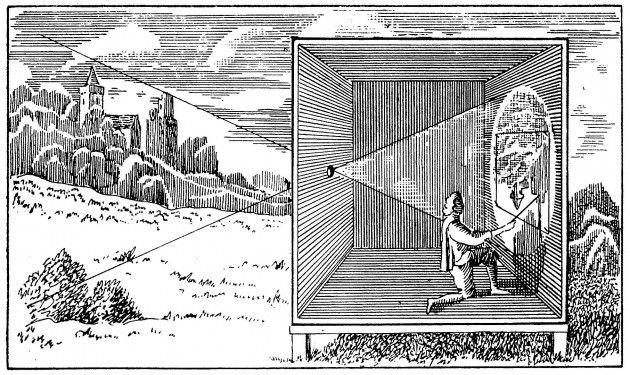
A camera obscure is when light is reflected onto something from a small hole but is mired upside down and backwards. People have known about this technique for thousands of years but recently it has been done with people taking photographs of the obscure. What I saw today in class was a small hole in a tarp that covered the window and me and Connor were told to hold a box up in front of us and we were asked what we saw. We saw people moving outside in color but it was all upside down and backwards.
Surreal Portrait
9/1/16
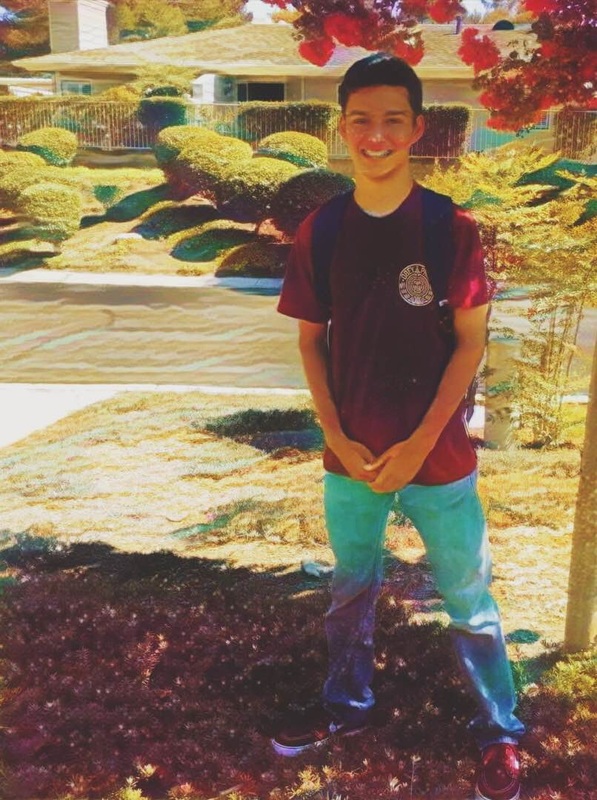
I took this image outside in my front yard yesterday. I like it because it was the only picture I had and it seemed like the background was going to be easy to manipulate with the apps. I used a couple apps to manipulate it like Afterlight and Prisma. I went back and forth messing with it until I got something that I thought looked pretty cool. This picture relates to me as it shows that I like to be outside and love to be at home.
My selfie says many things about me. One thing that my selfie says about me is that I am always happy. My selfie says that I like to be cheesing in all my pictures and be silly. And lastly this selfie says about me is that I love where I live as I am enjoying the bright California sun outside.
I did many thing to manipulate my picture. I tried to make it look surreal but I had a little bit of a hard time with it. I added a bunch of filters and lighting on the sides. I also went into prisma to put a cool filter on it as well, and I used sharpening and brightness to make the contrast better.
